


Solar Home
Solar Page 1
Solar Page2
Solar Page3
|
|
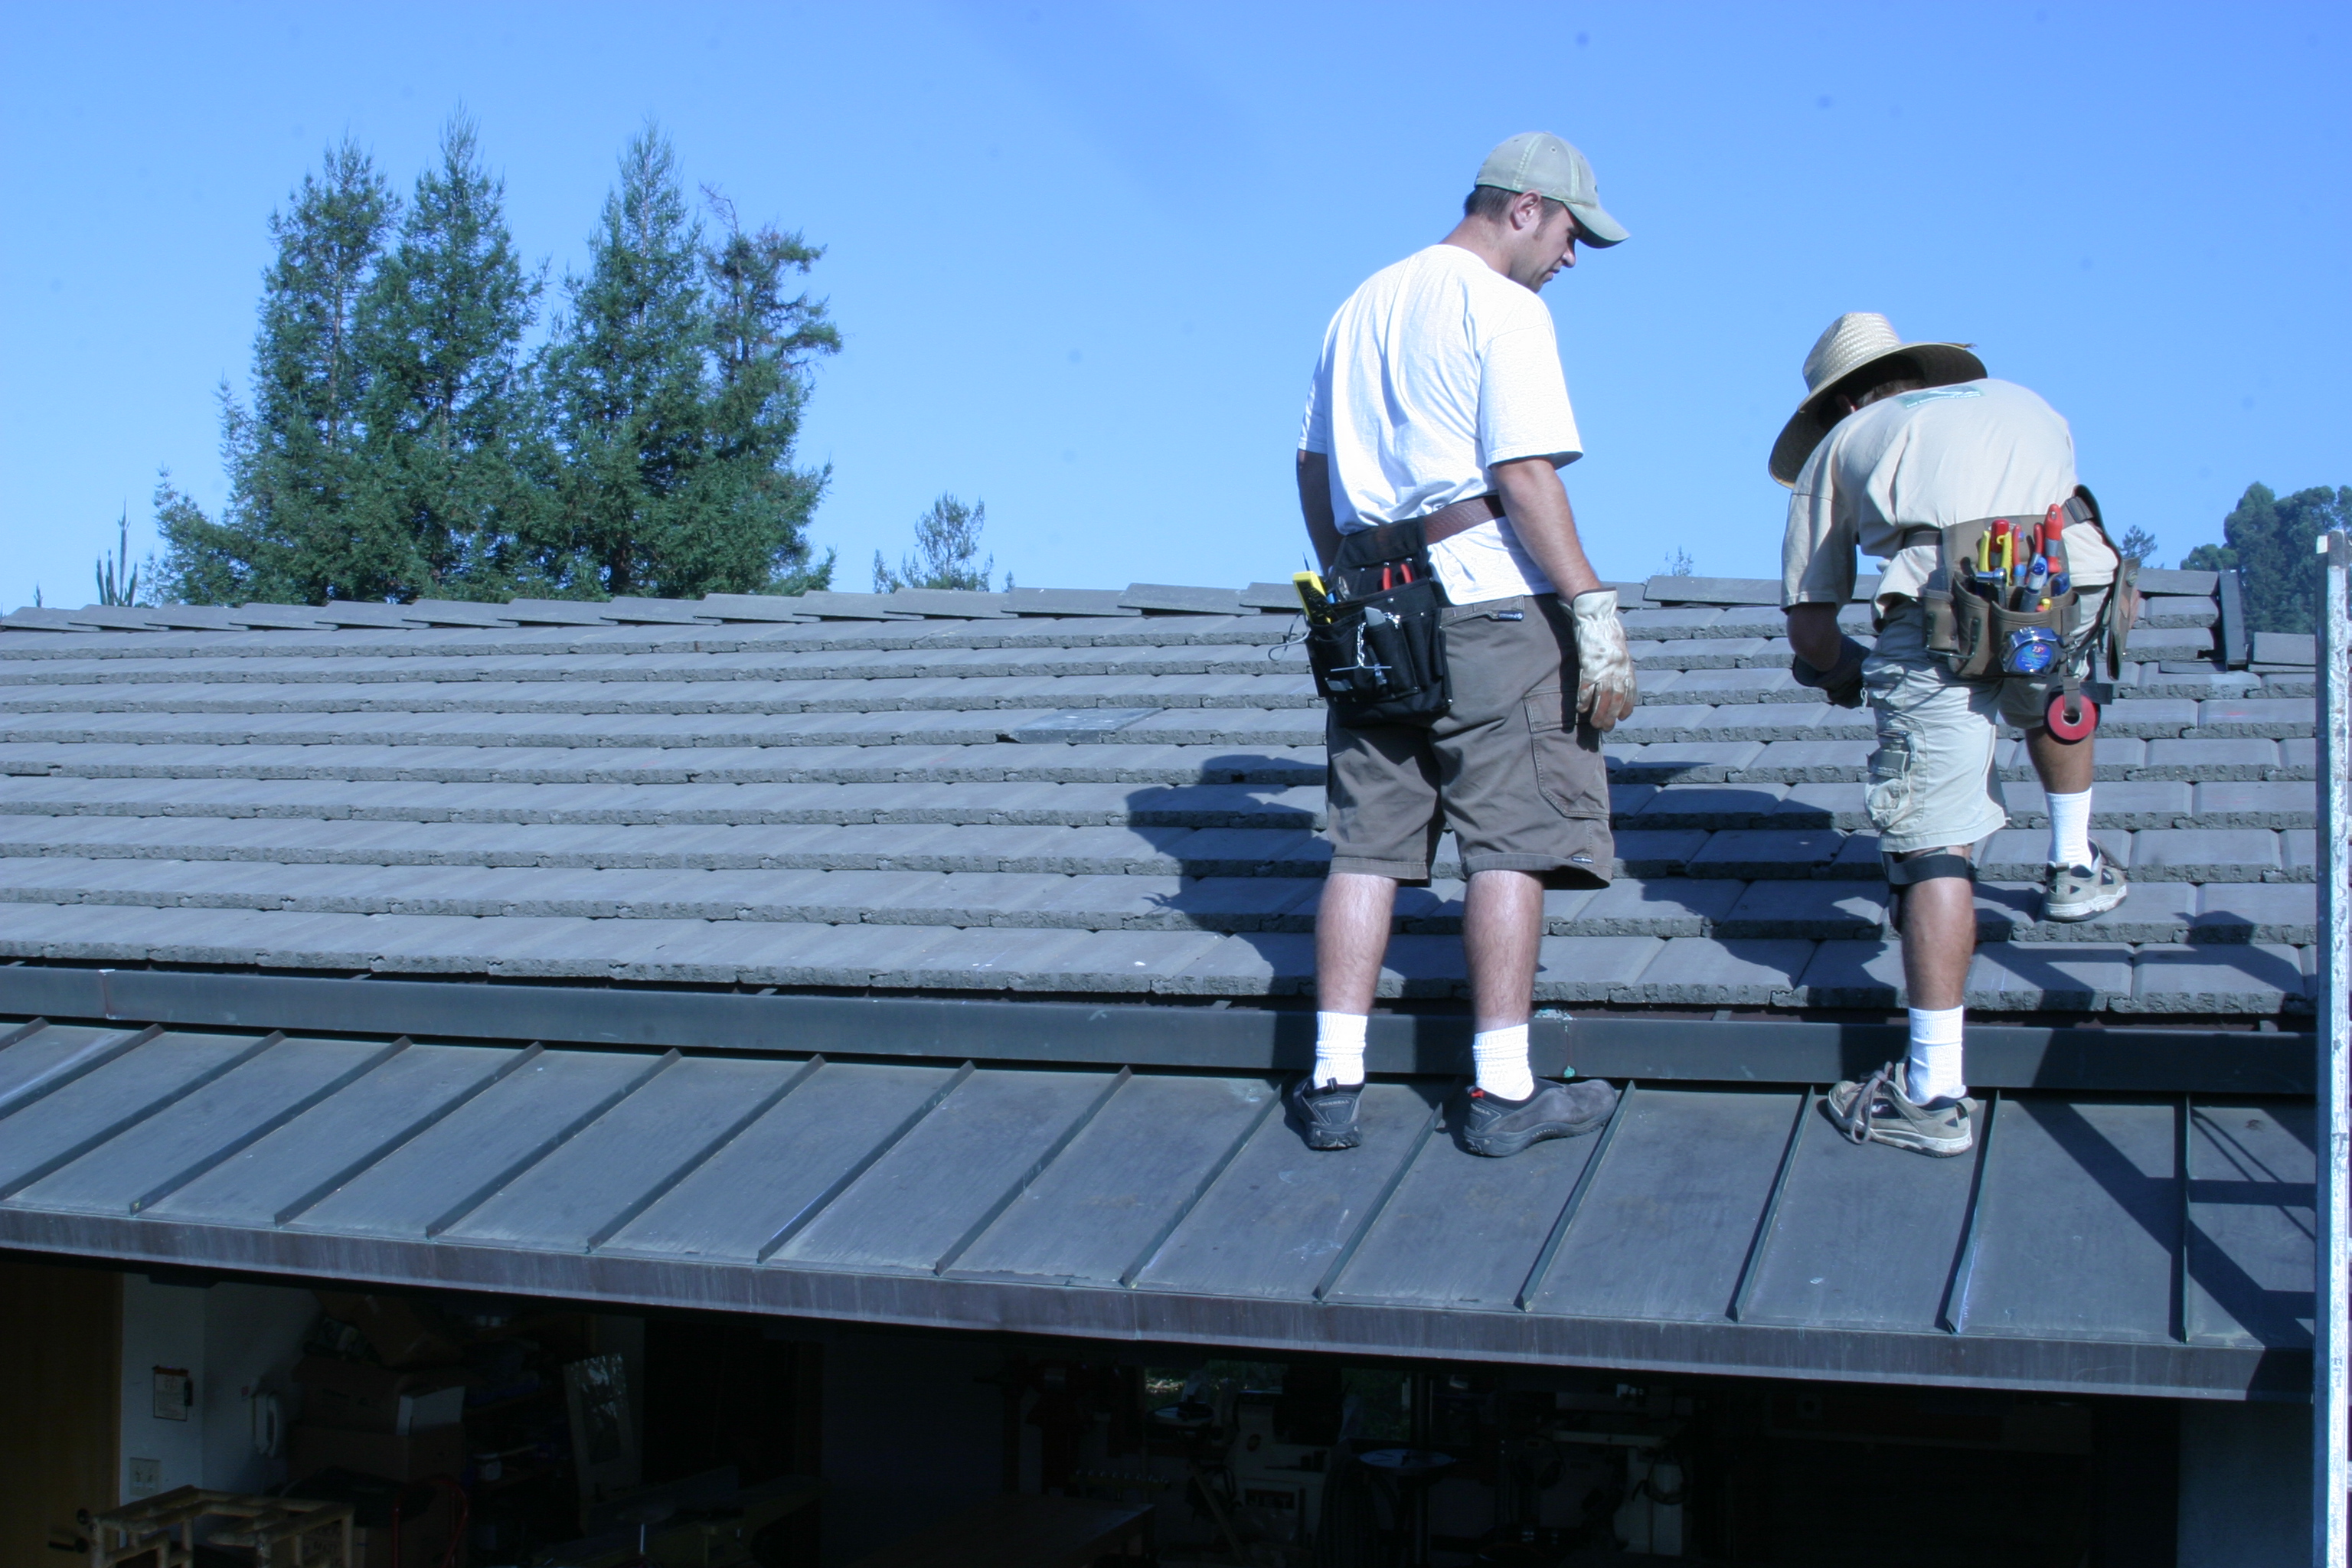
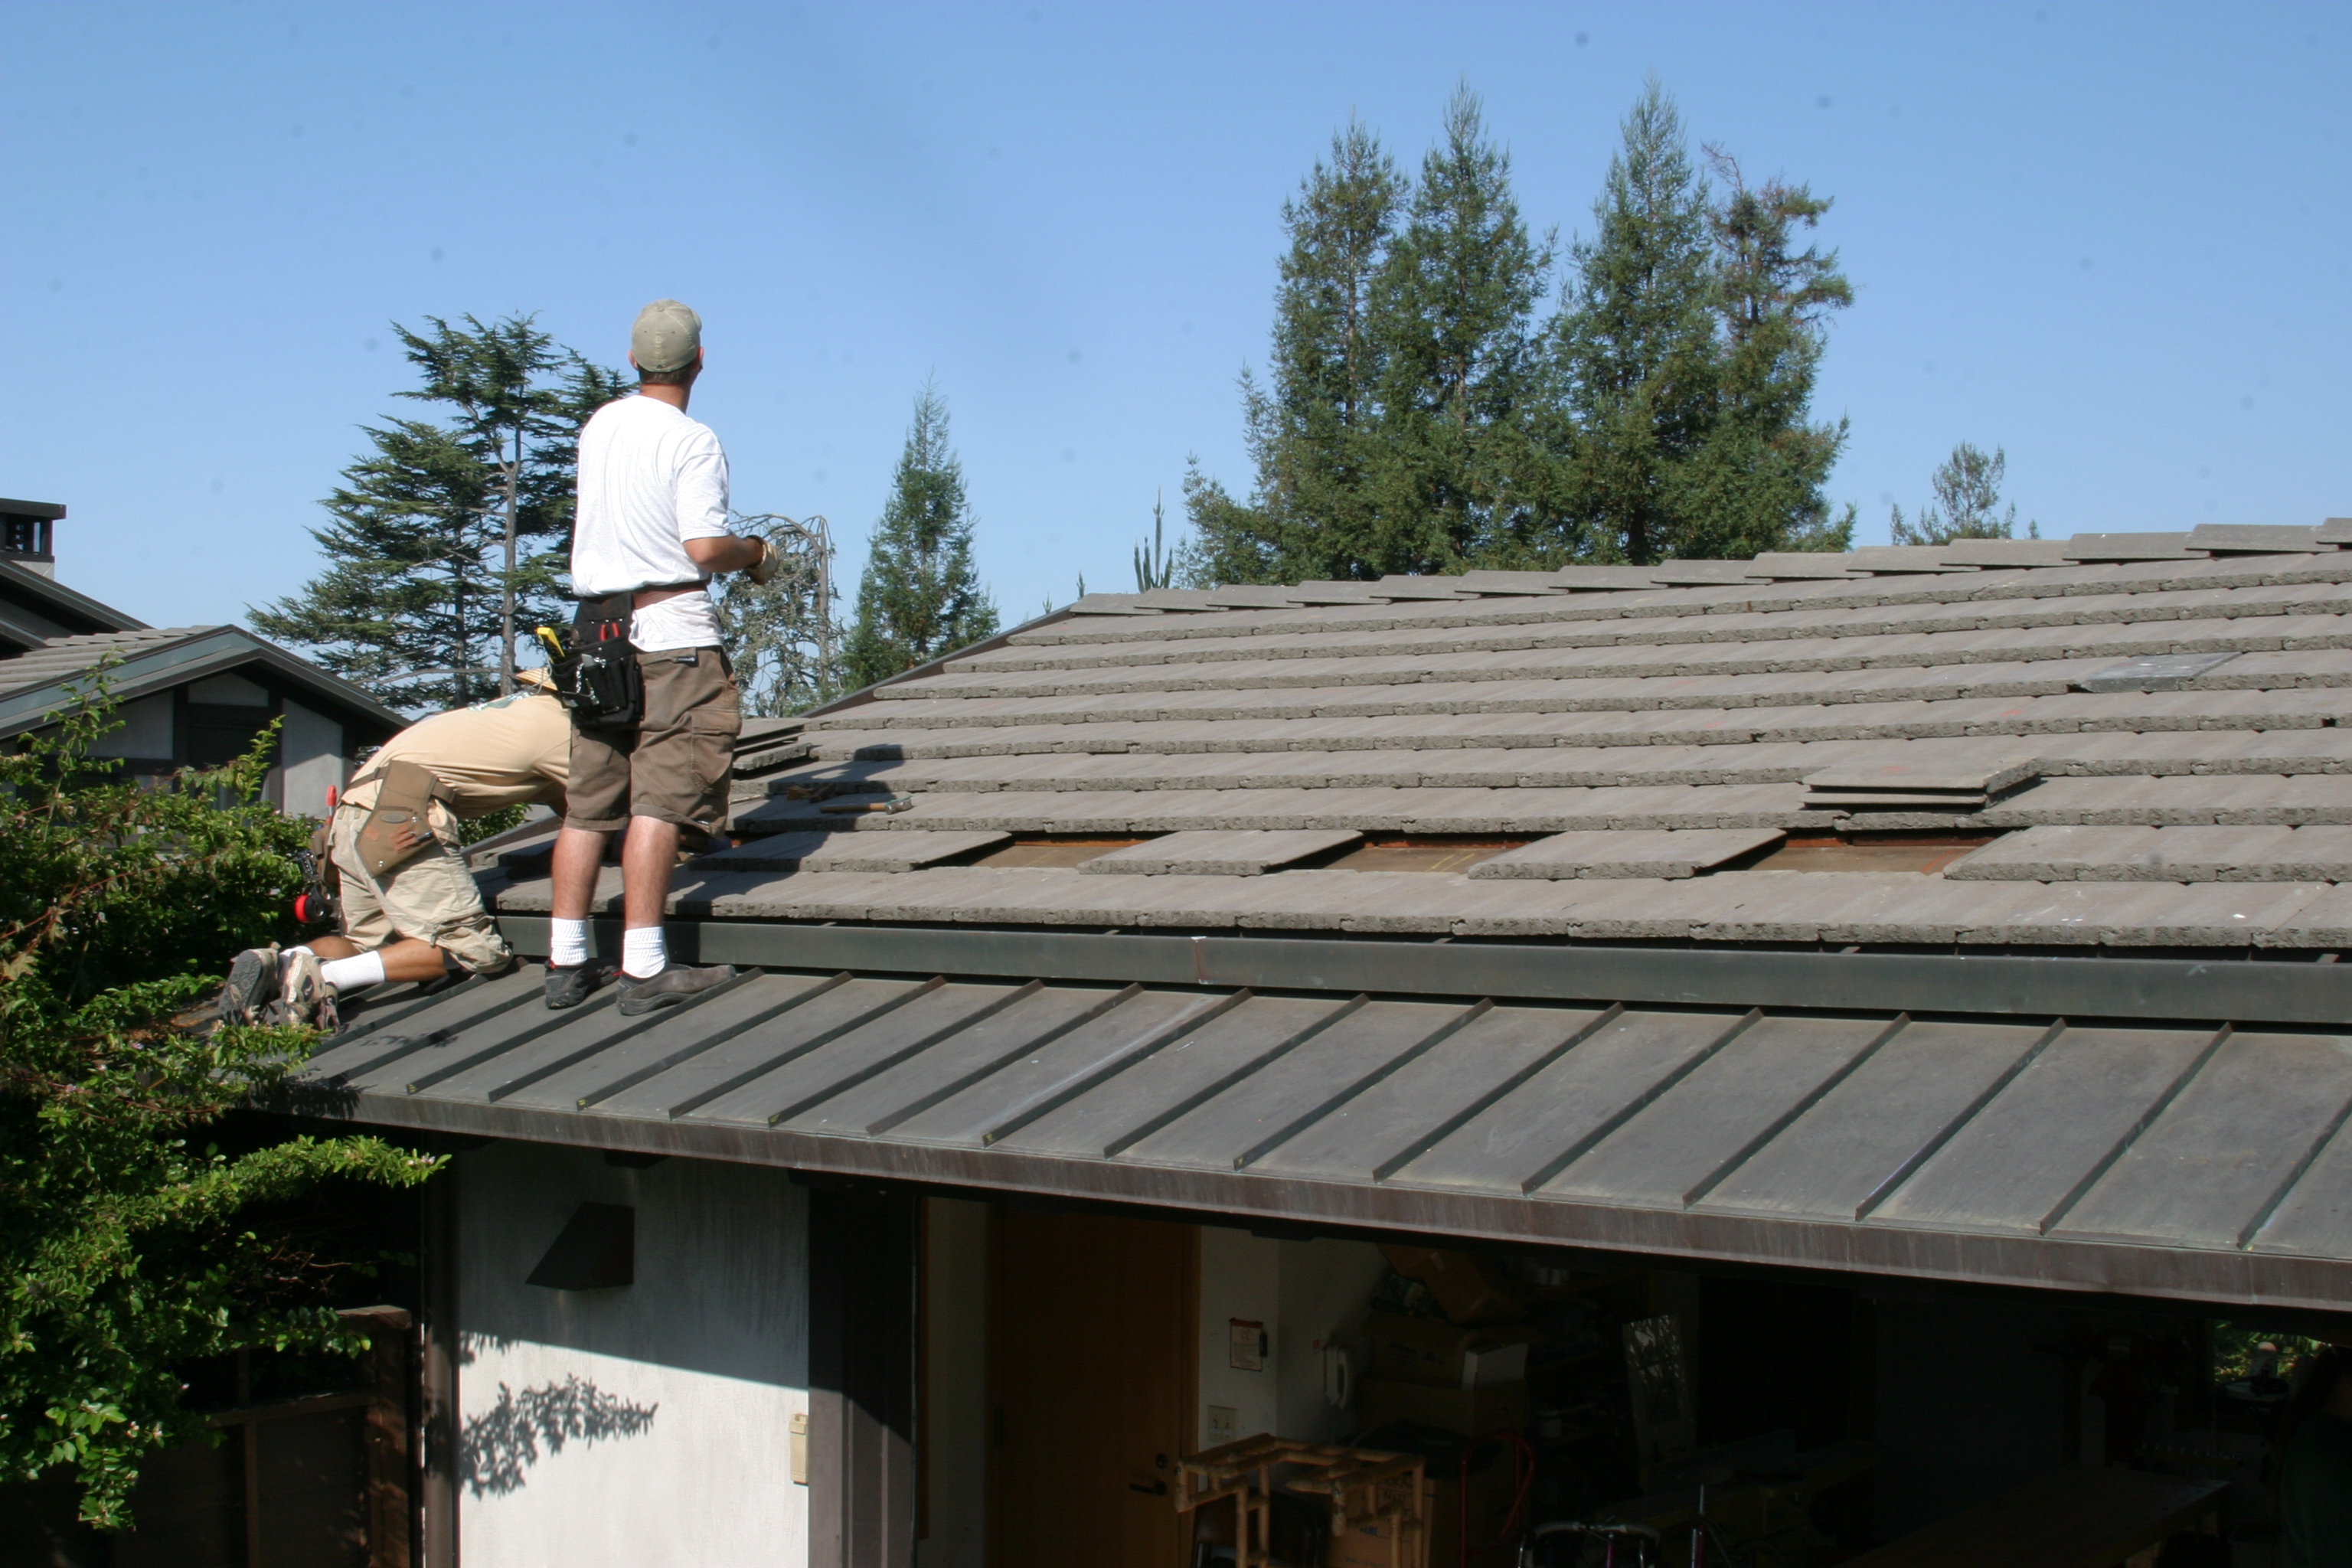
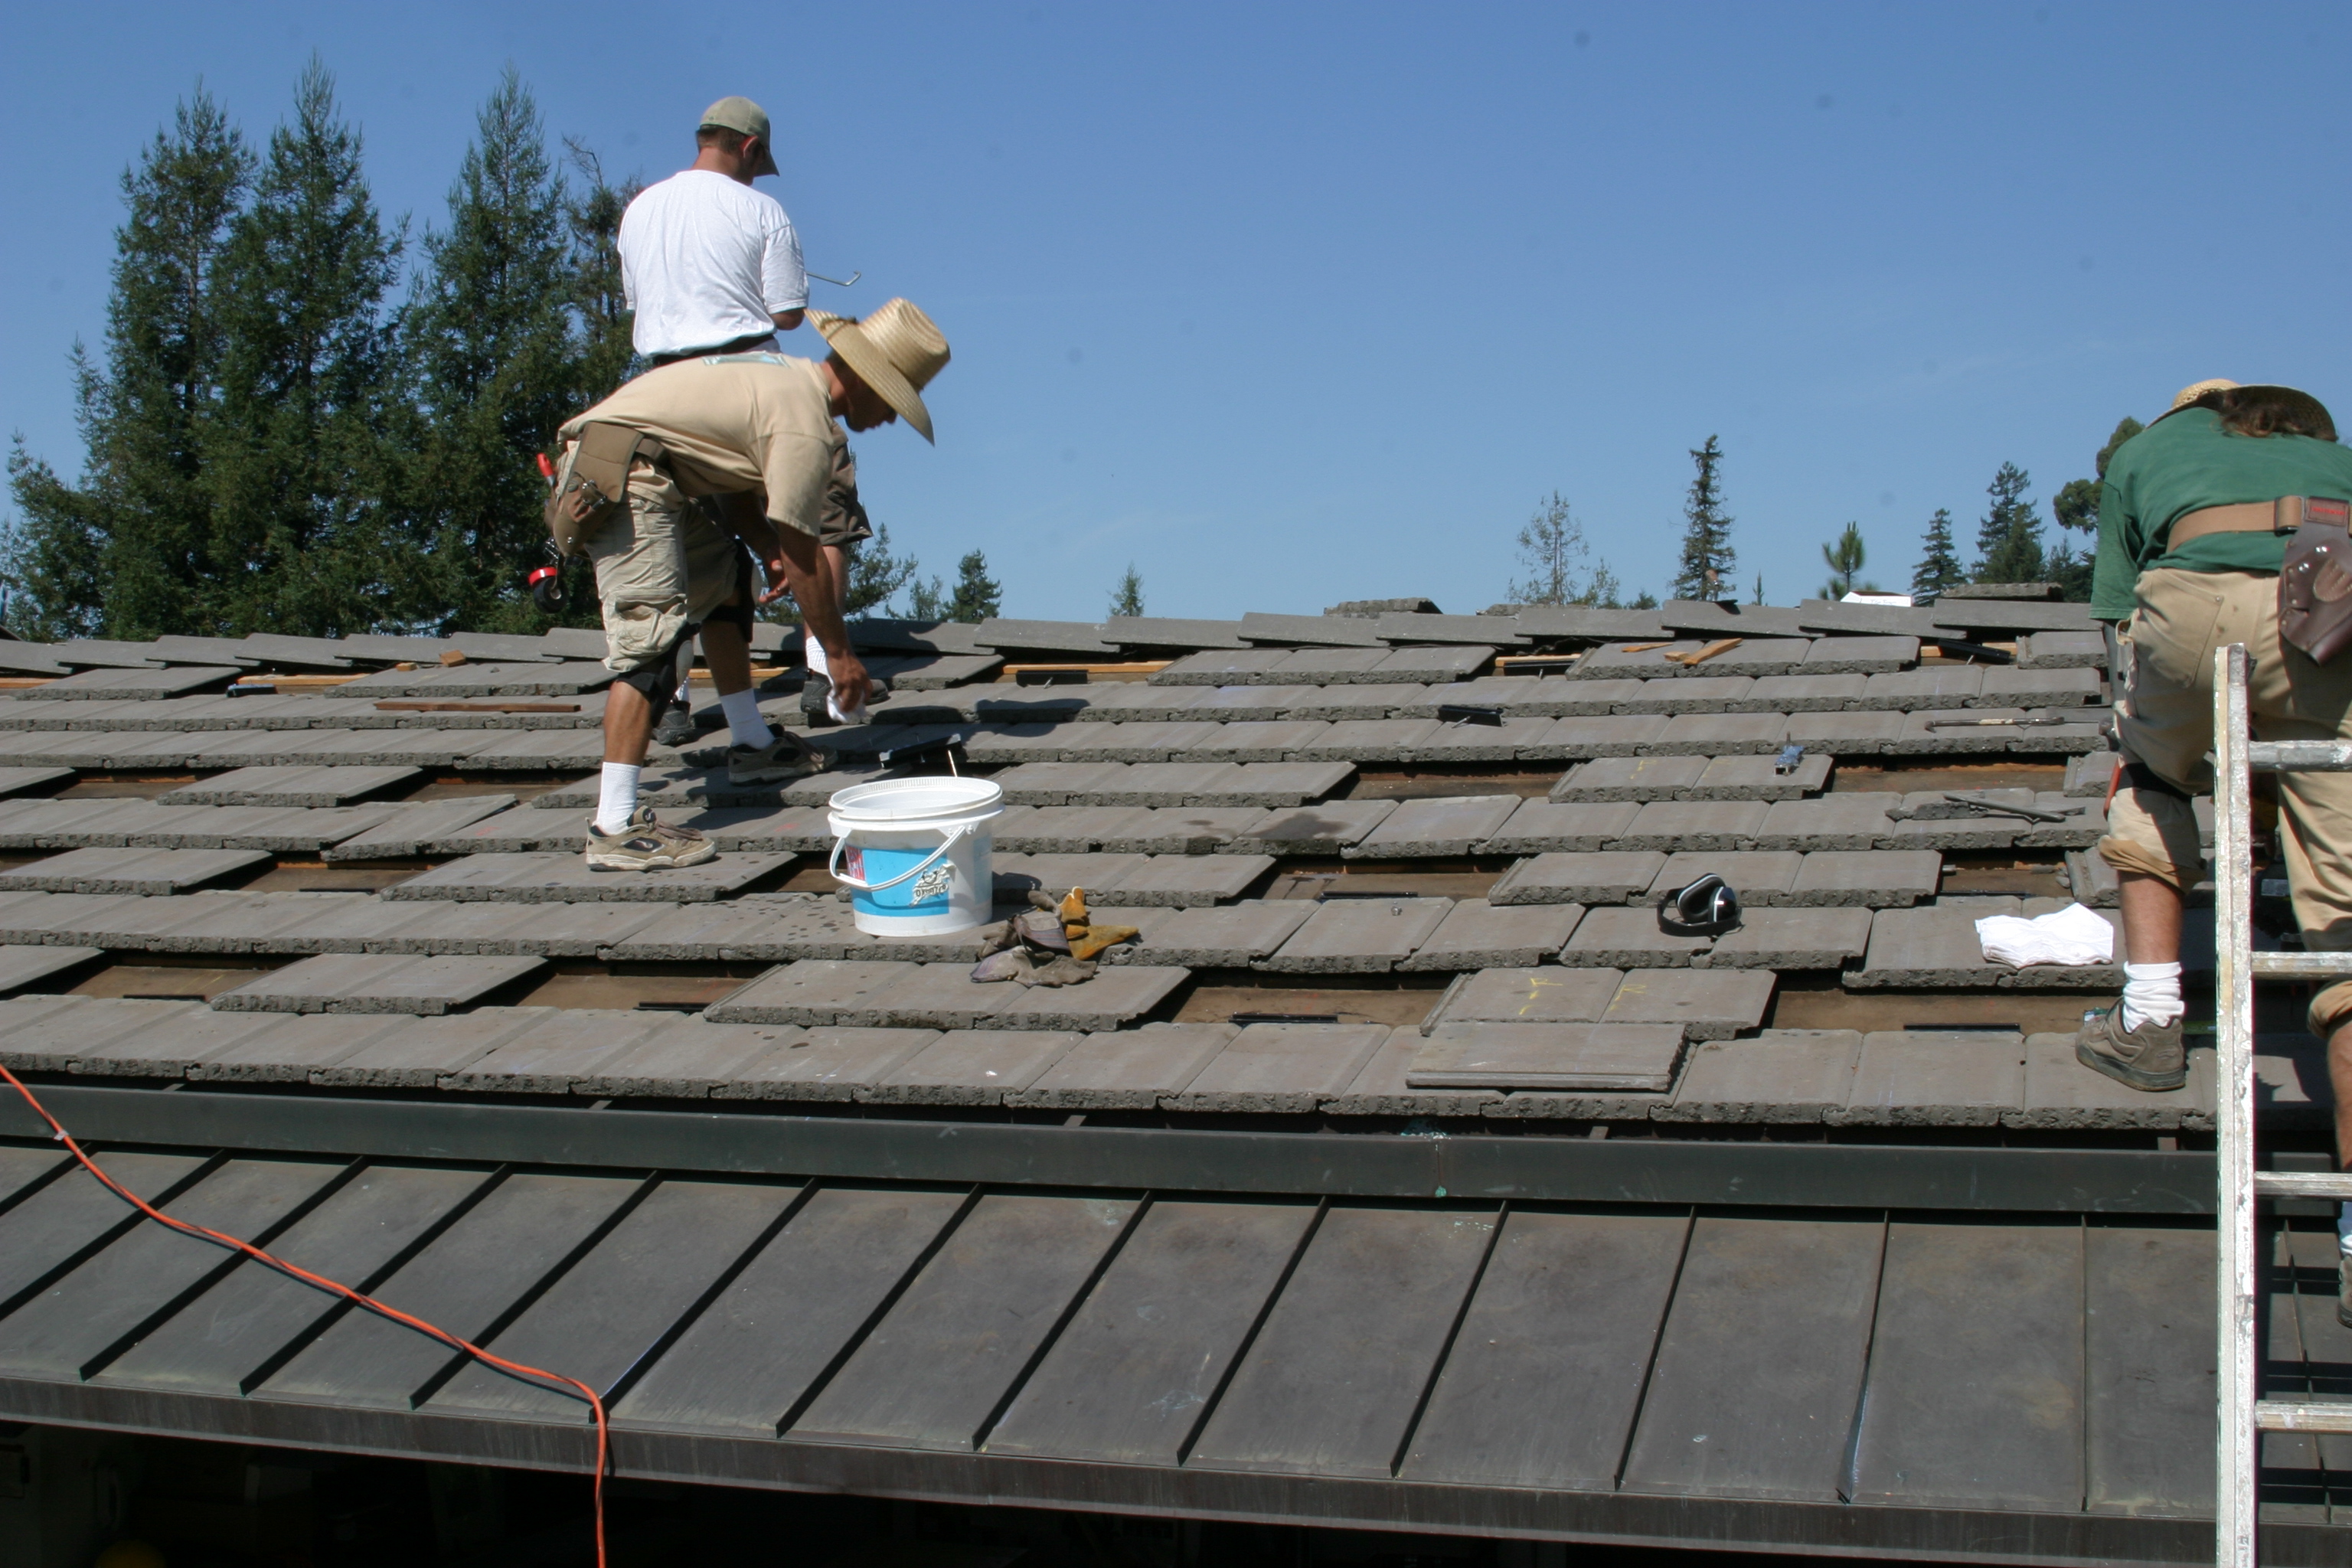
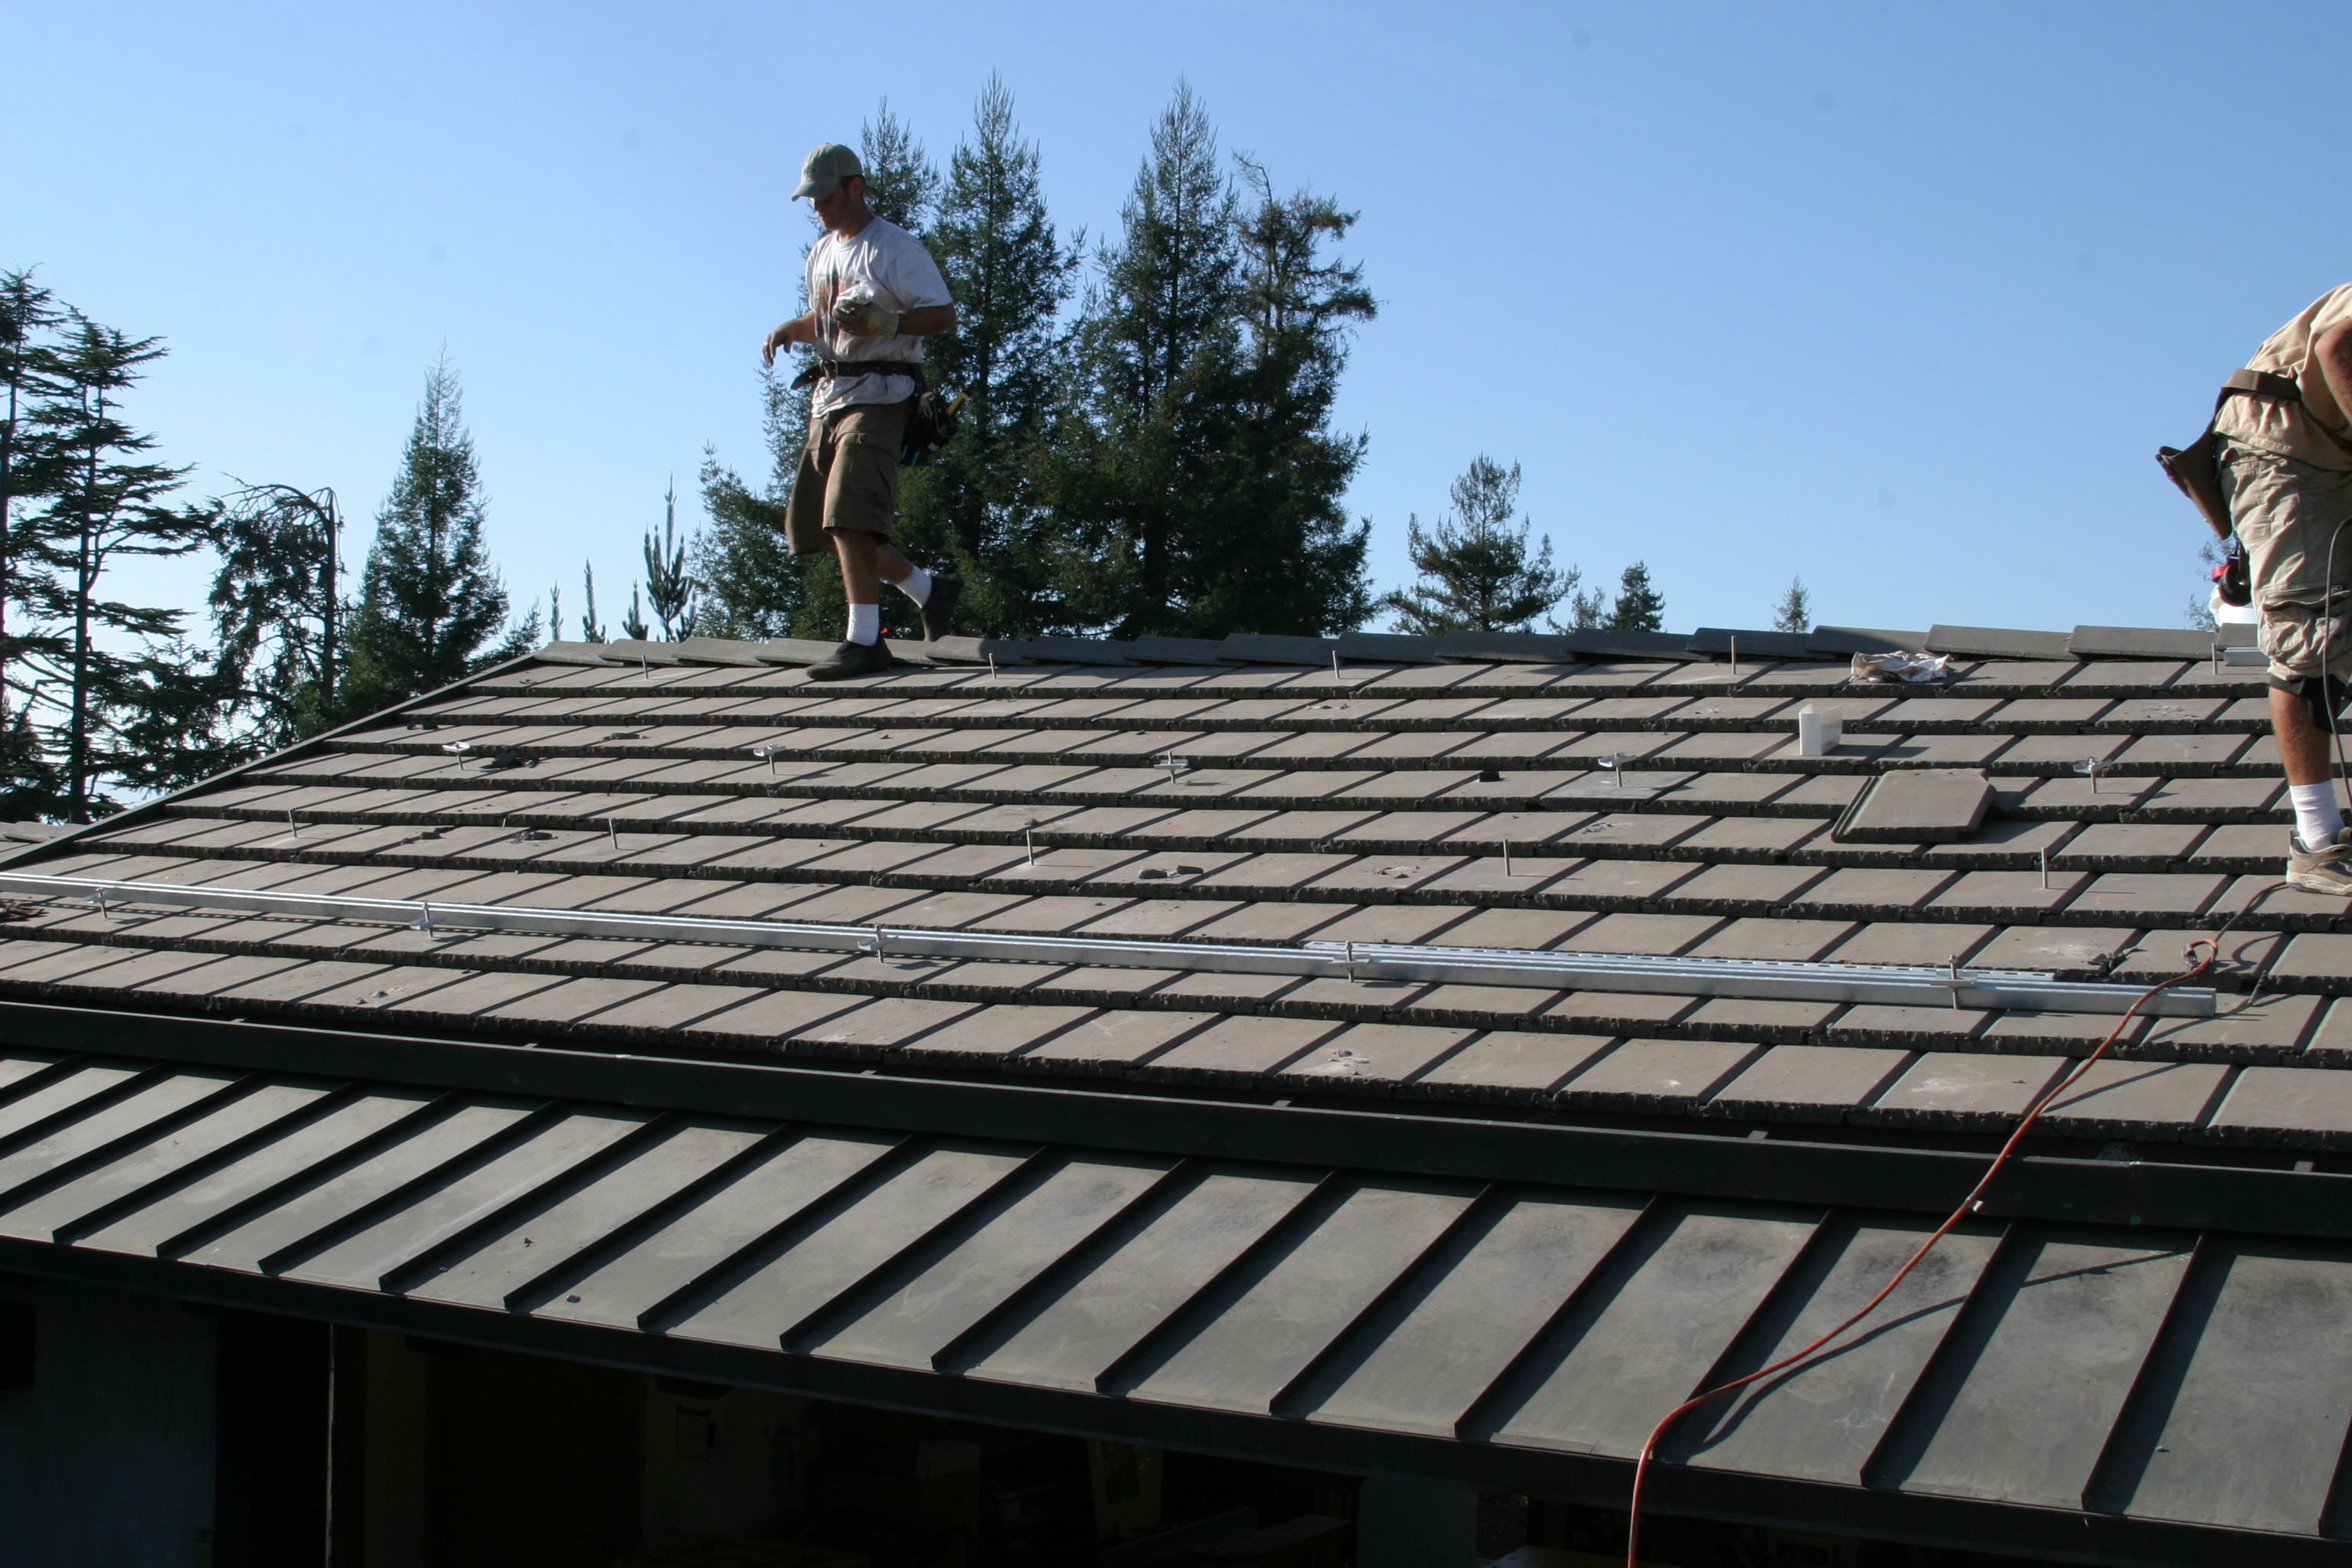
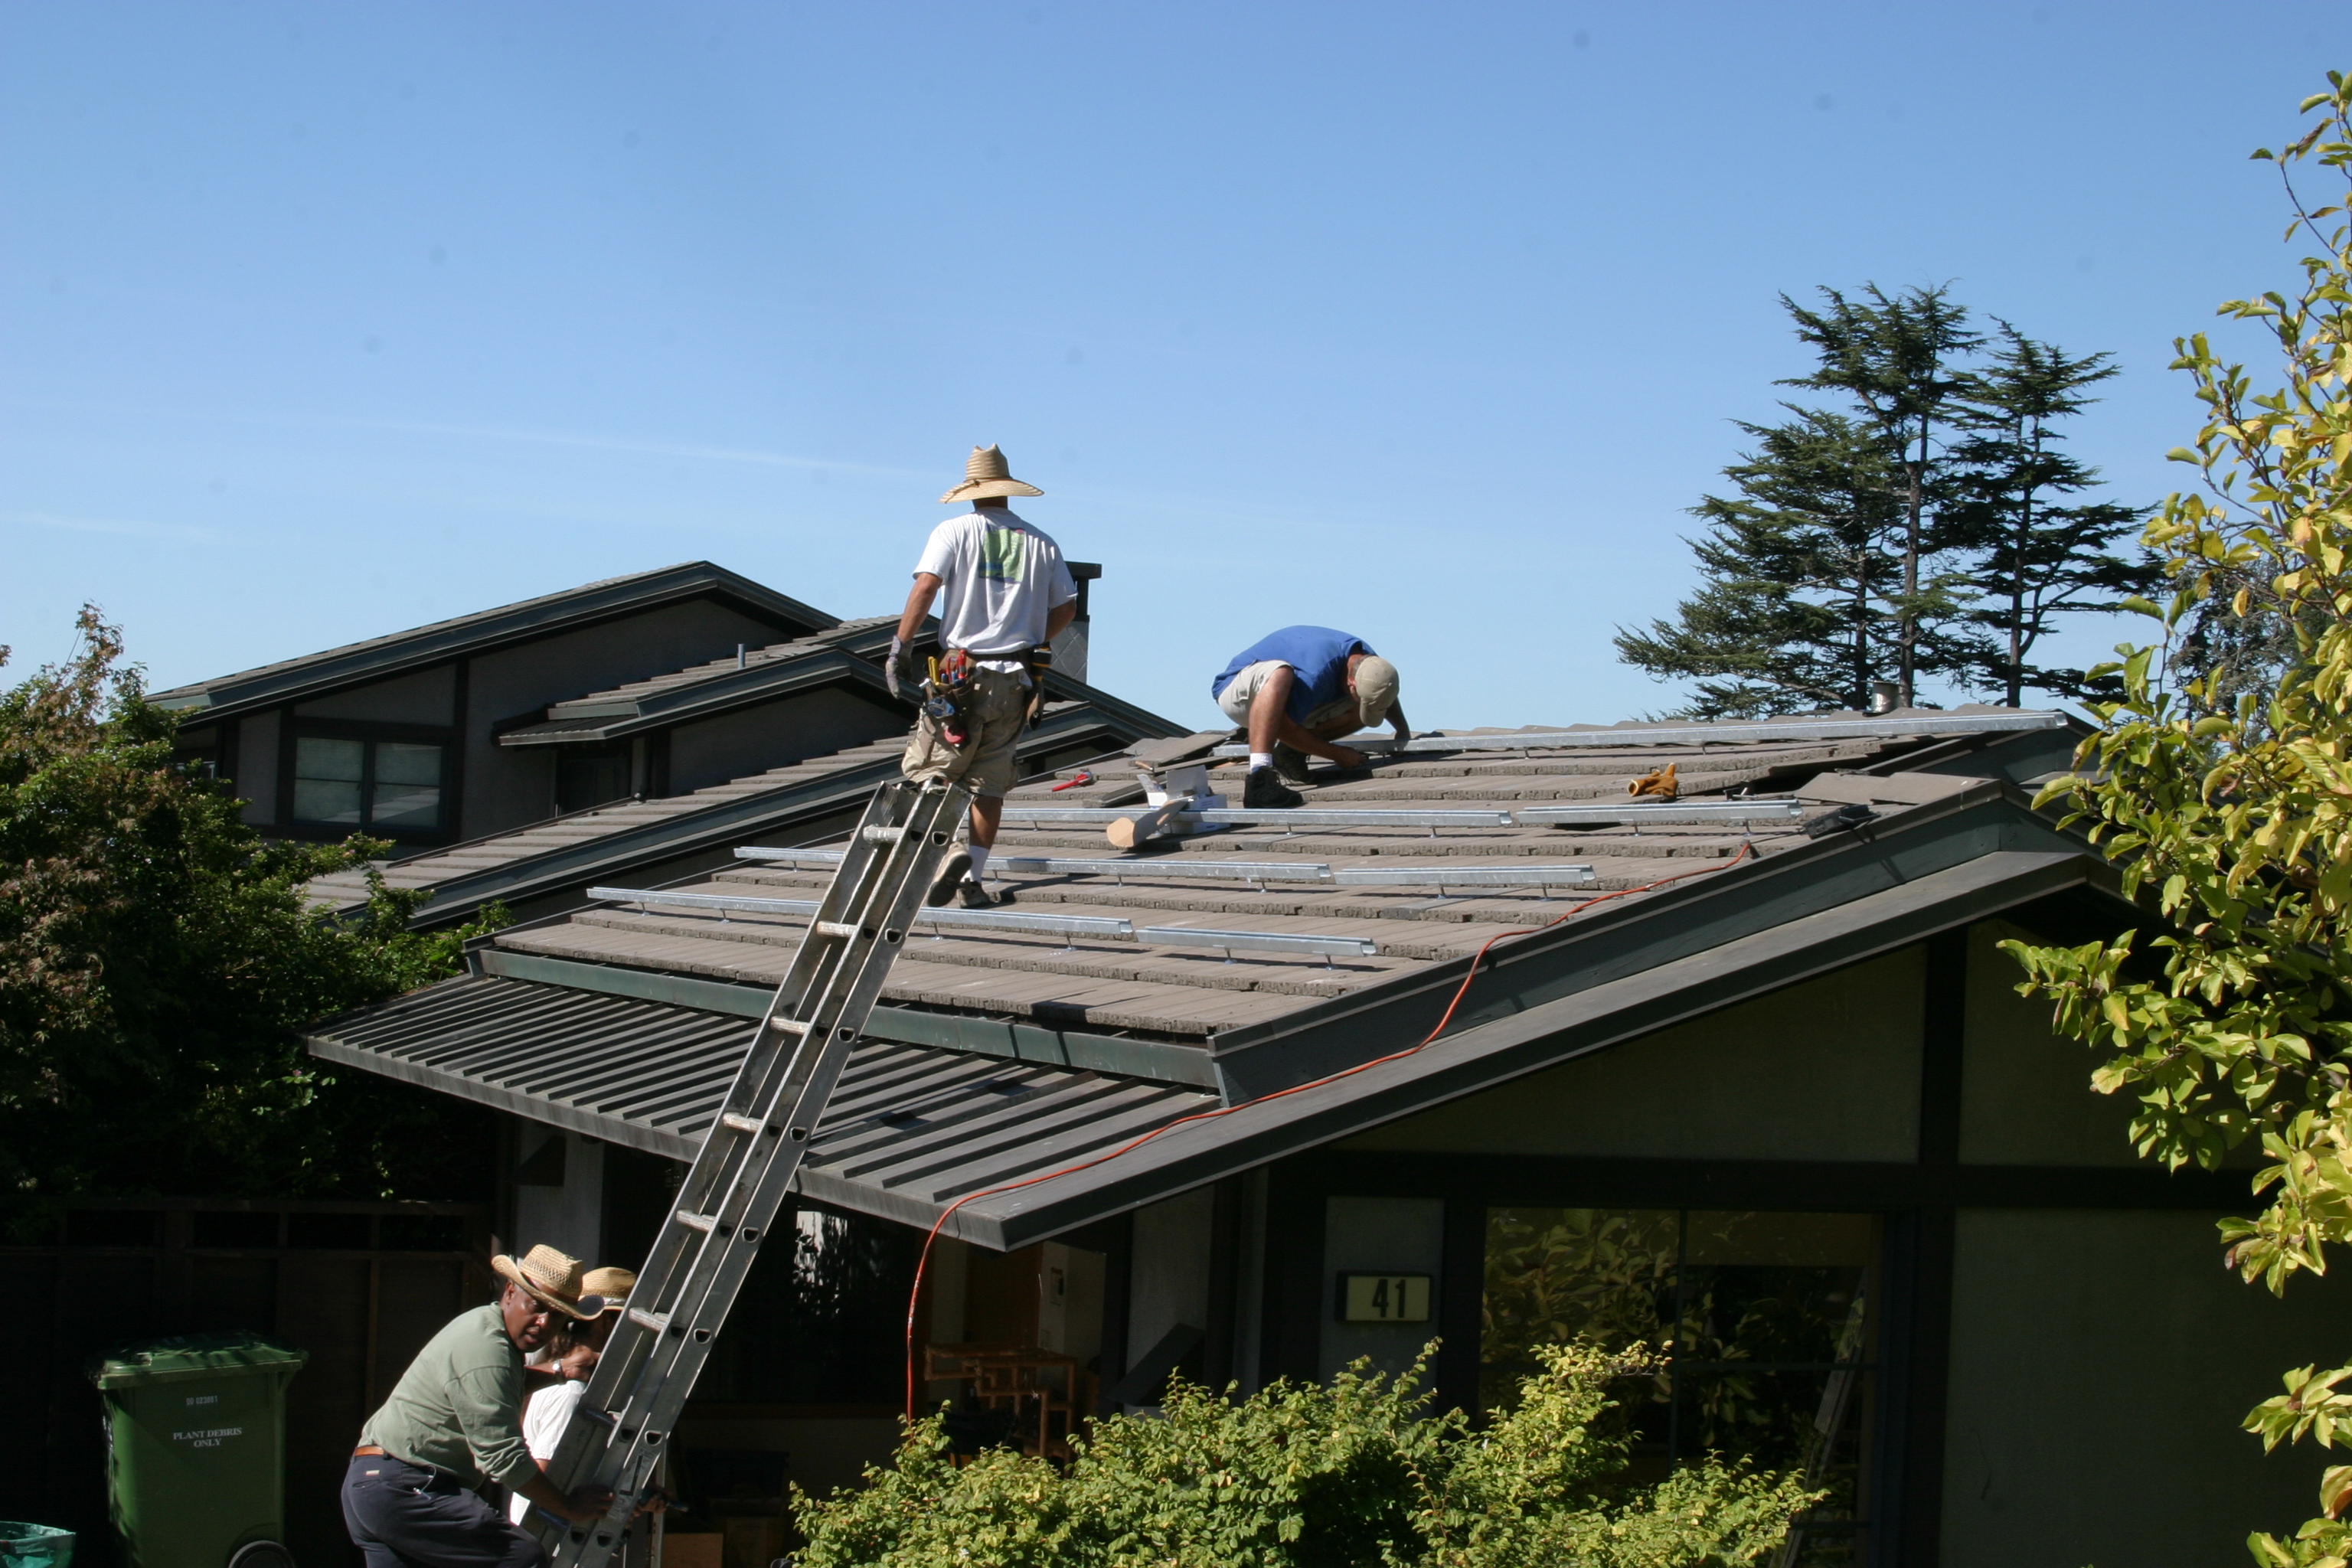
| Ok, what kind of roof is it | Hmm |
|
|
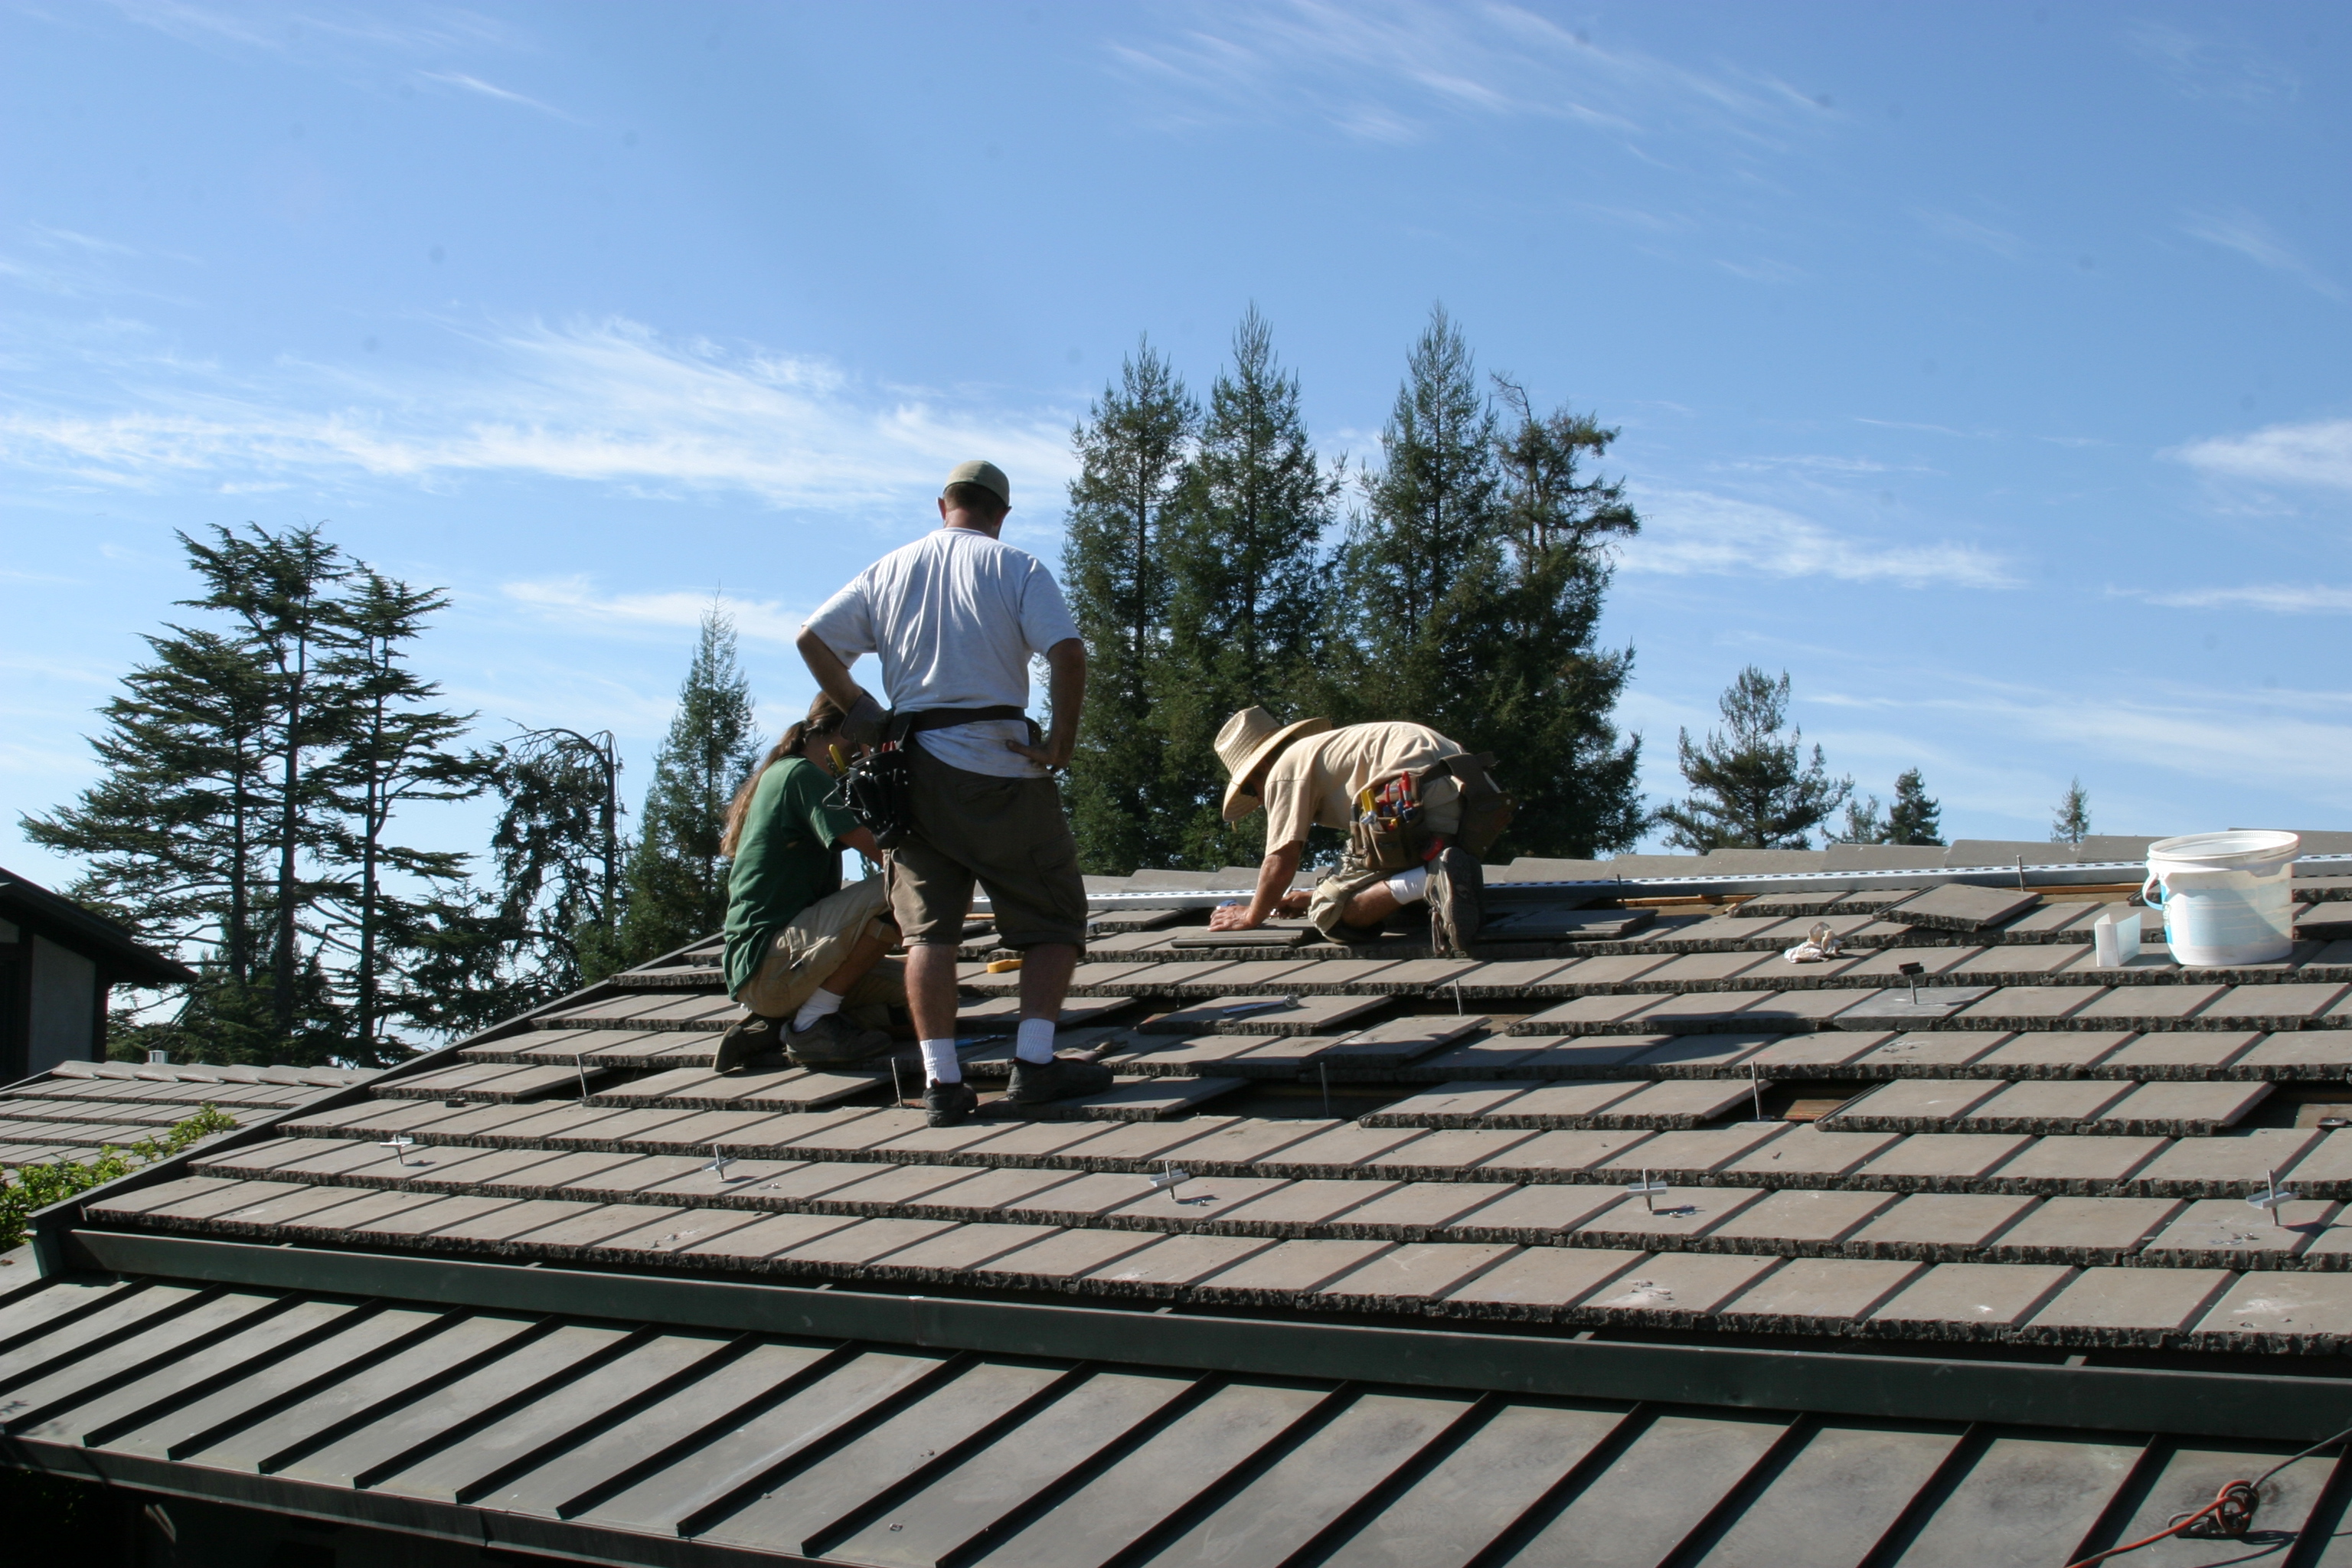
| After lots of work with the studfinder it turns out that the roof is being held up by 2x10's piggy backed on the vertical rafters. | |
|
|
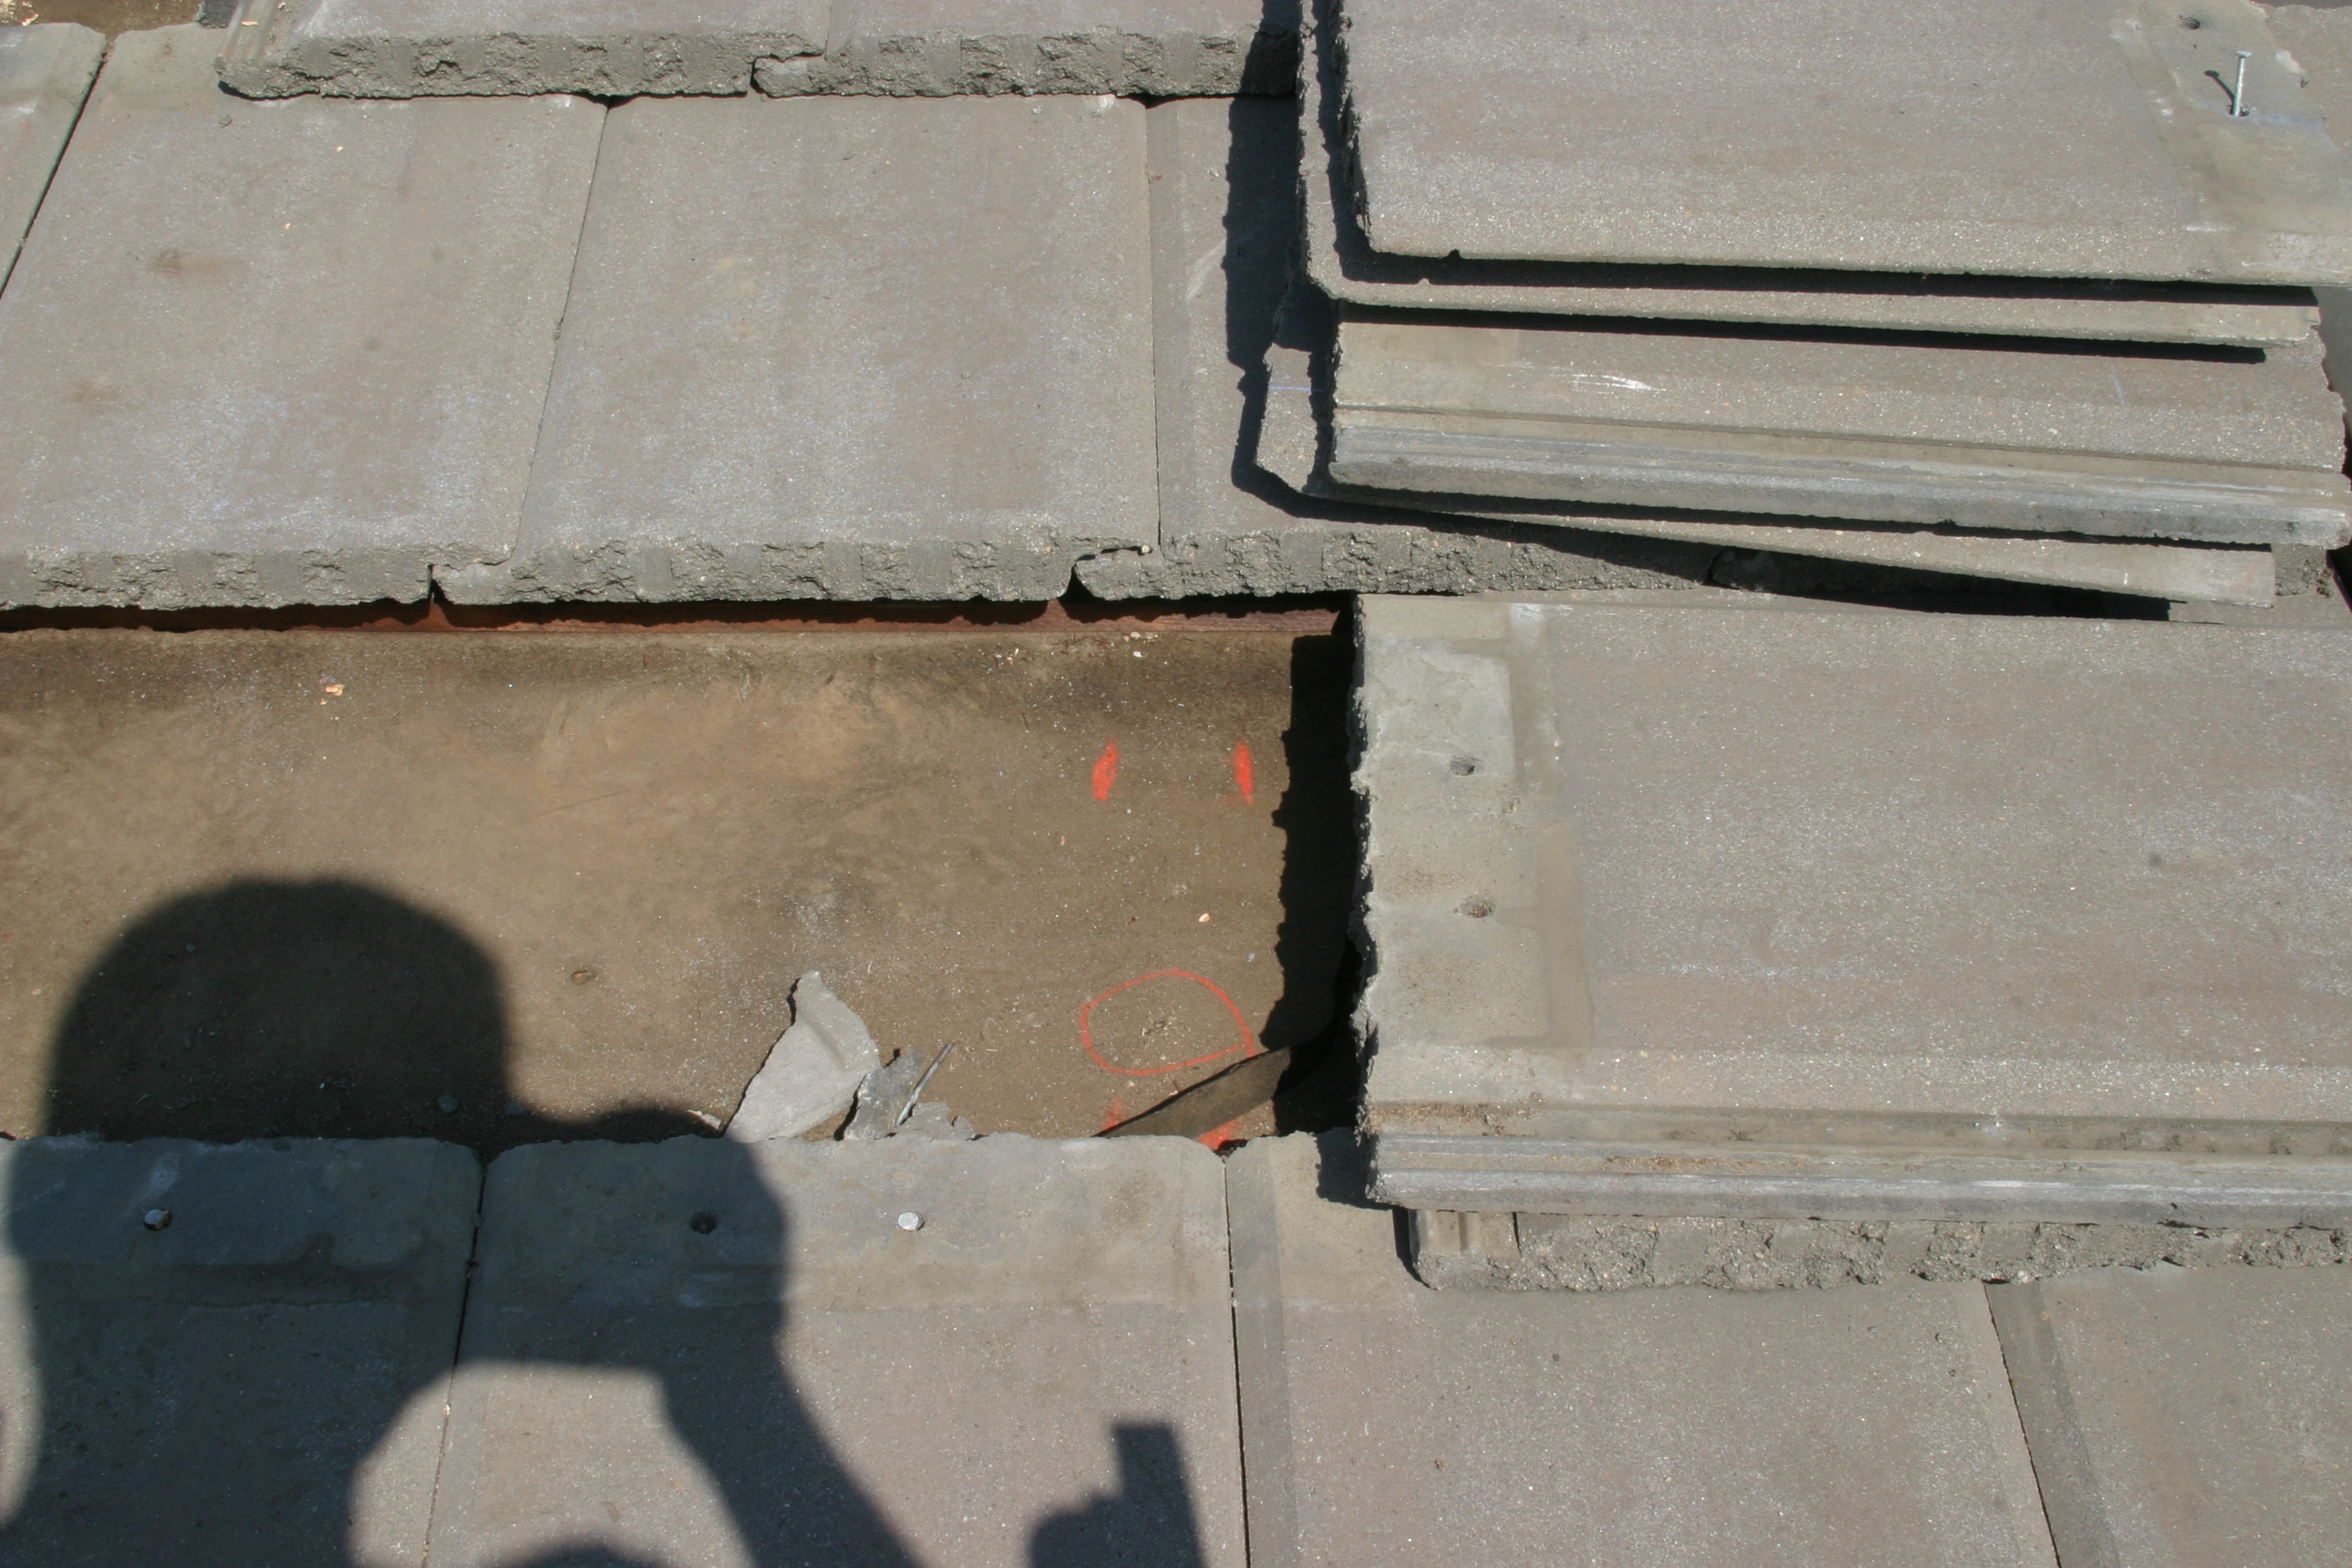
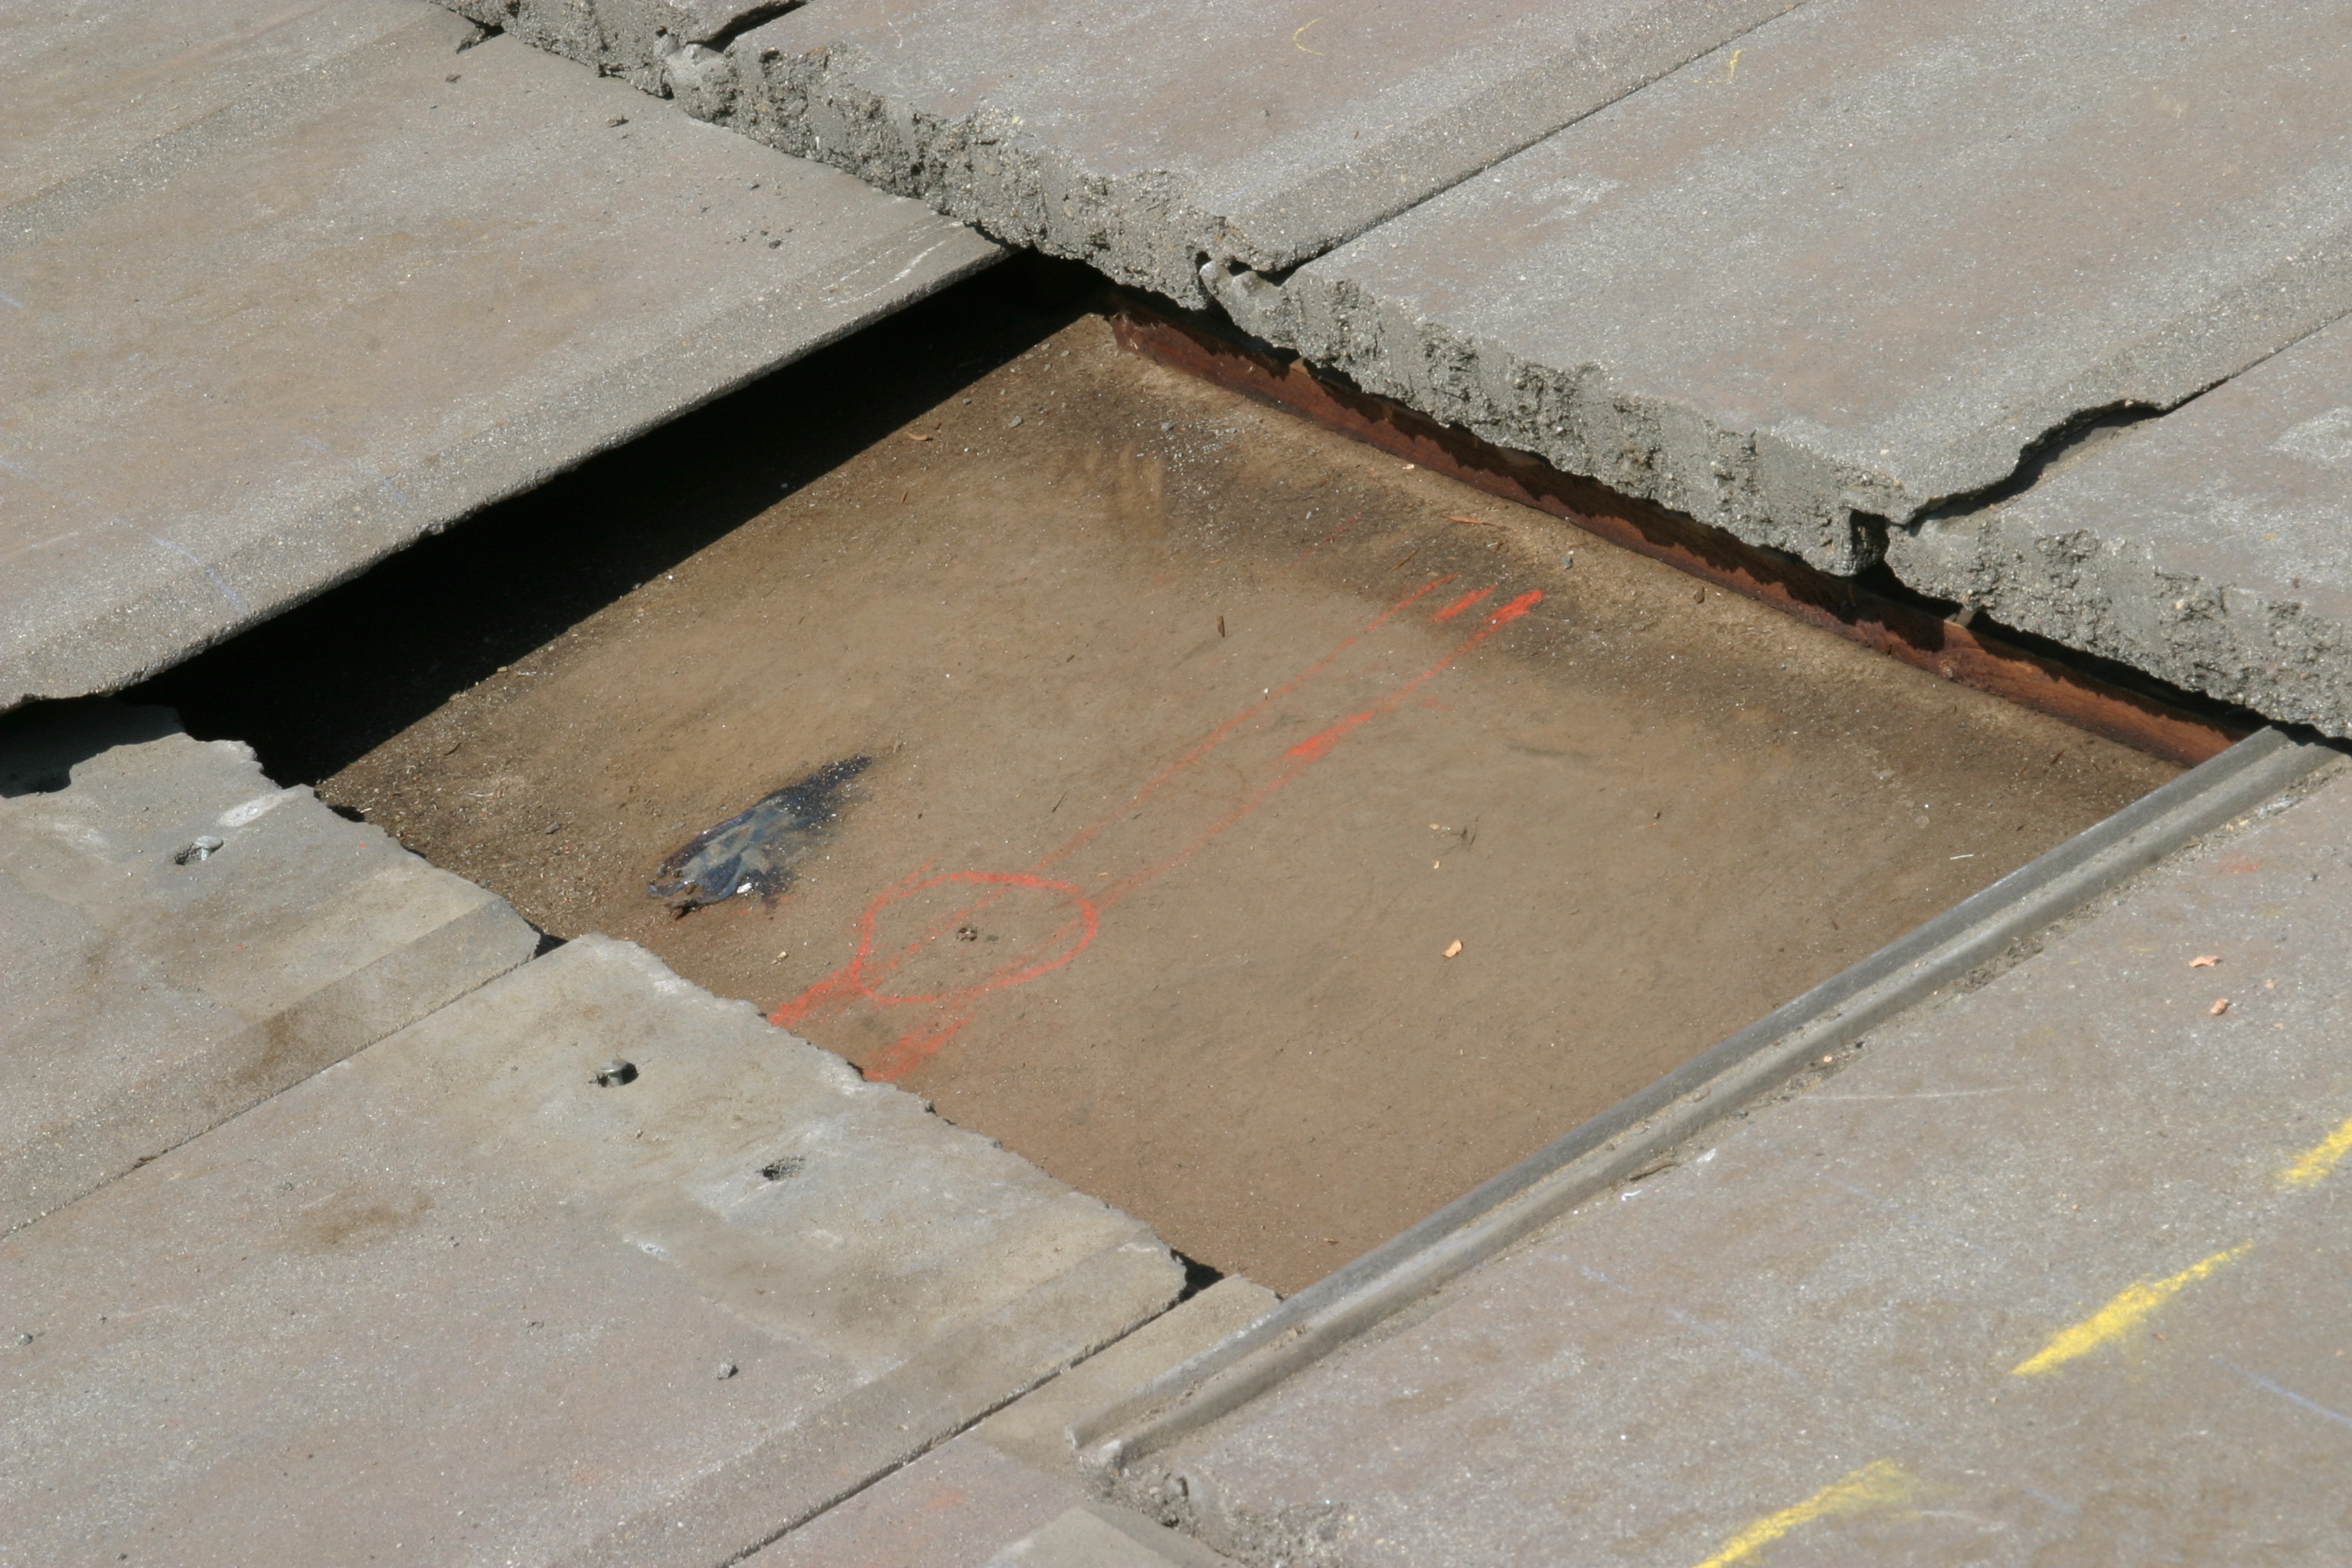
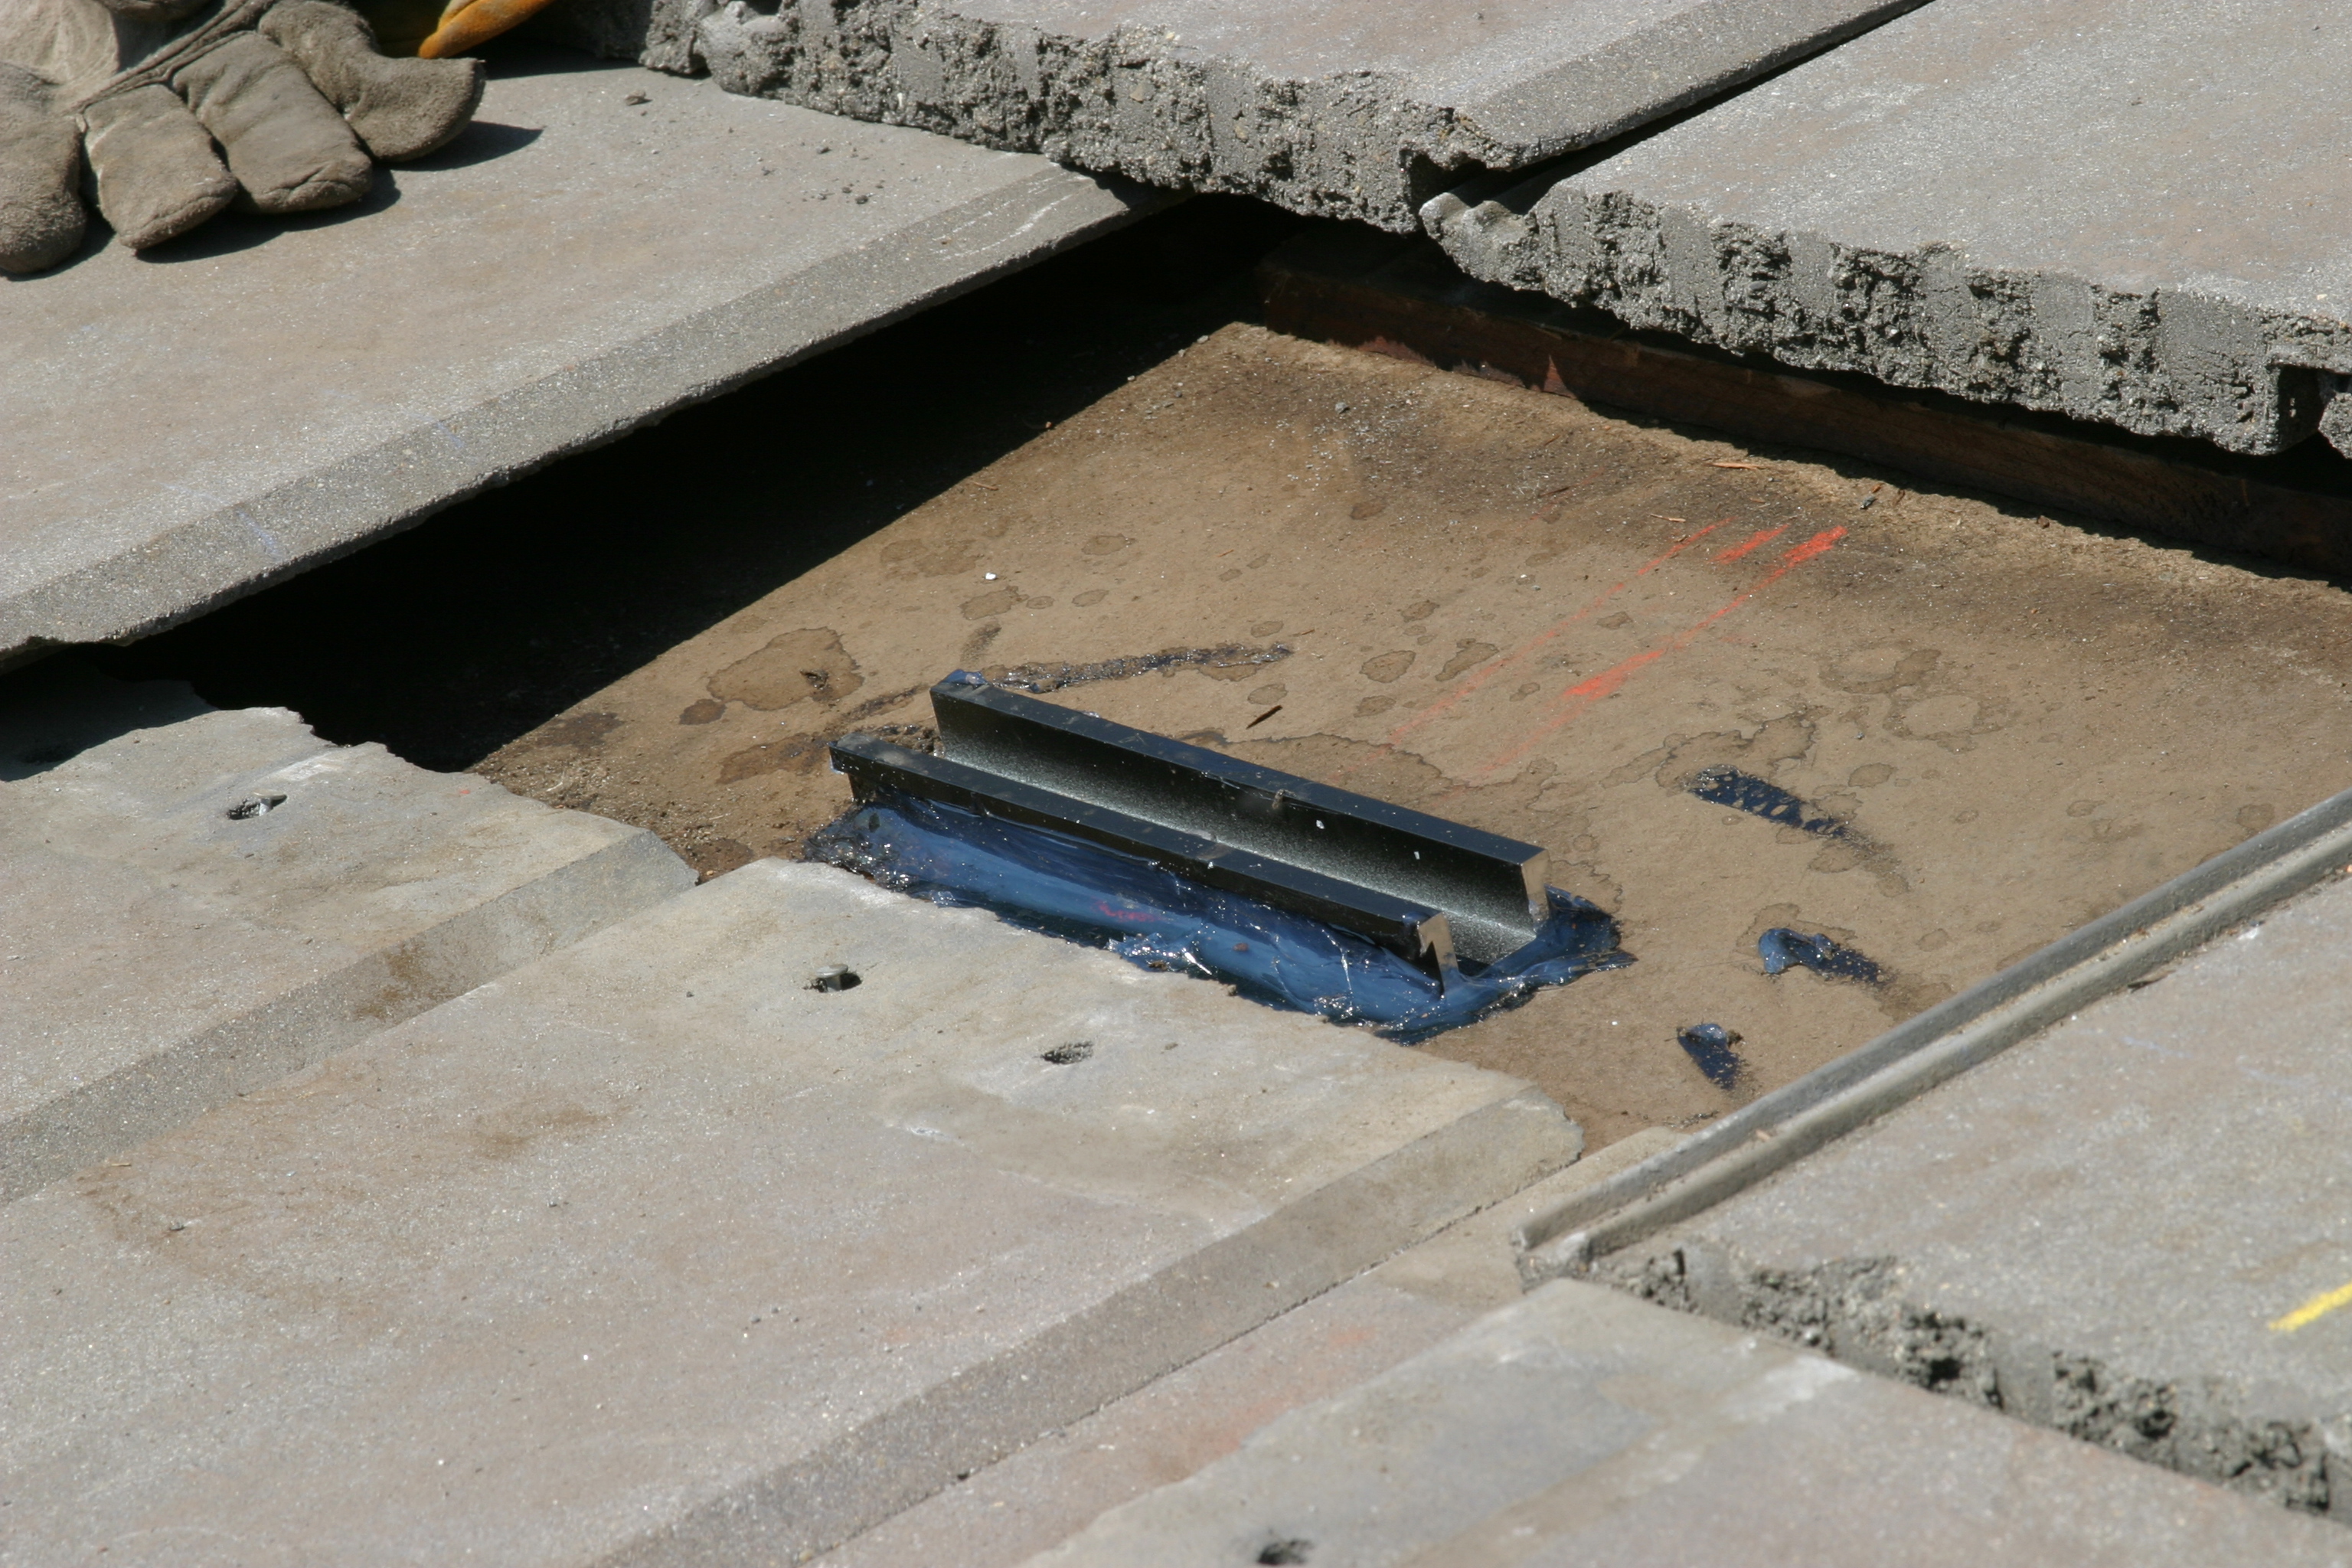
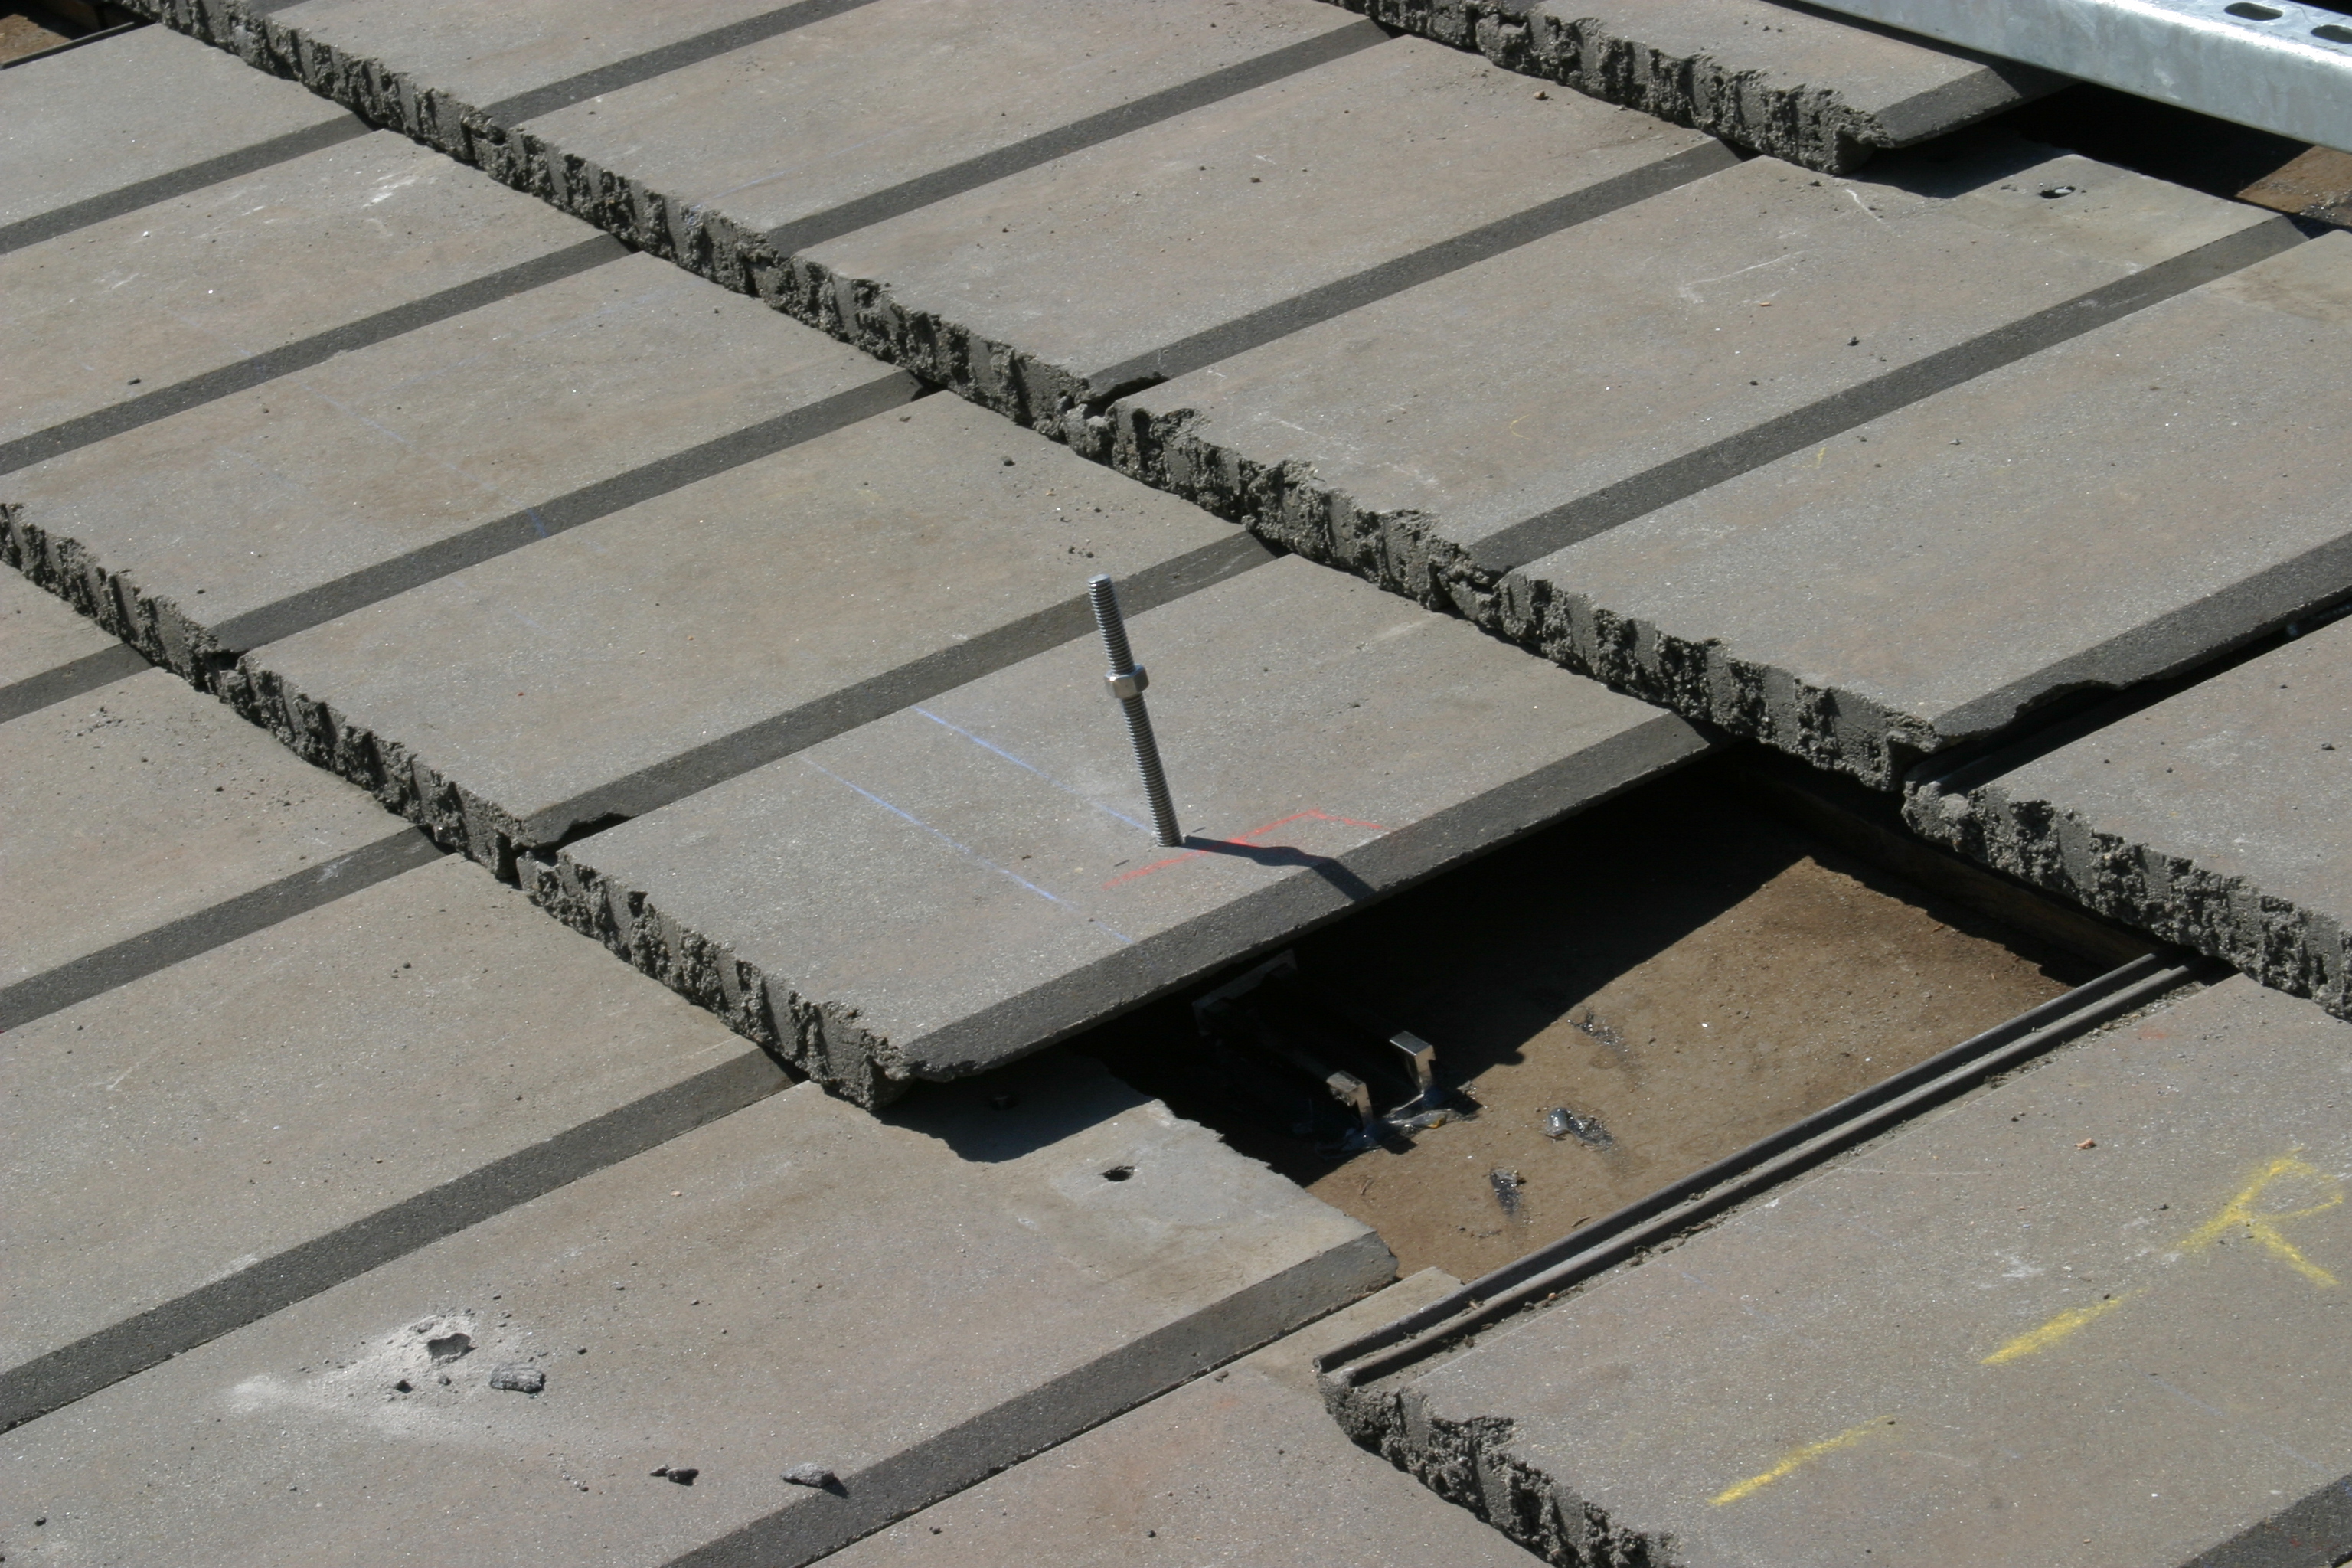
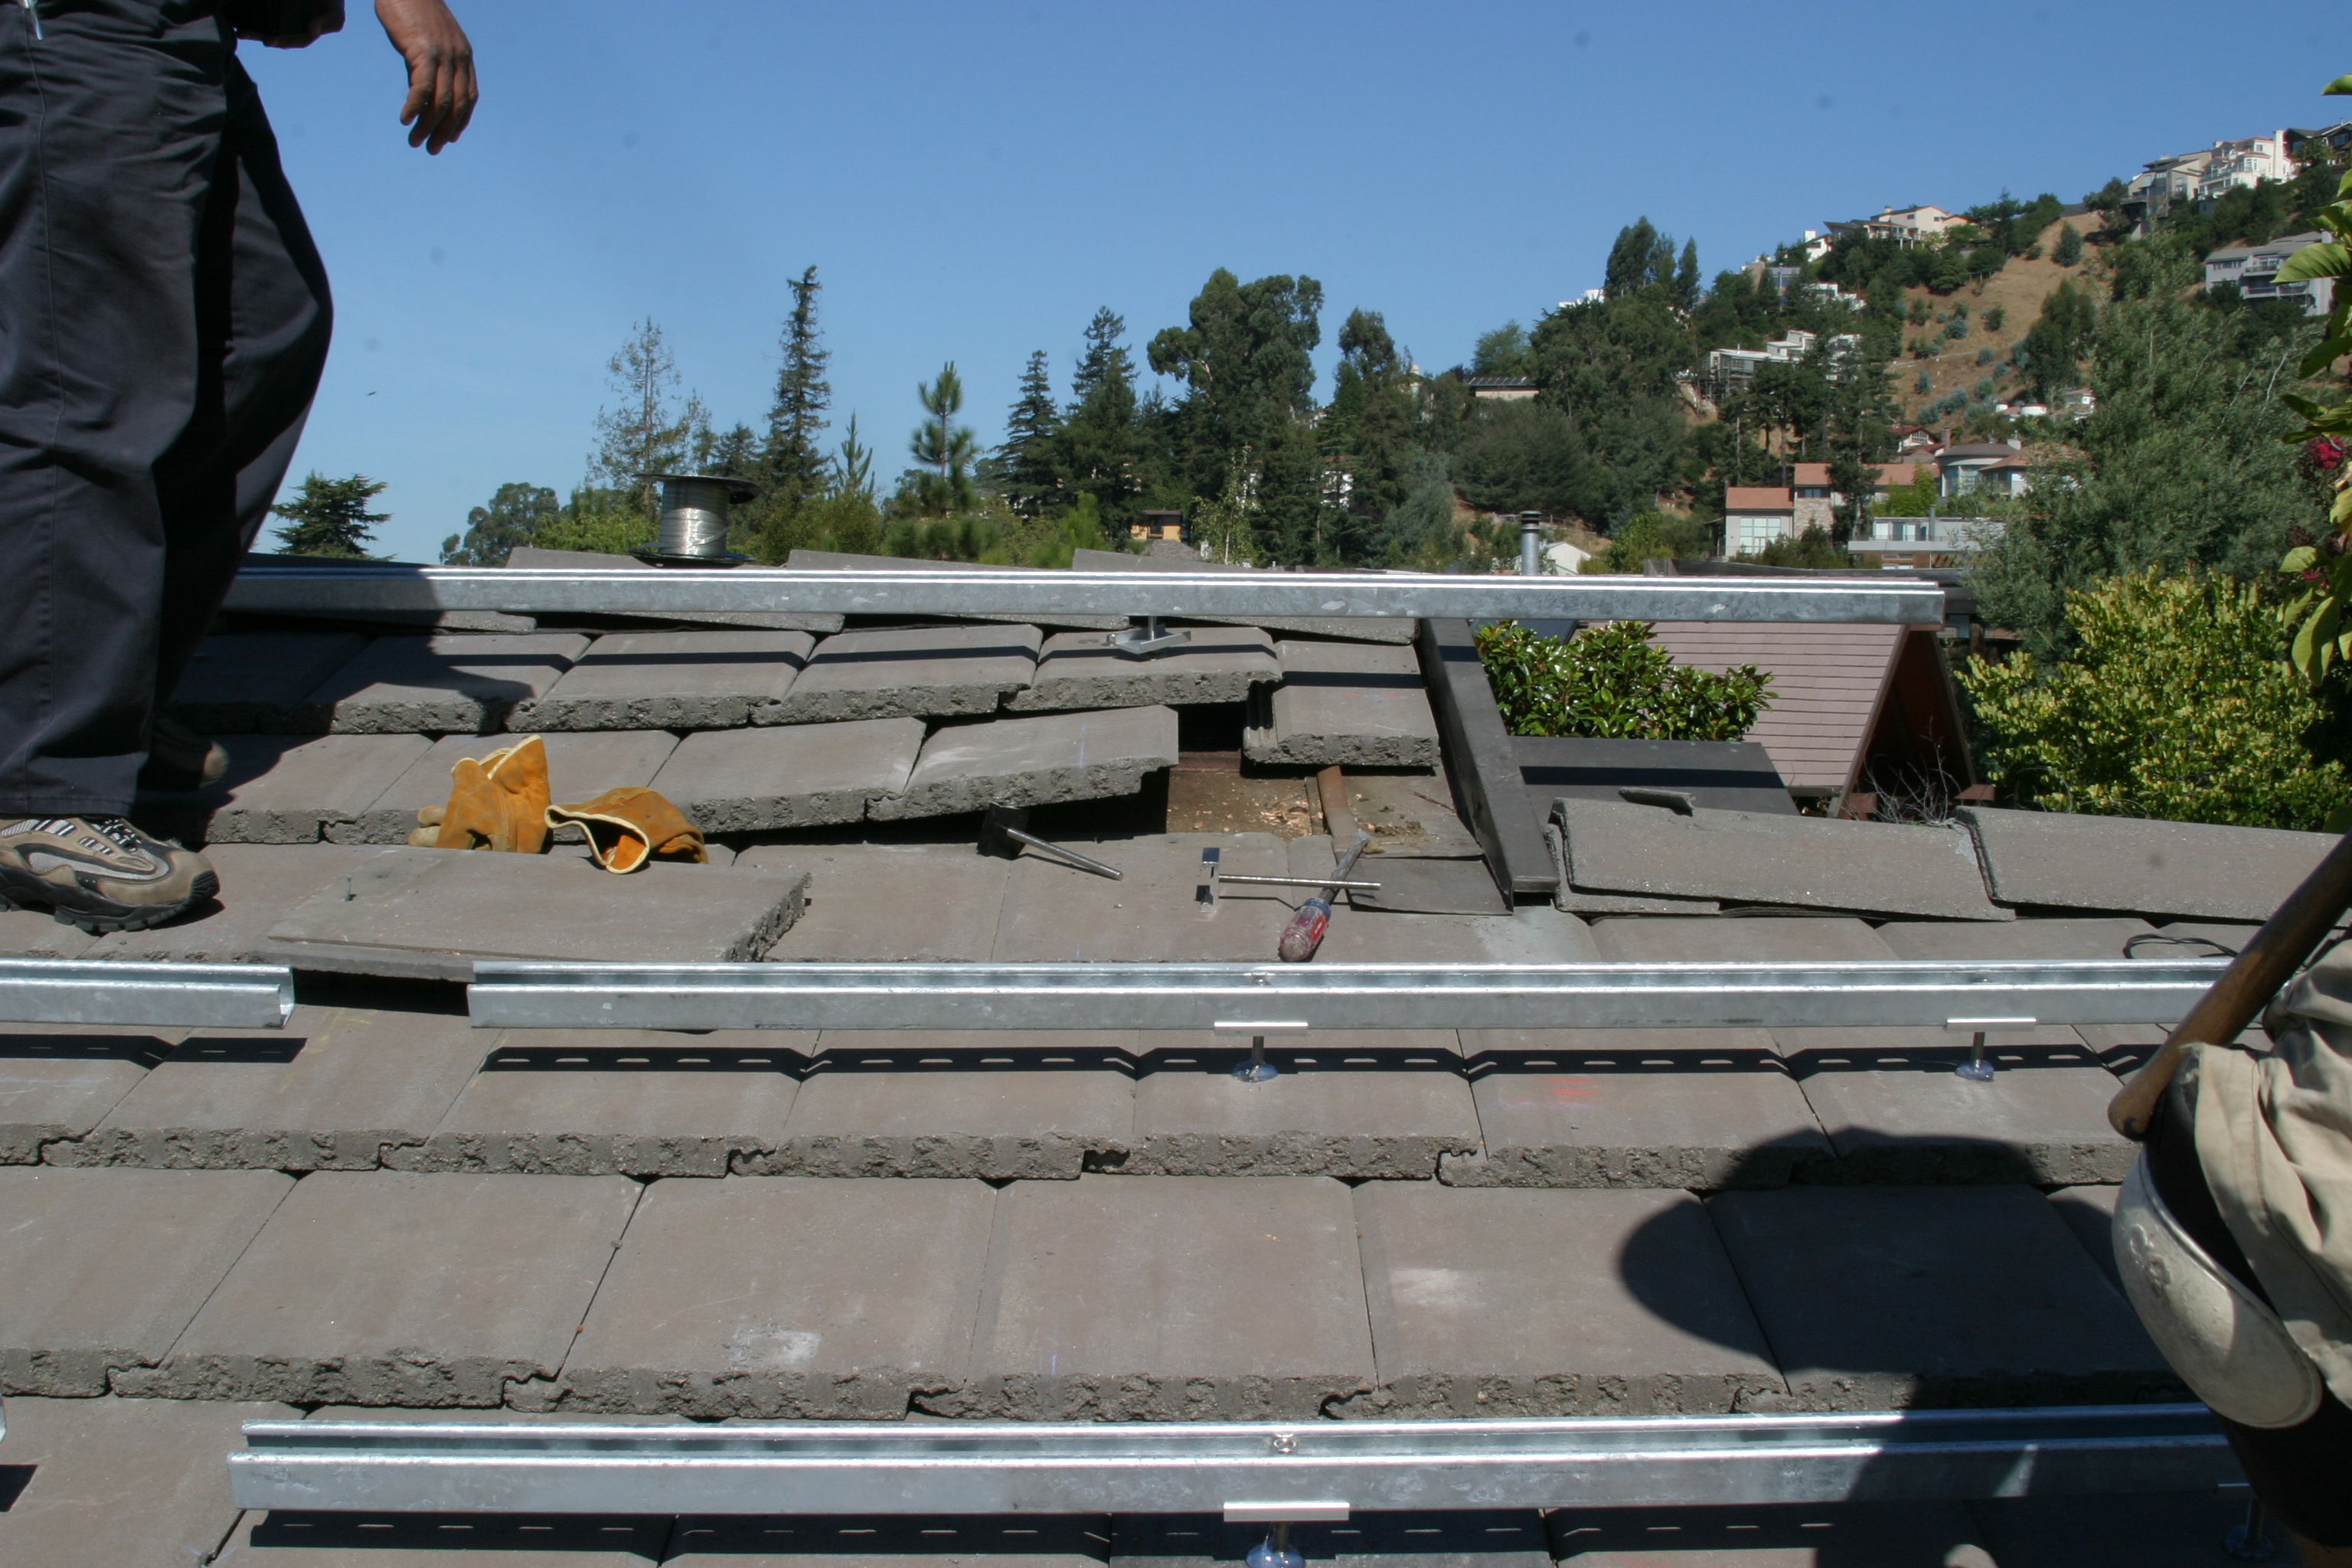
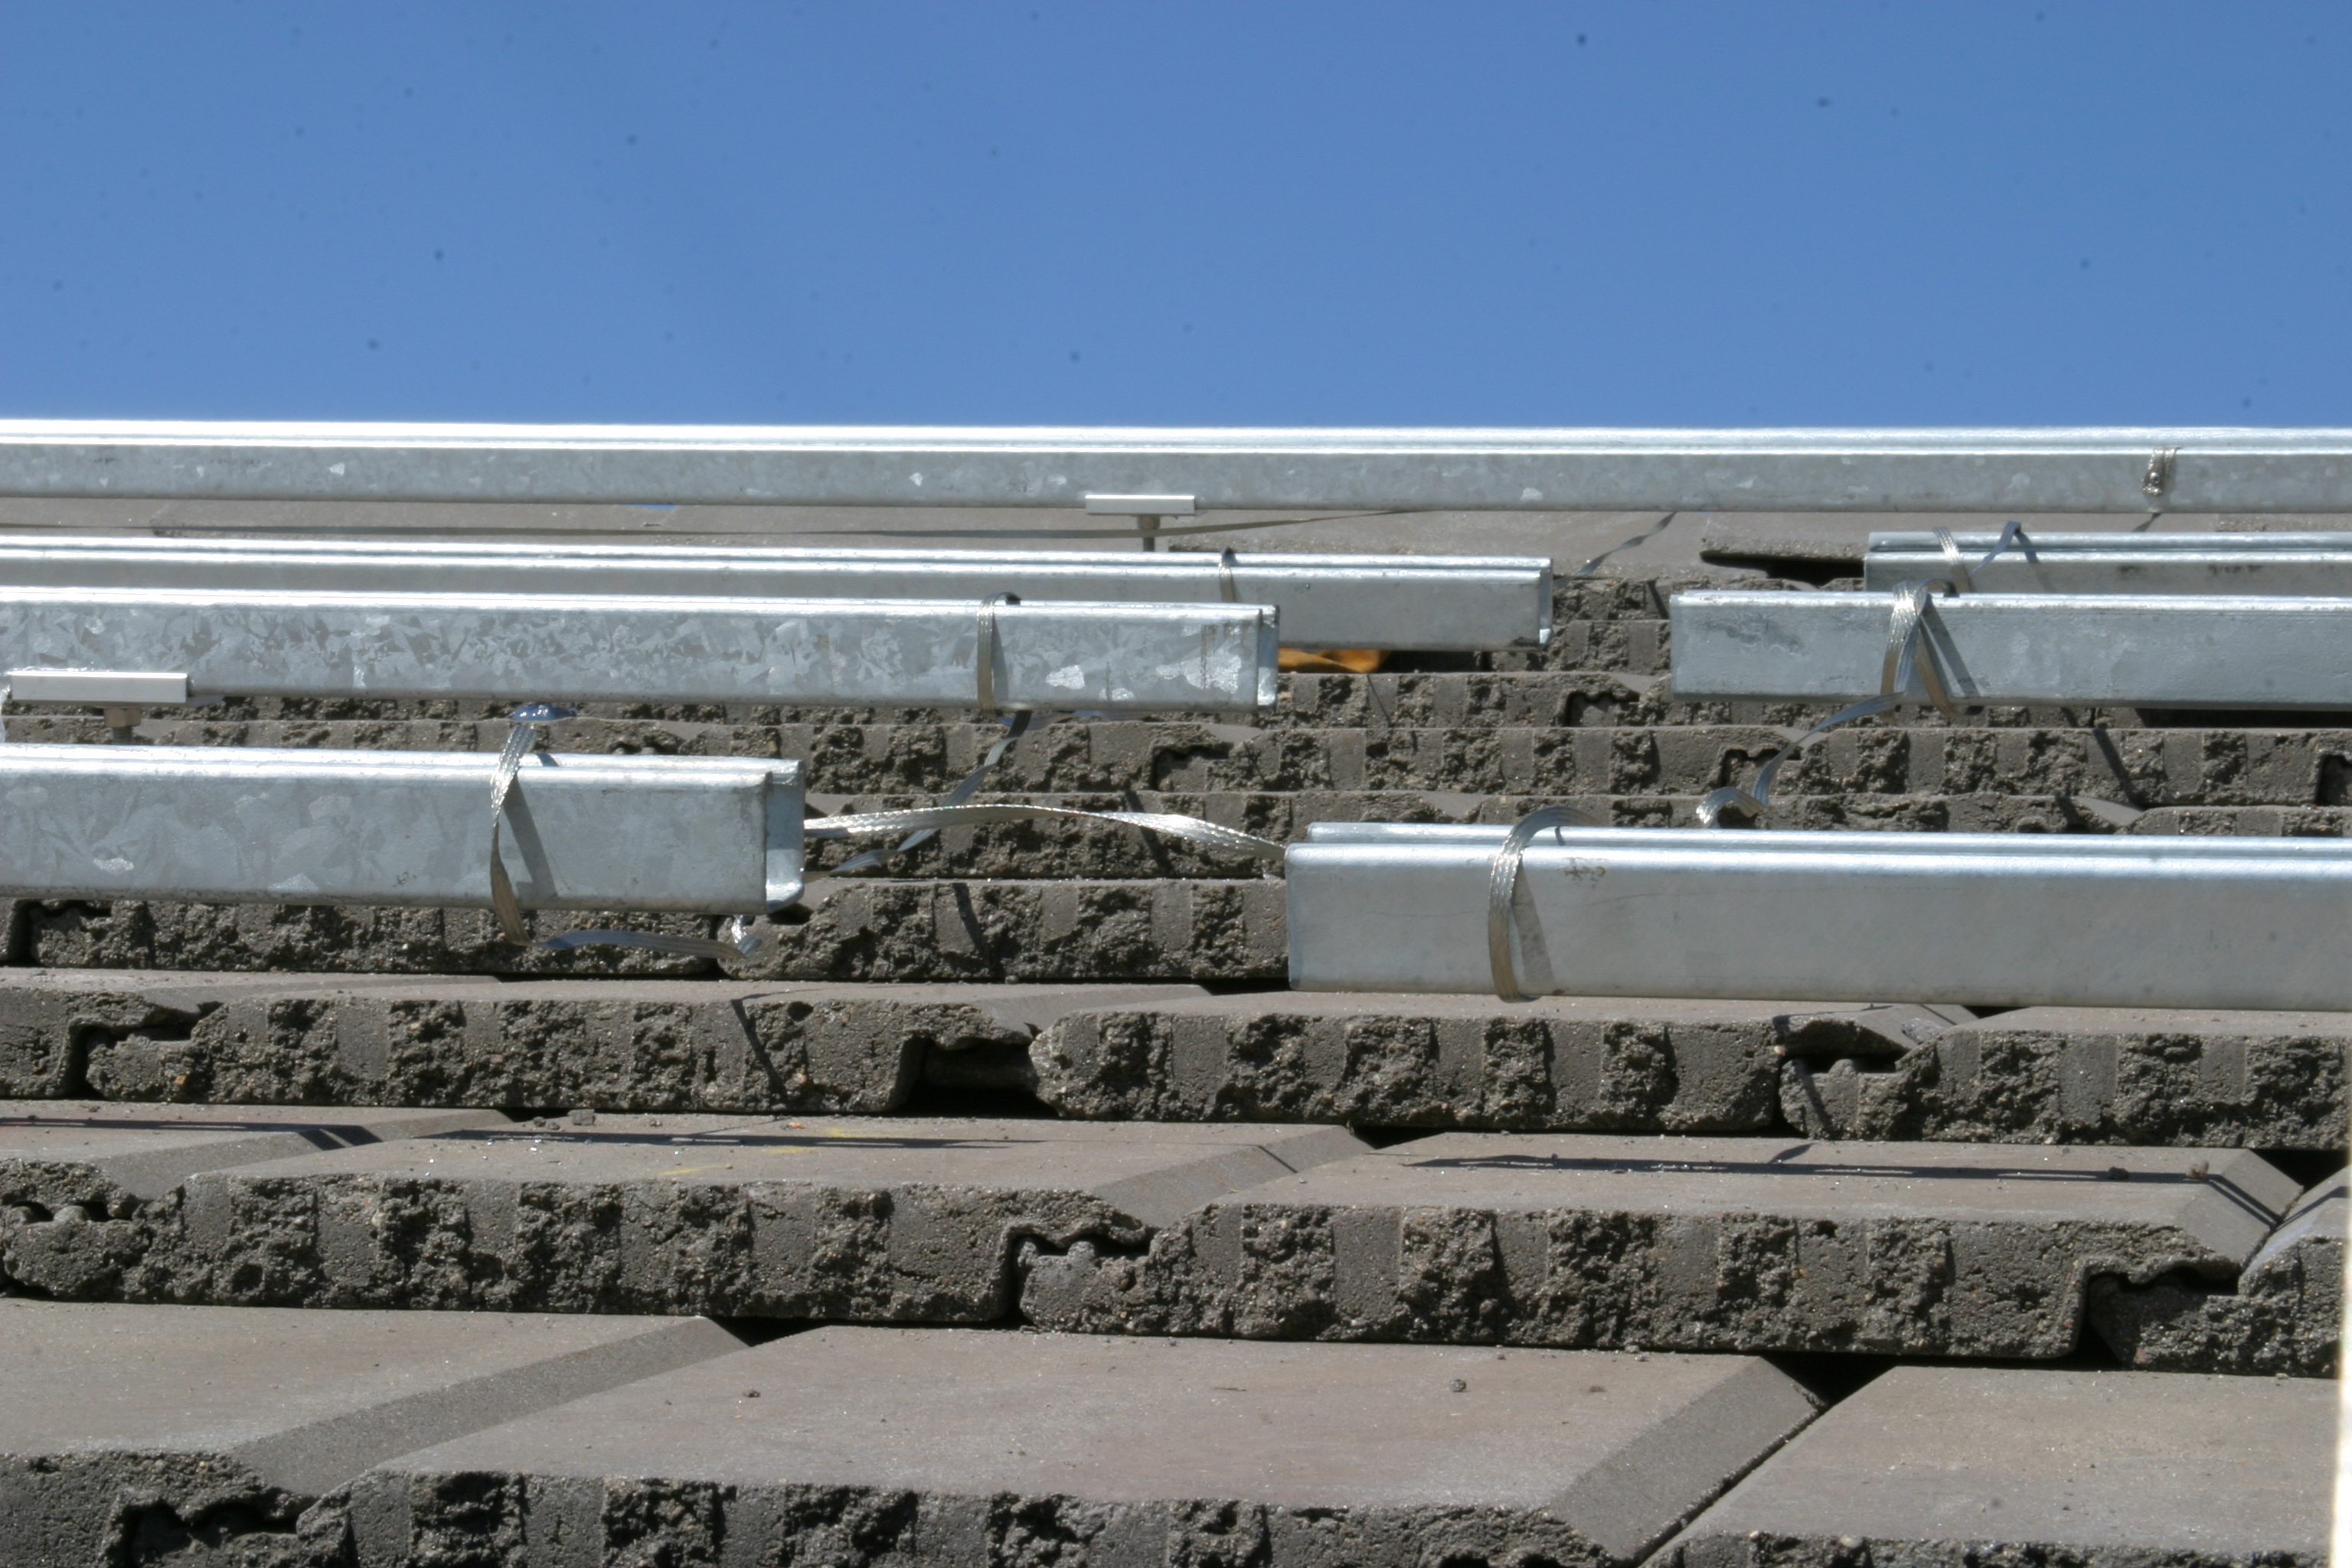
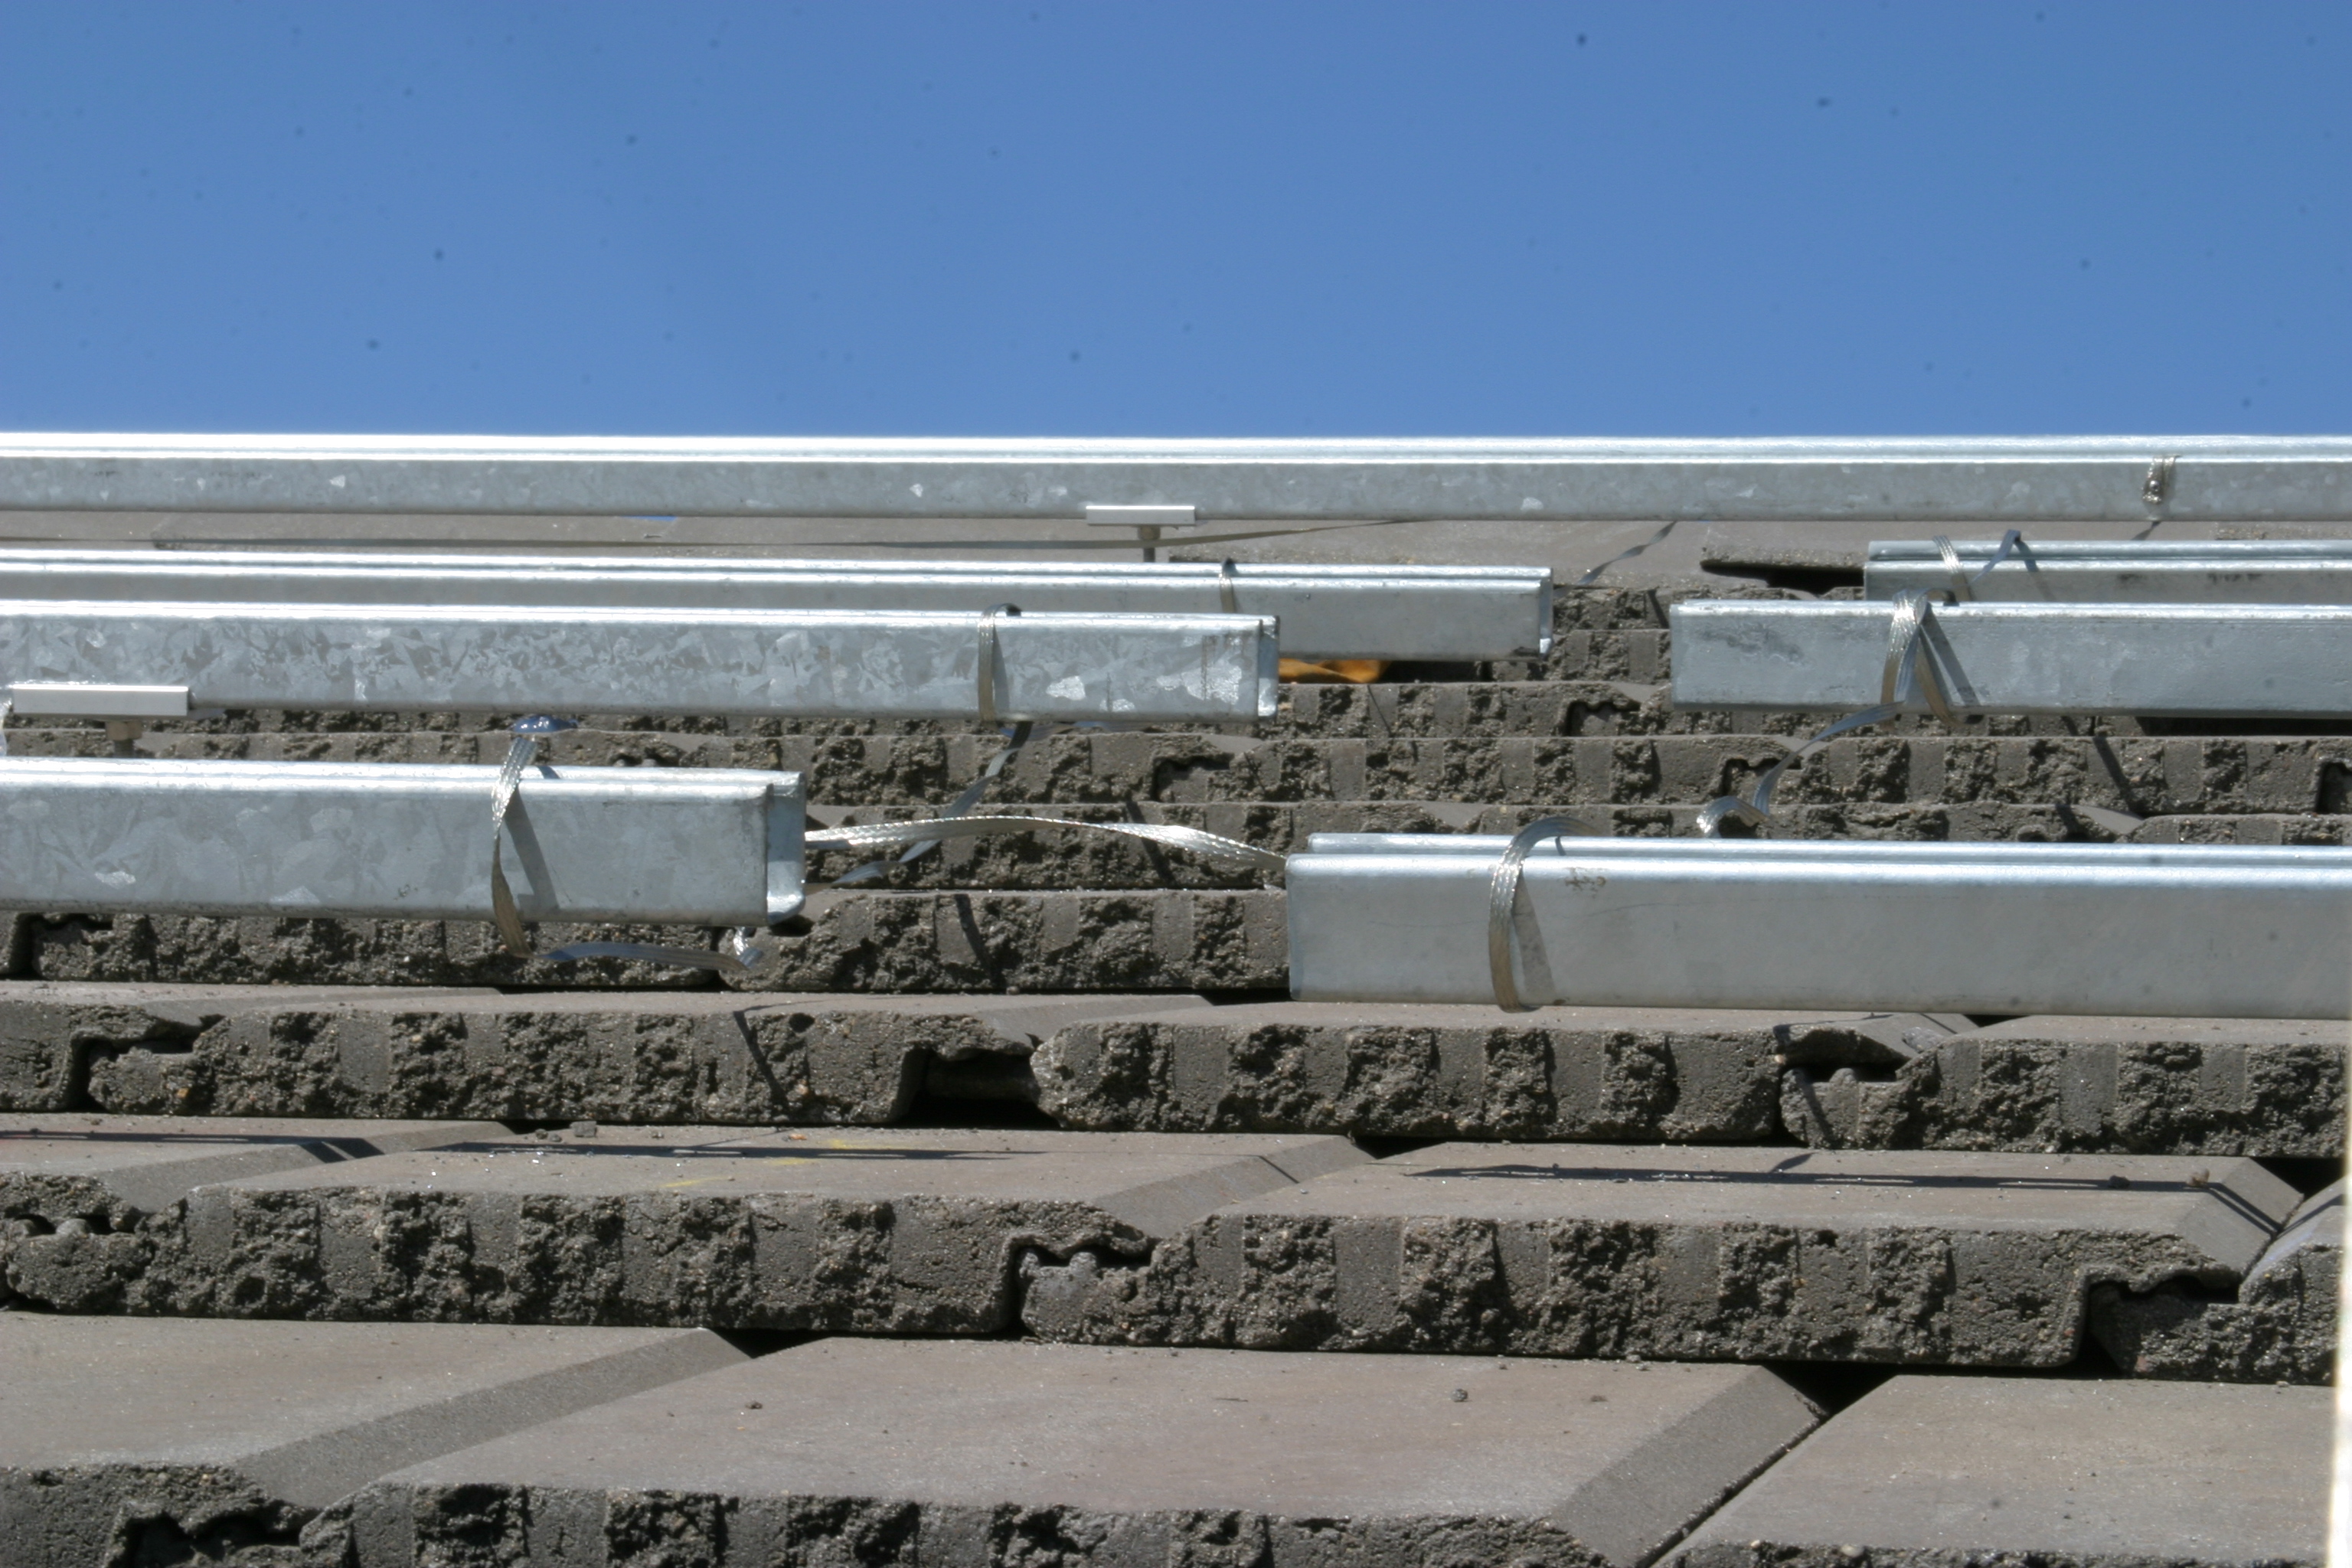
| Filling in test holes | Tile pull-up to set in supports for the V-Line |
|
|
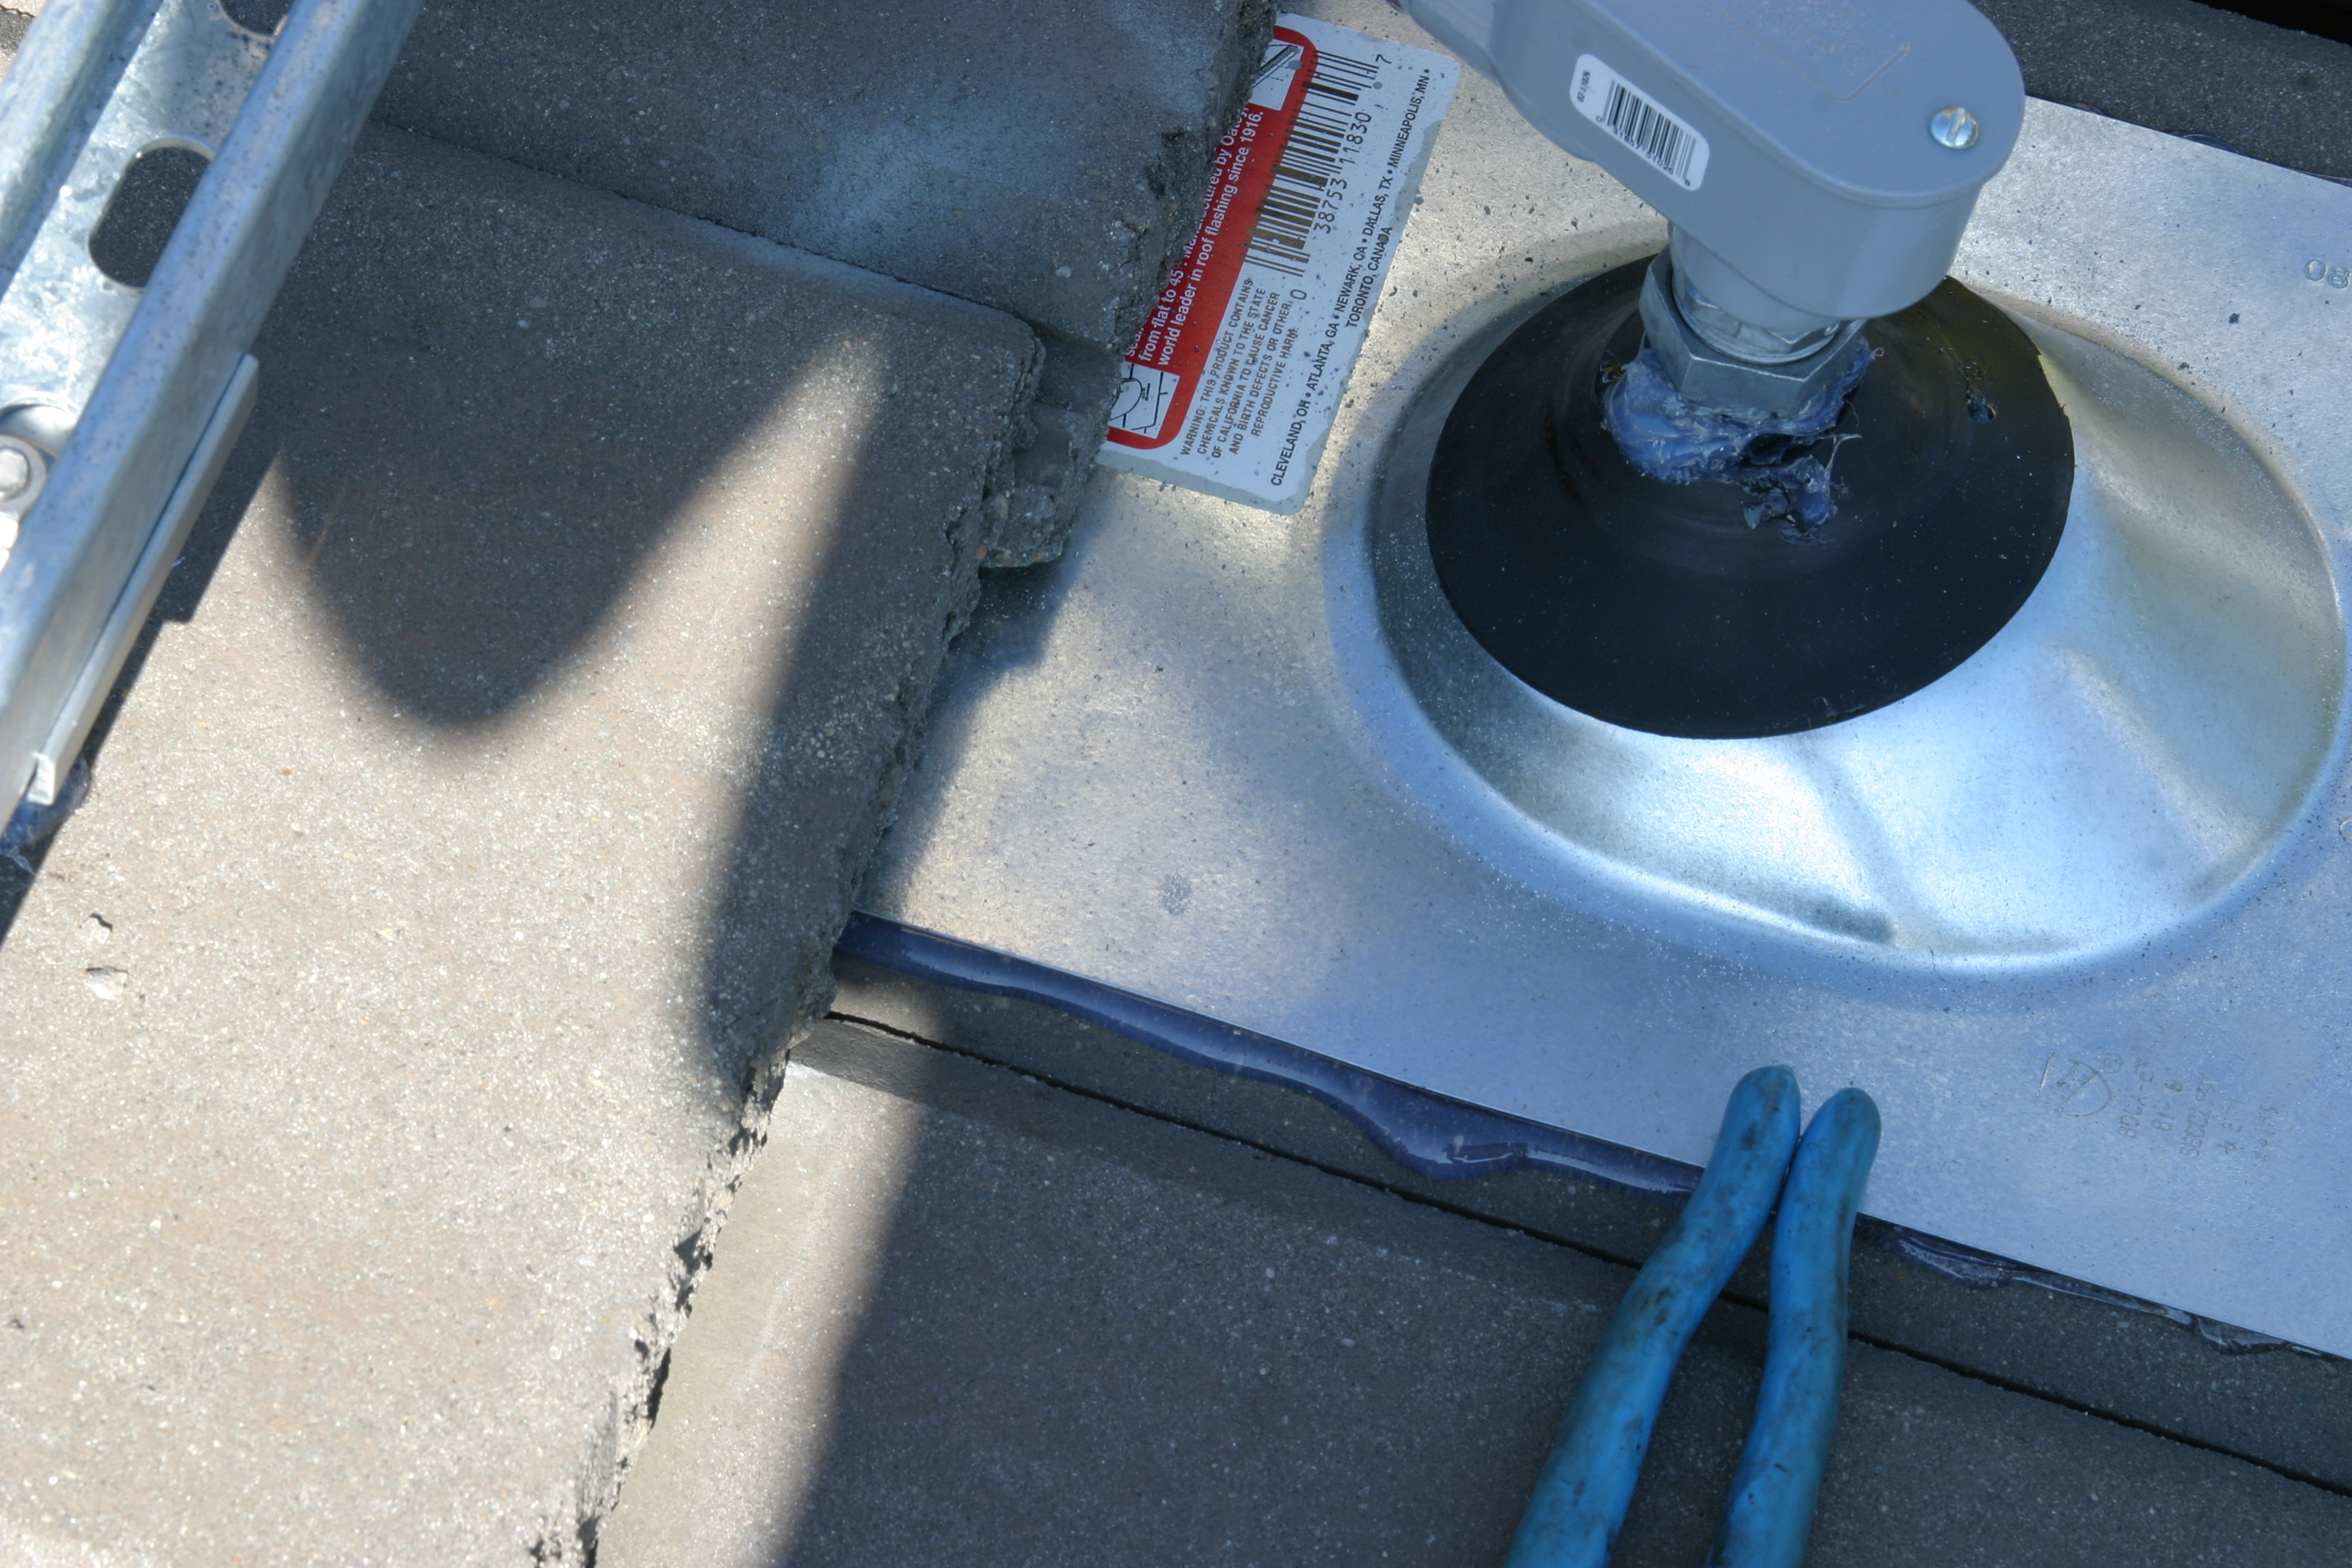
| The supports are anchored to the rafters underneath and sealed with poly-u | |
|
|
|
|
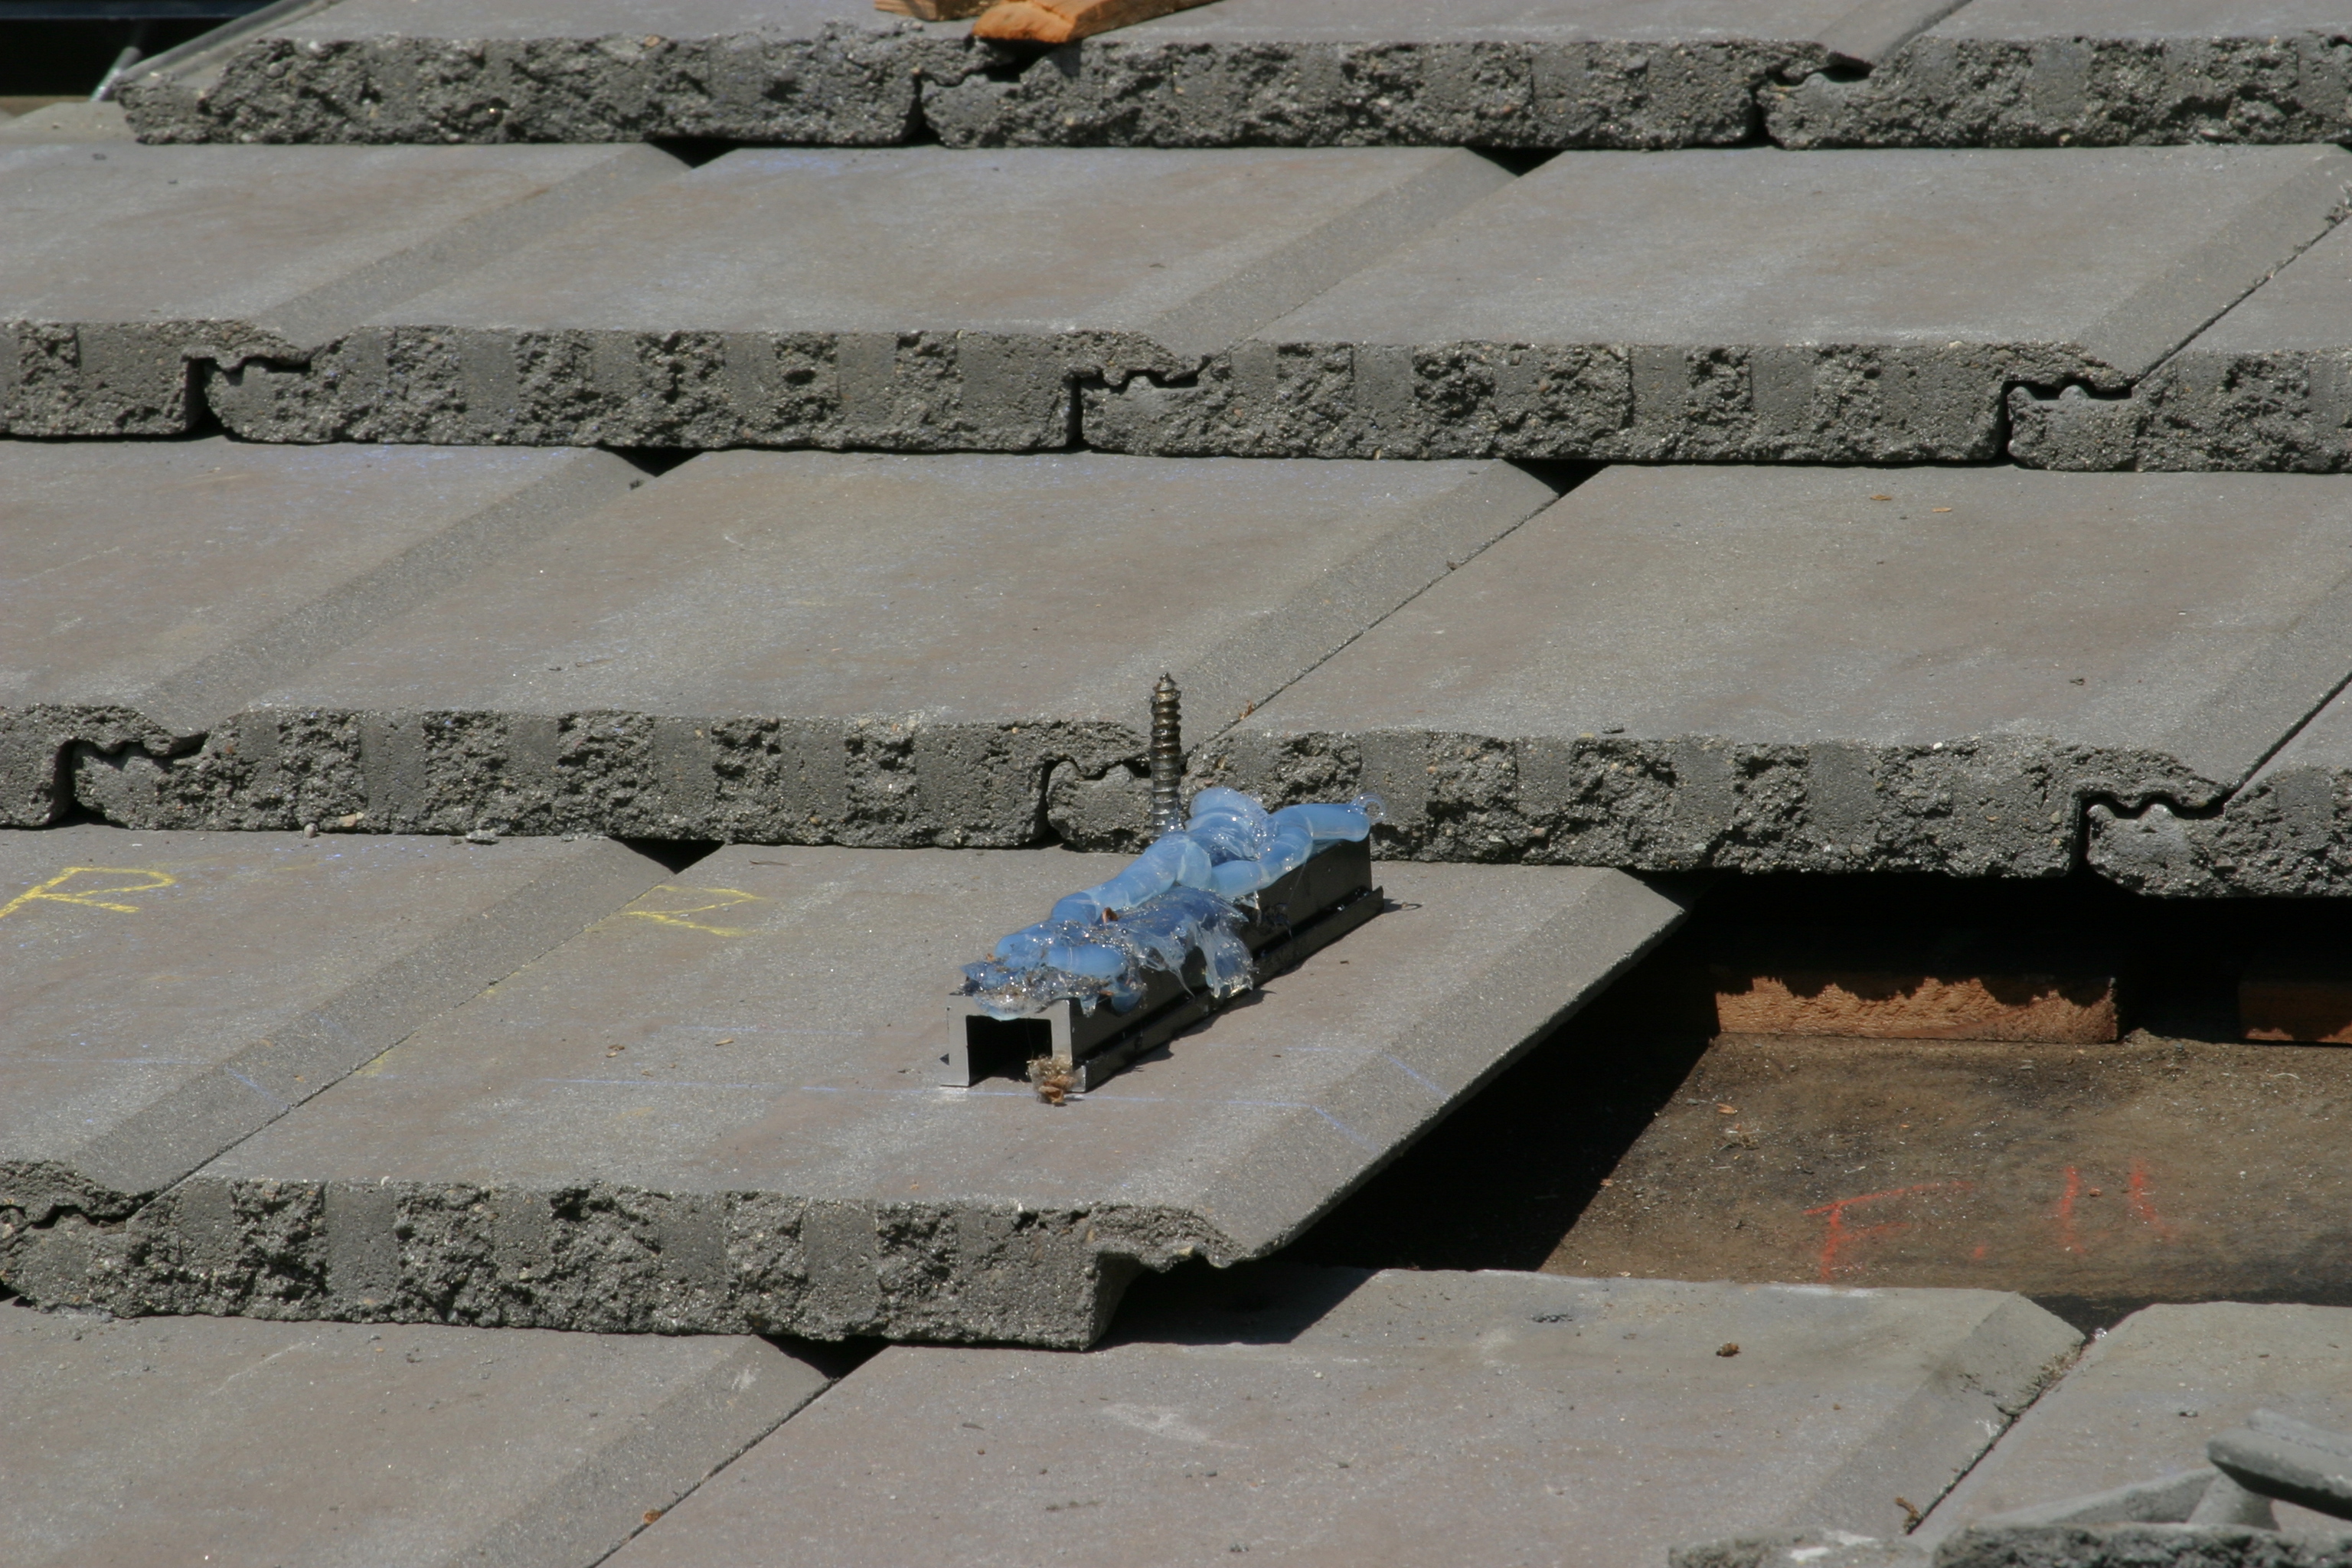
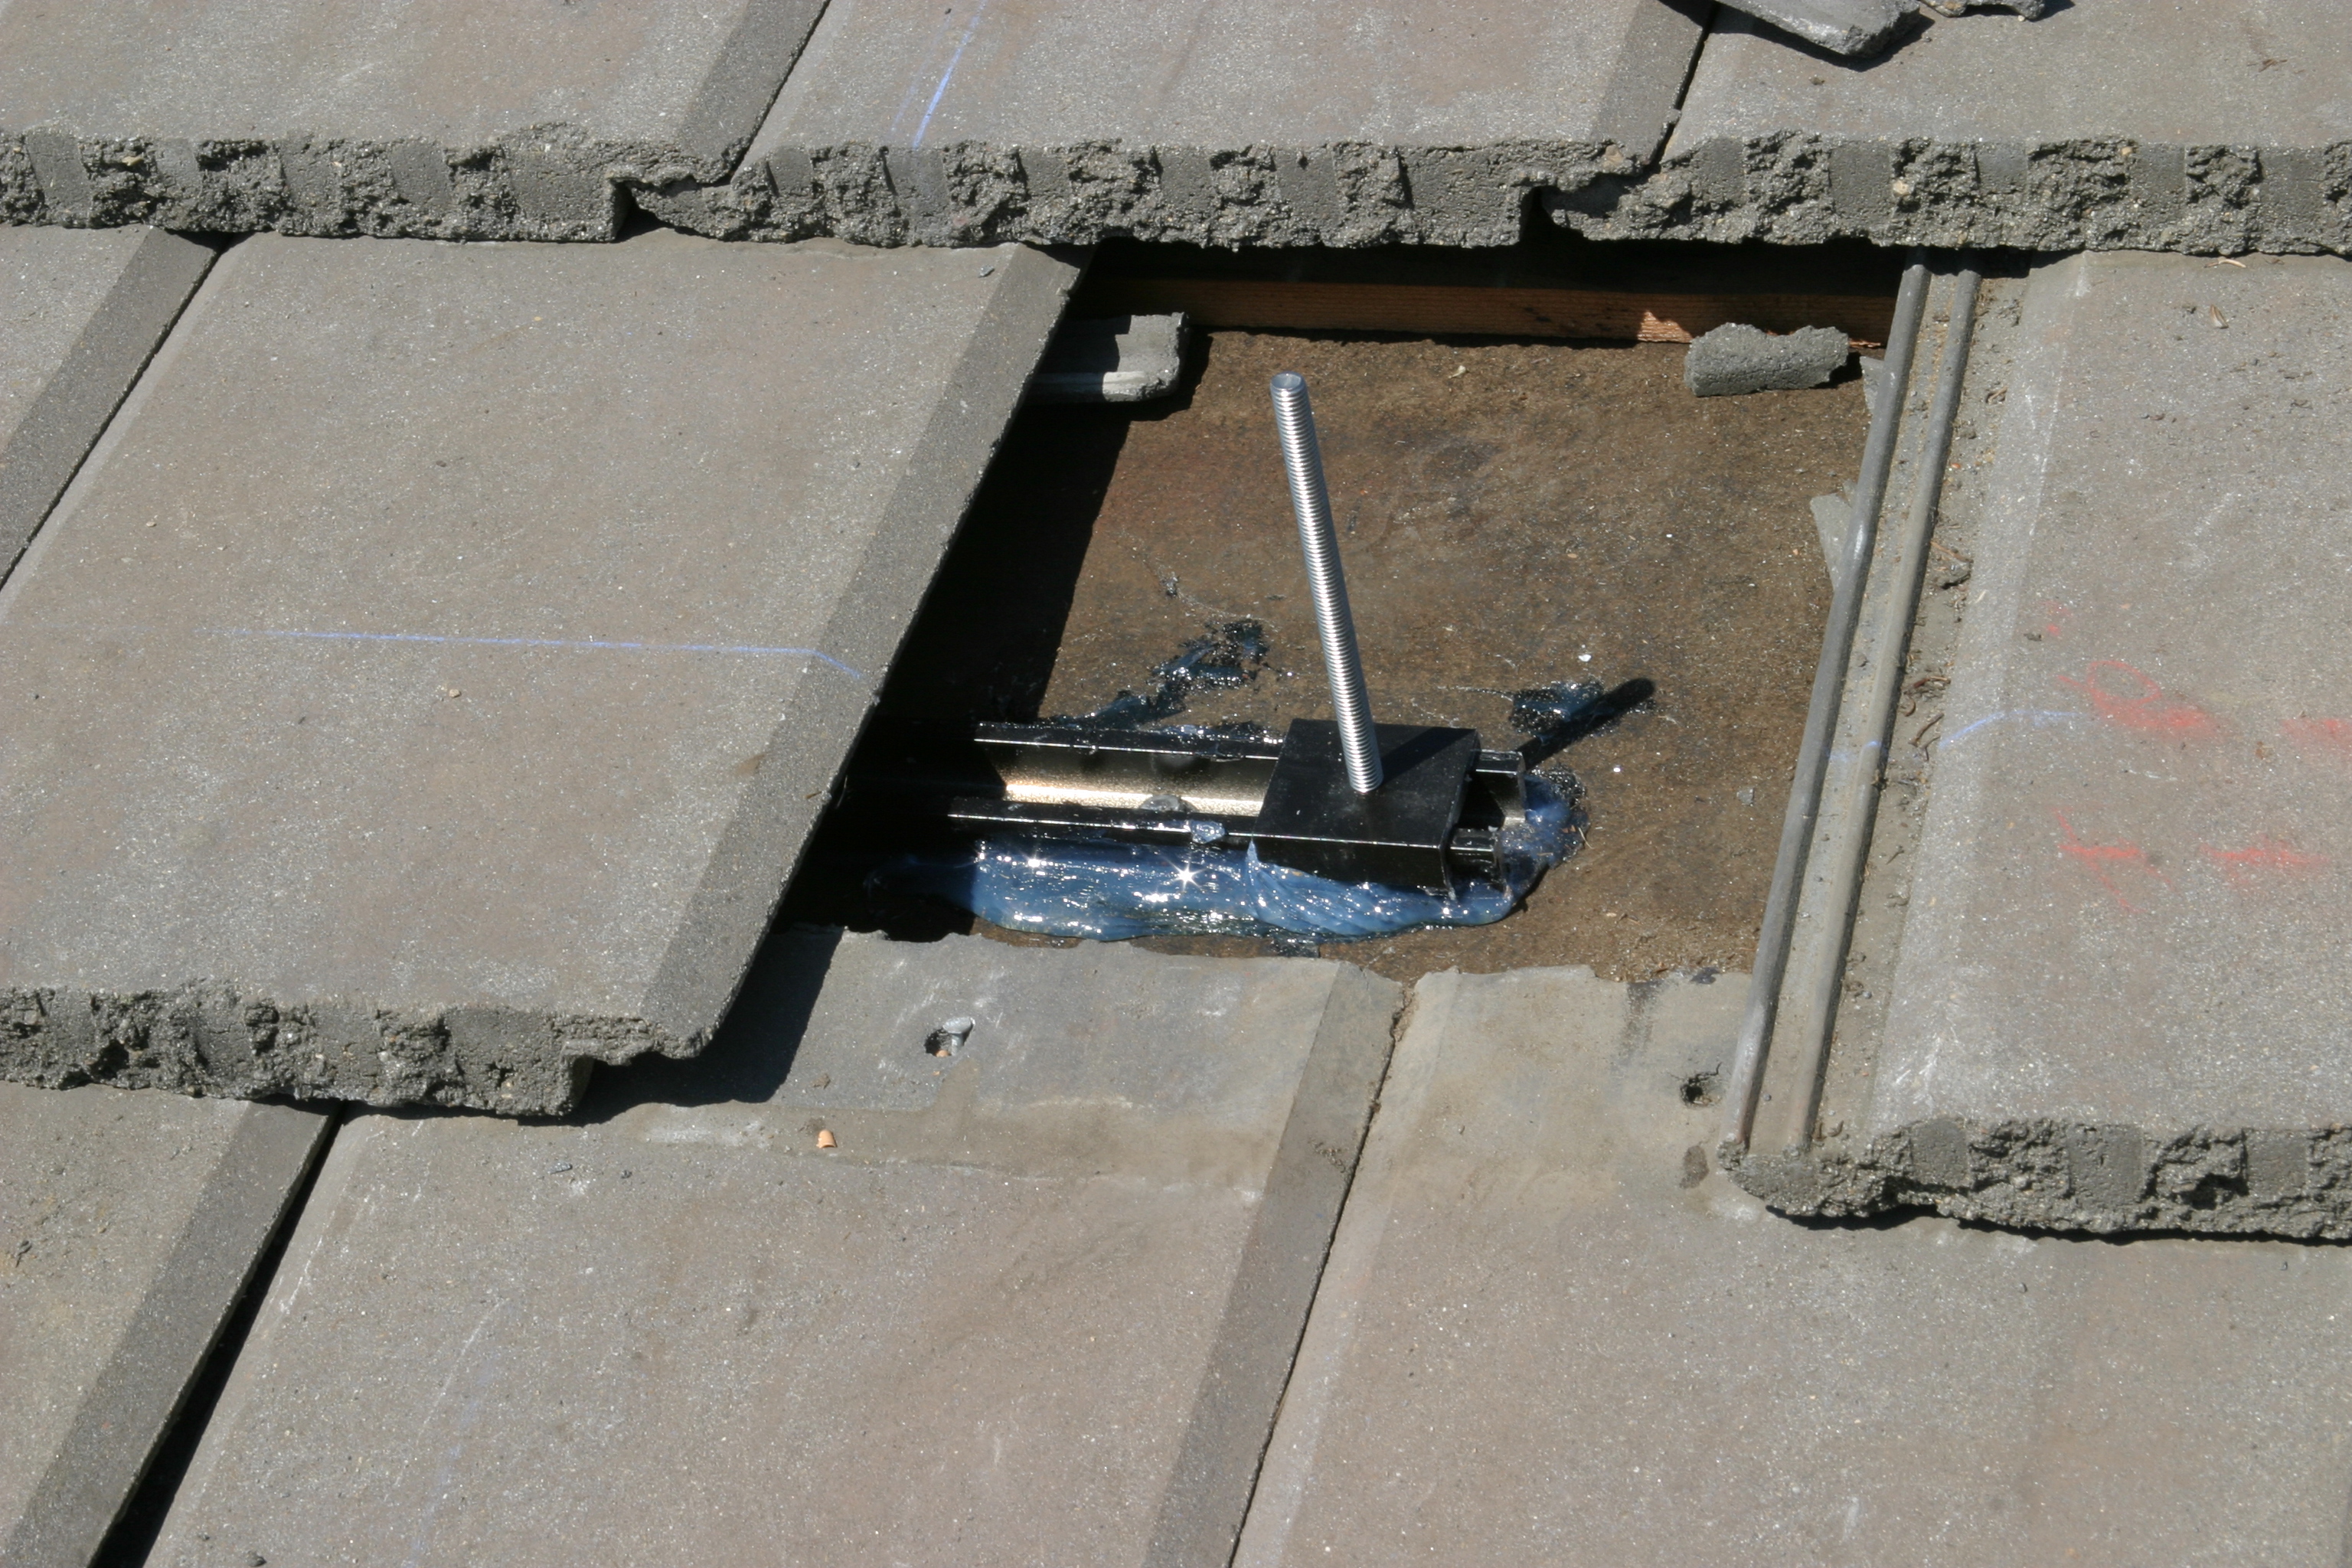
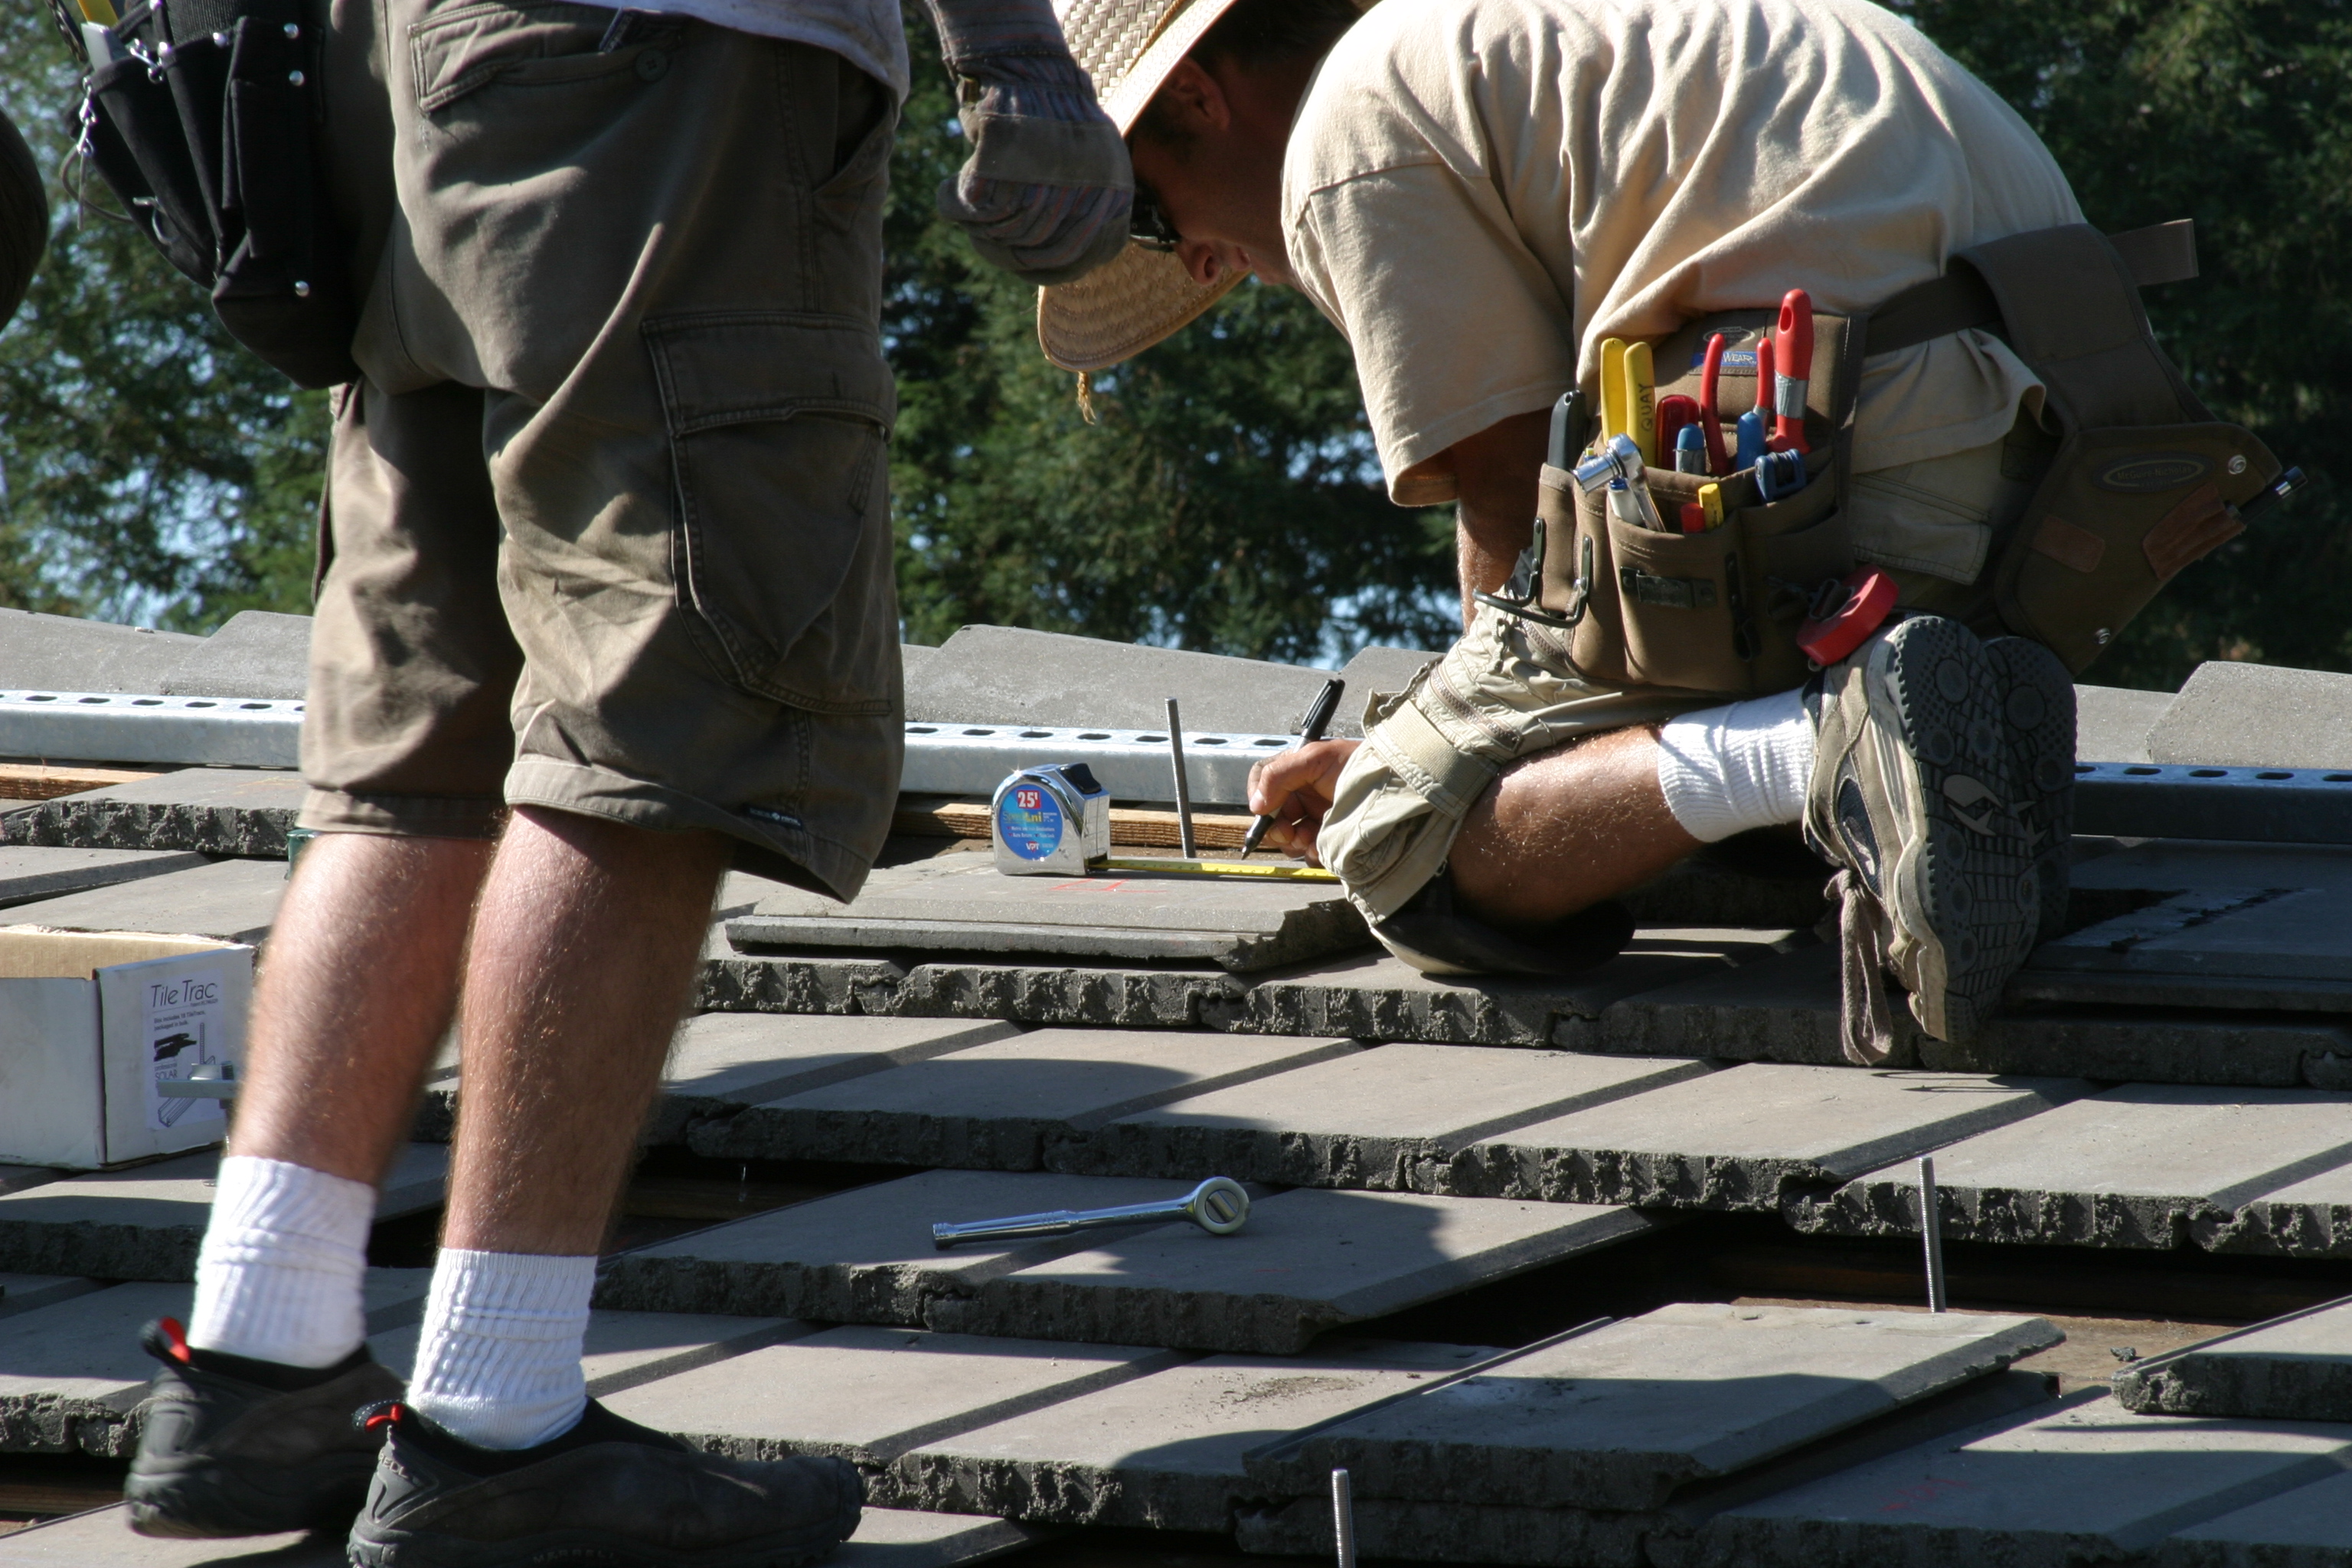
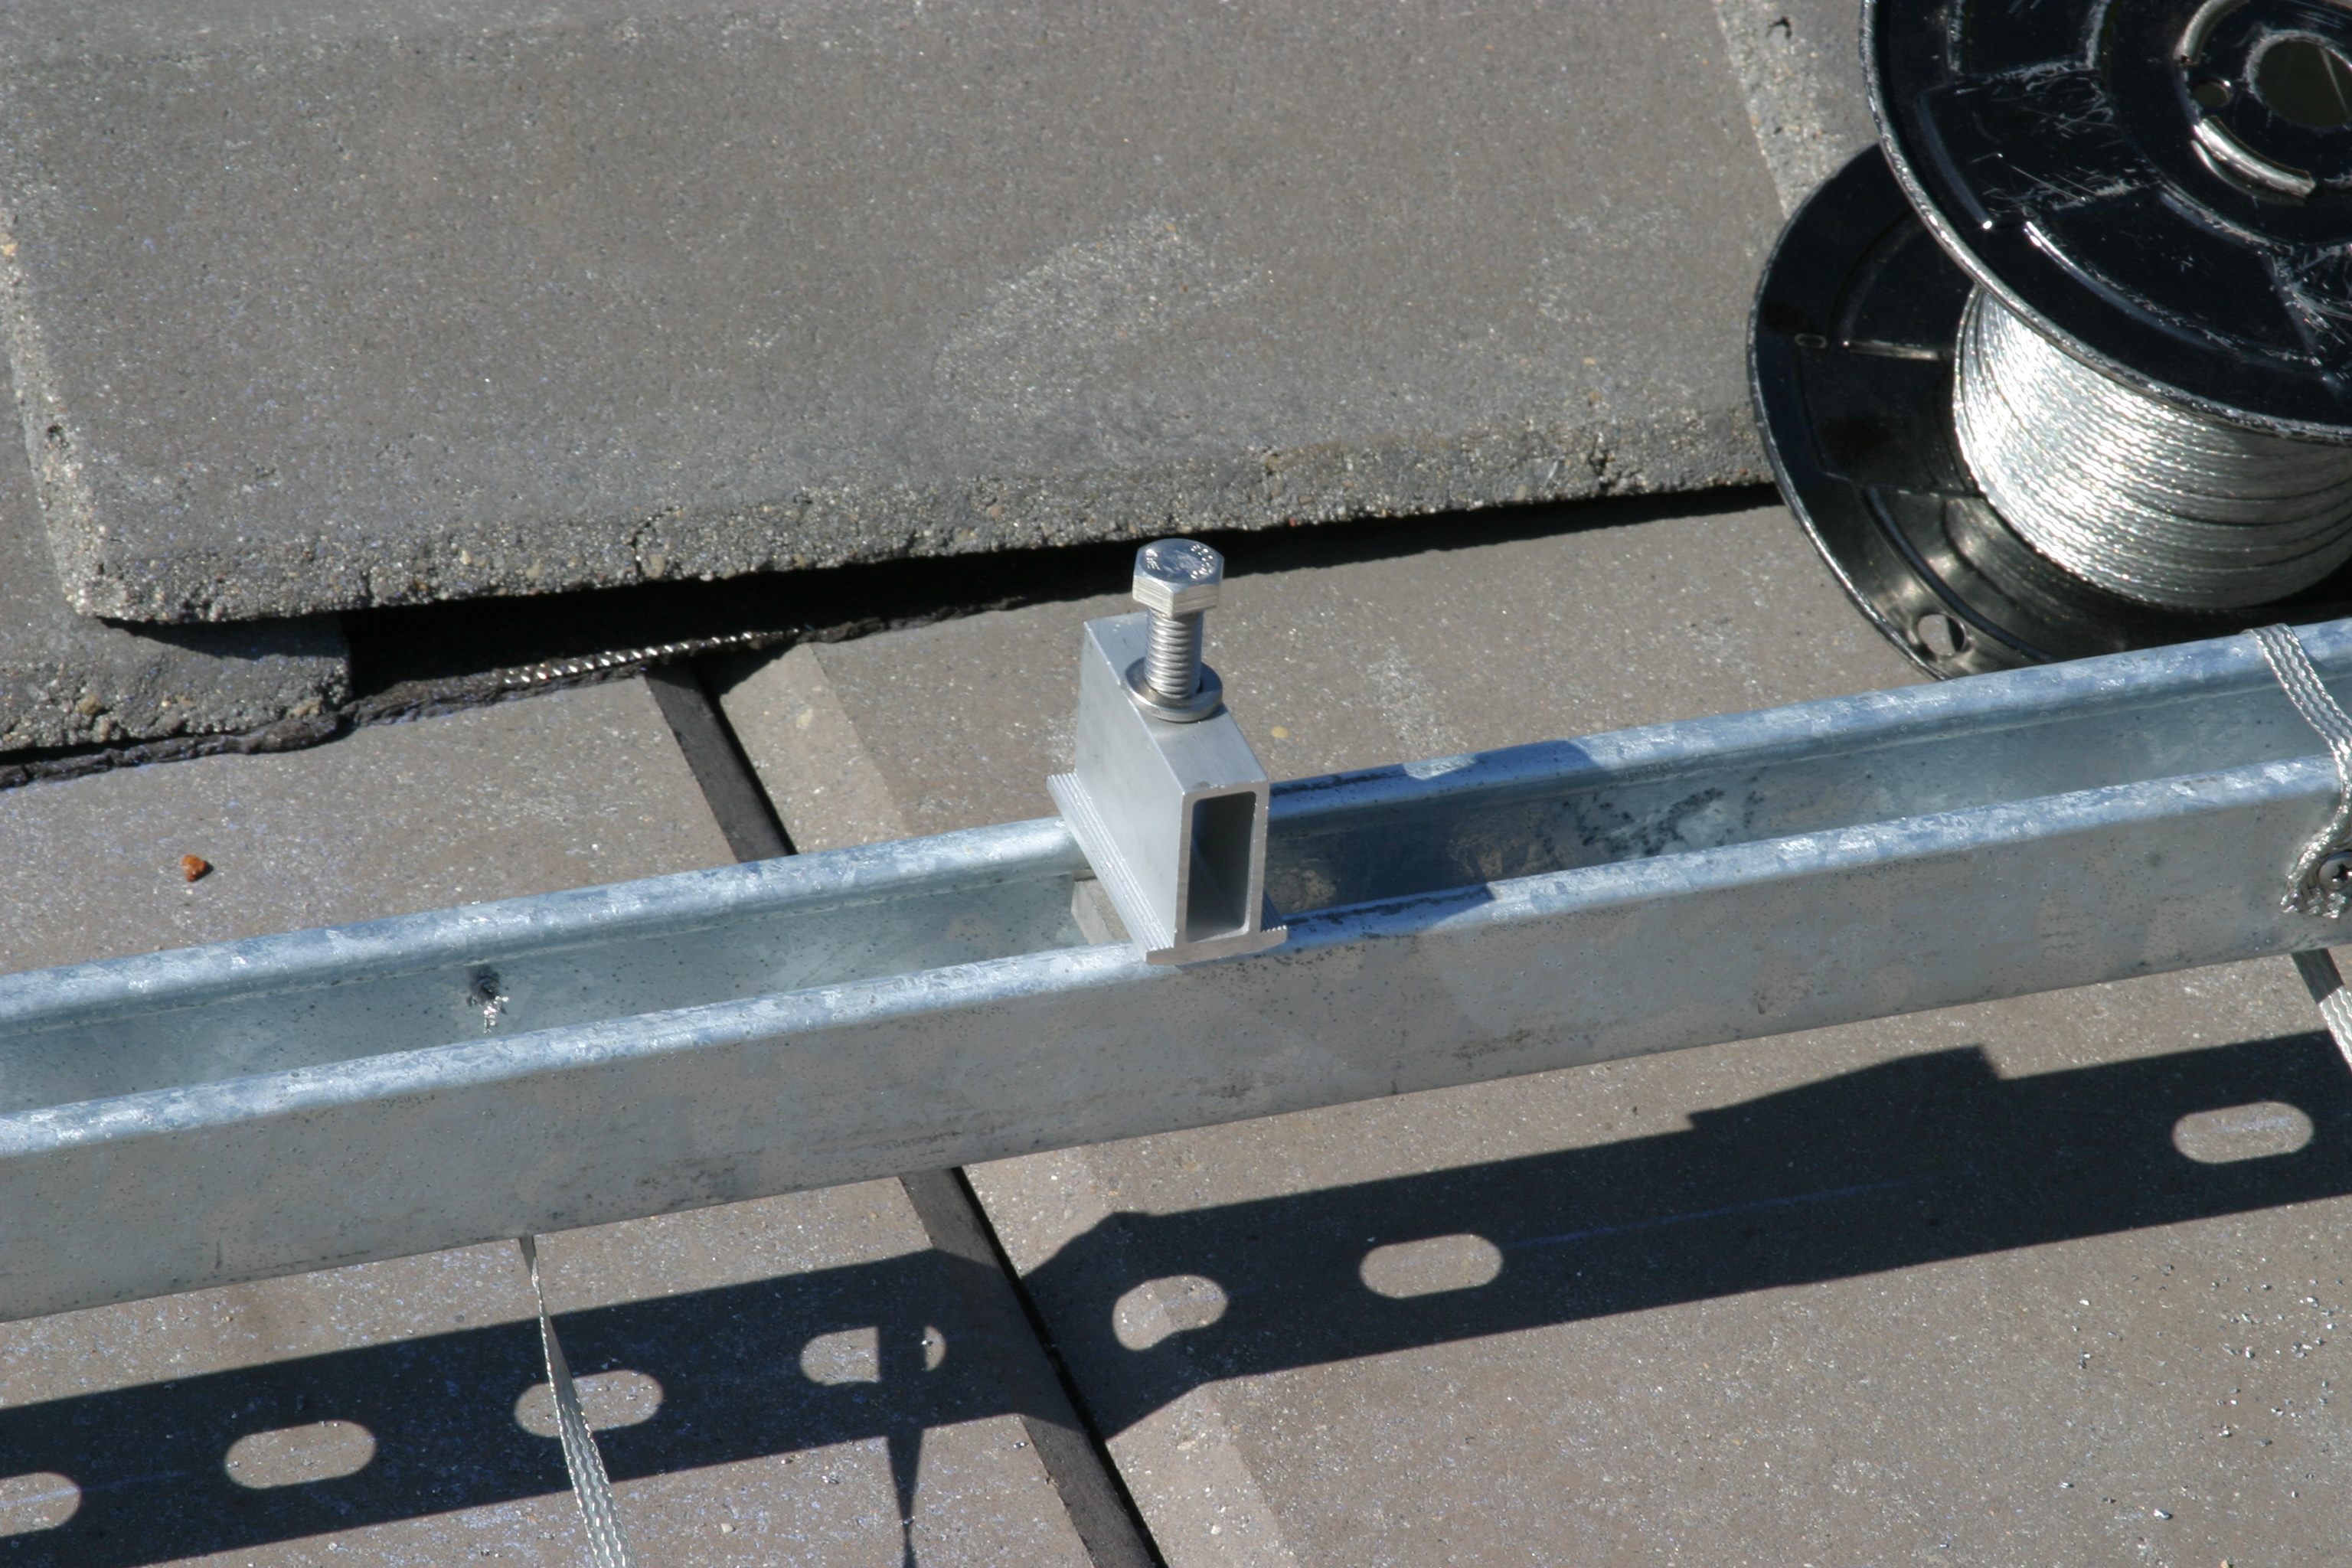
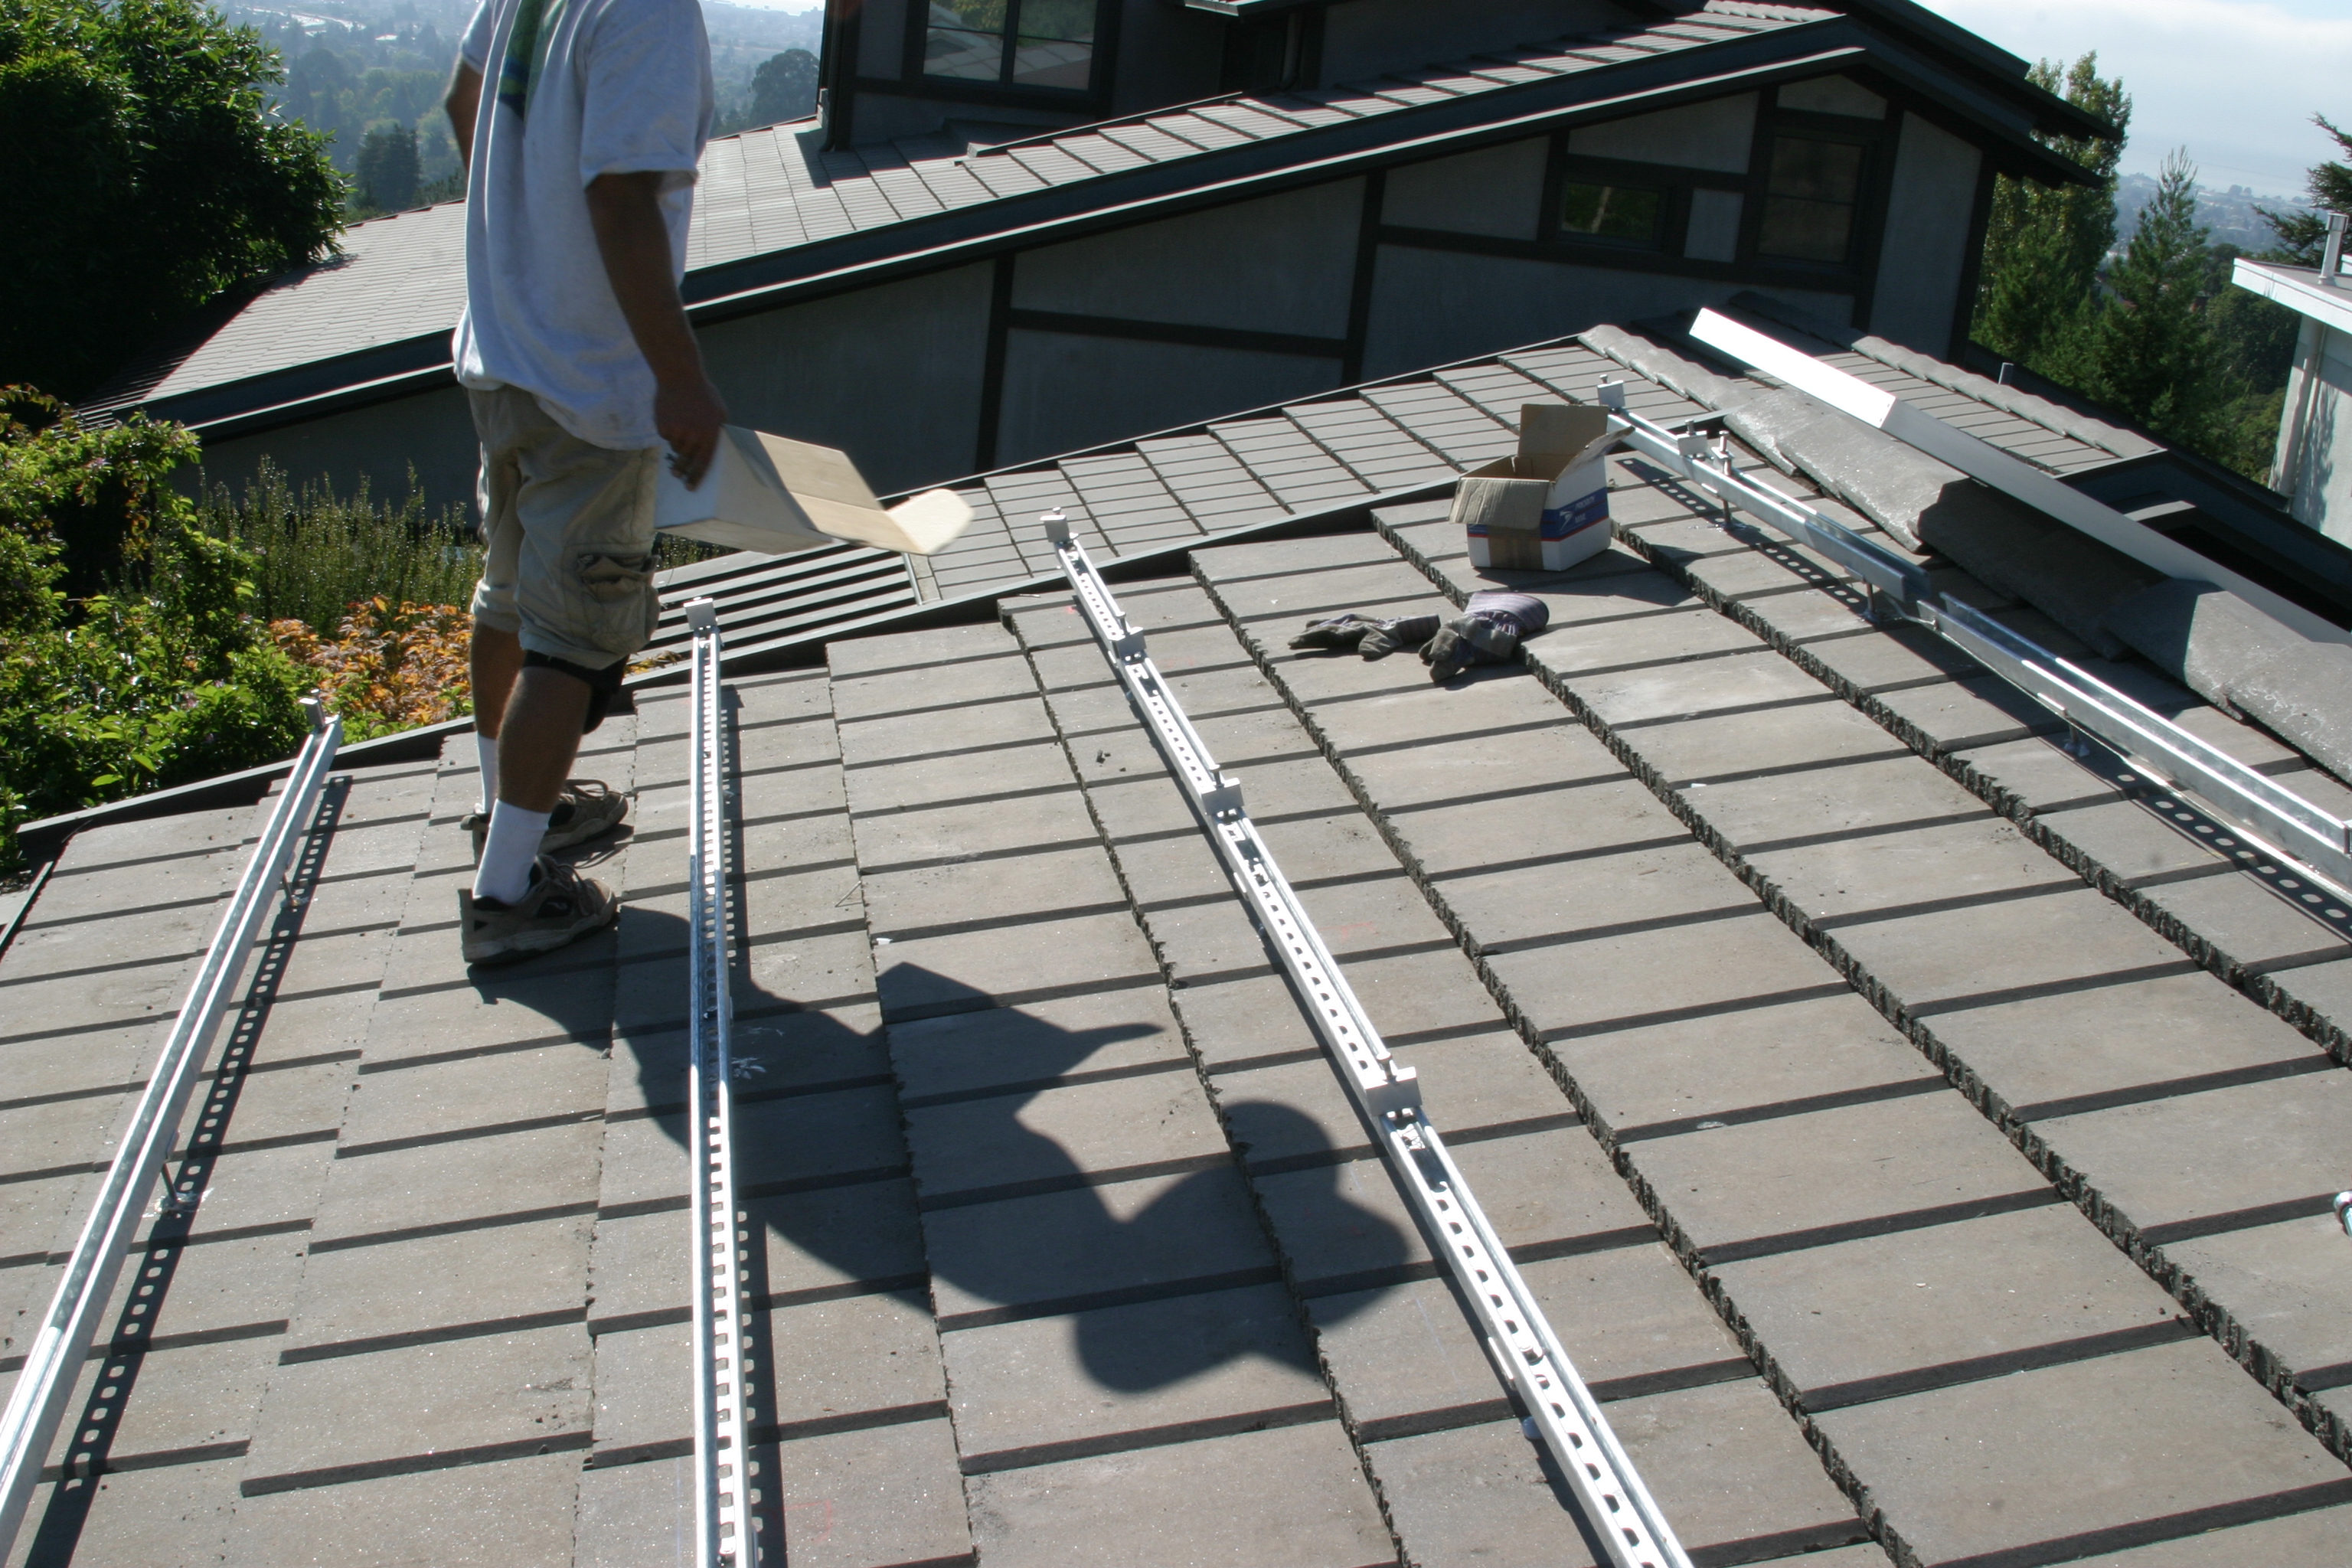
| A short track allows the supporting allthread to be positioned for V-Line placement. | |
|
|
| The tile is drilled and placed back on the roof | The V-Line is used to position the all thread supports |
|
|
|
|
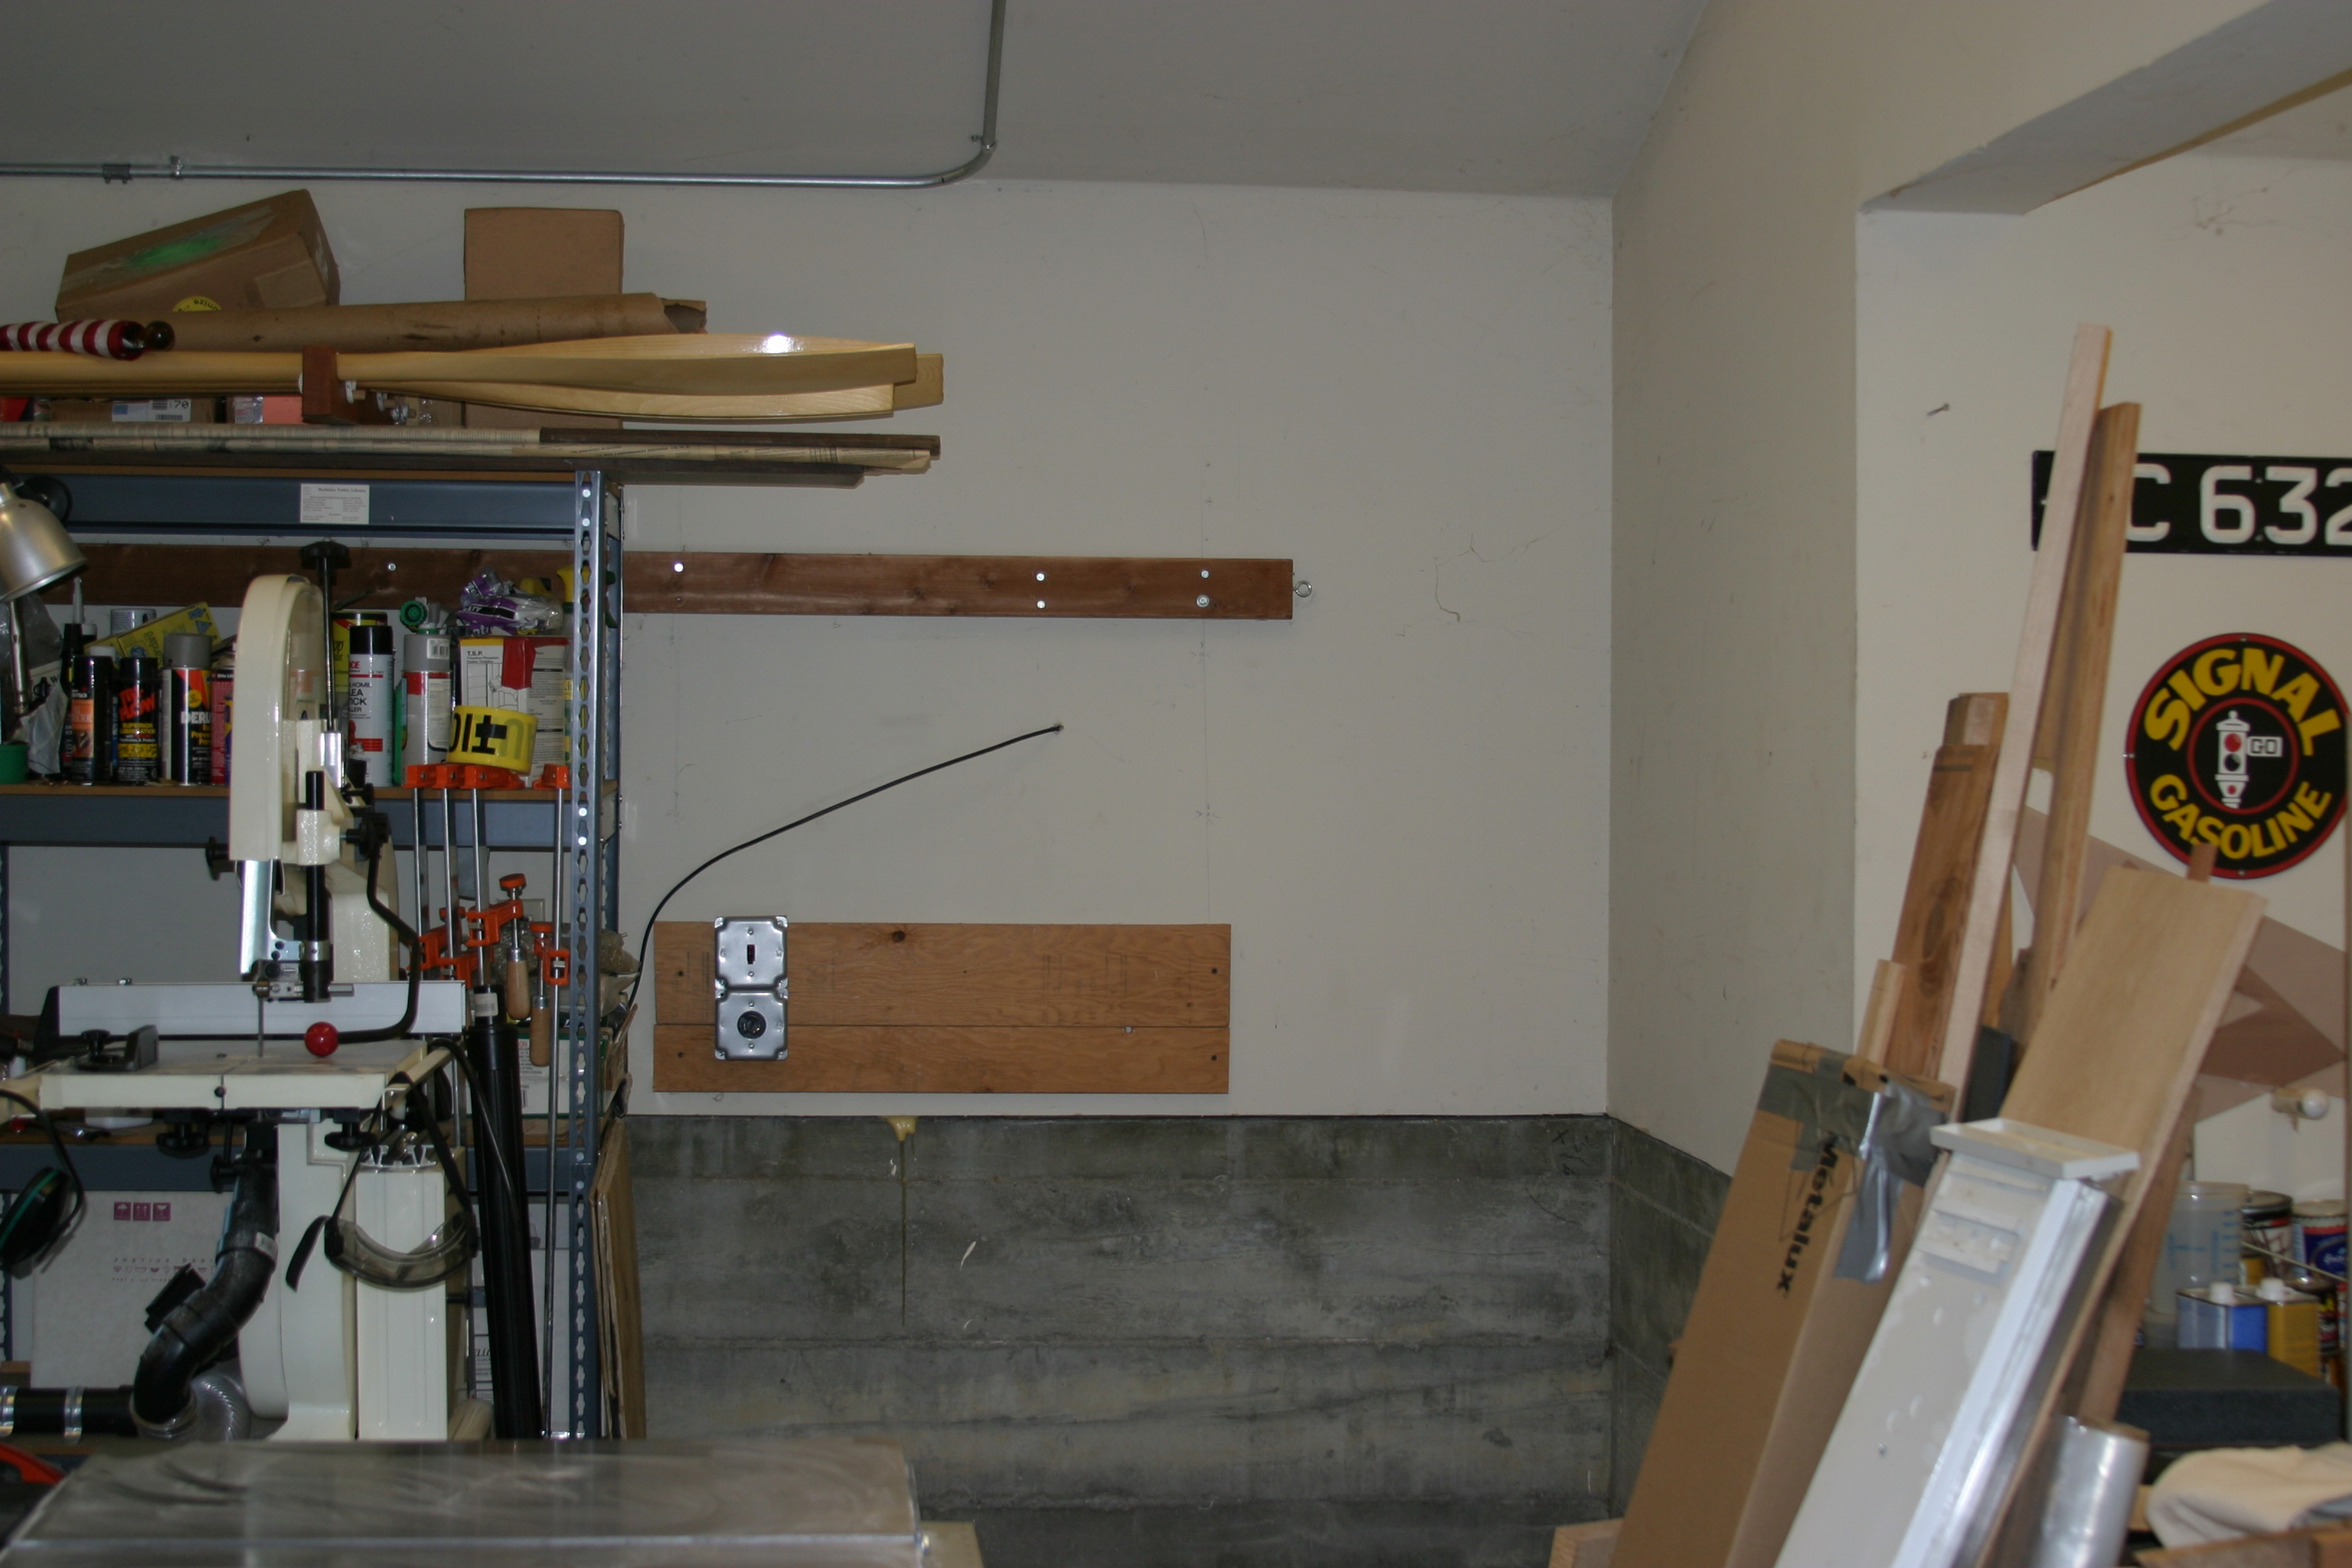
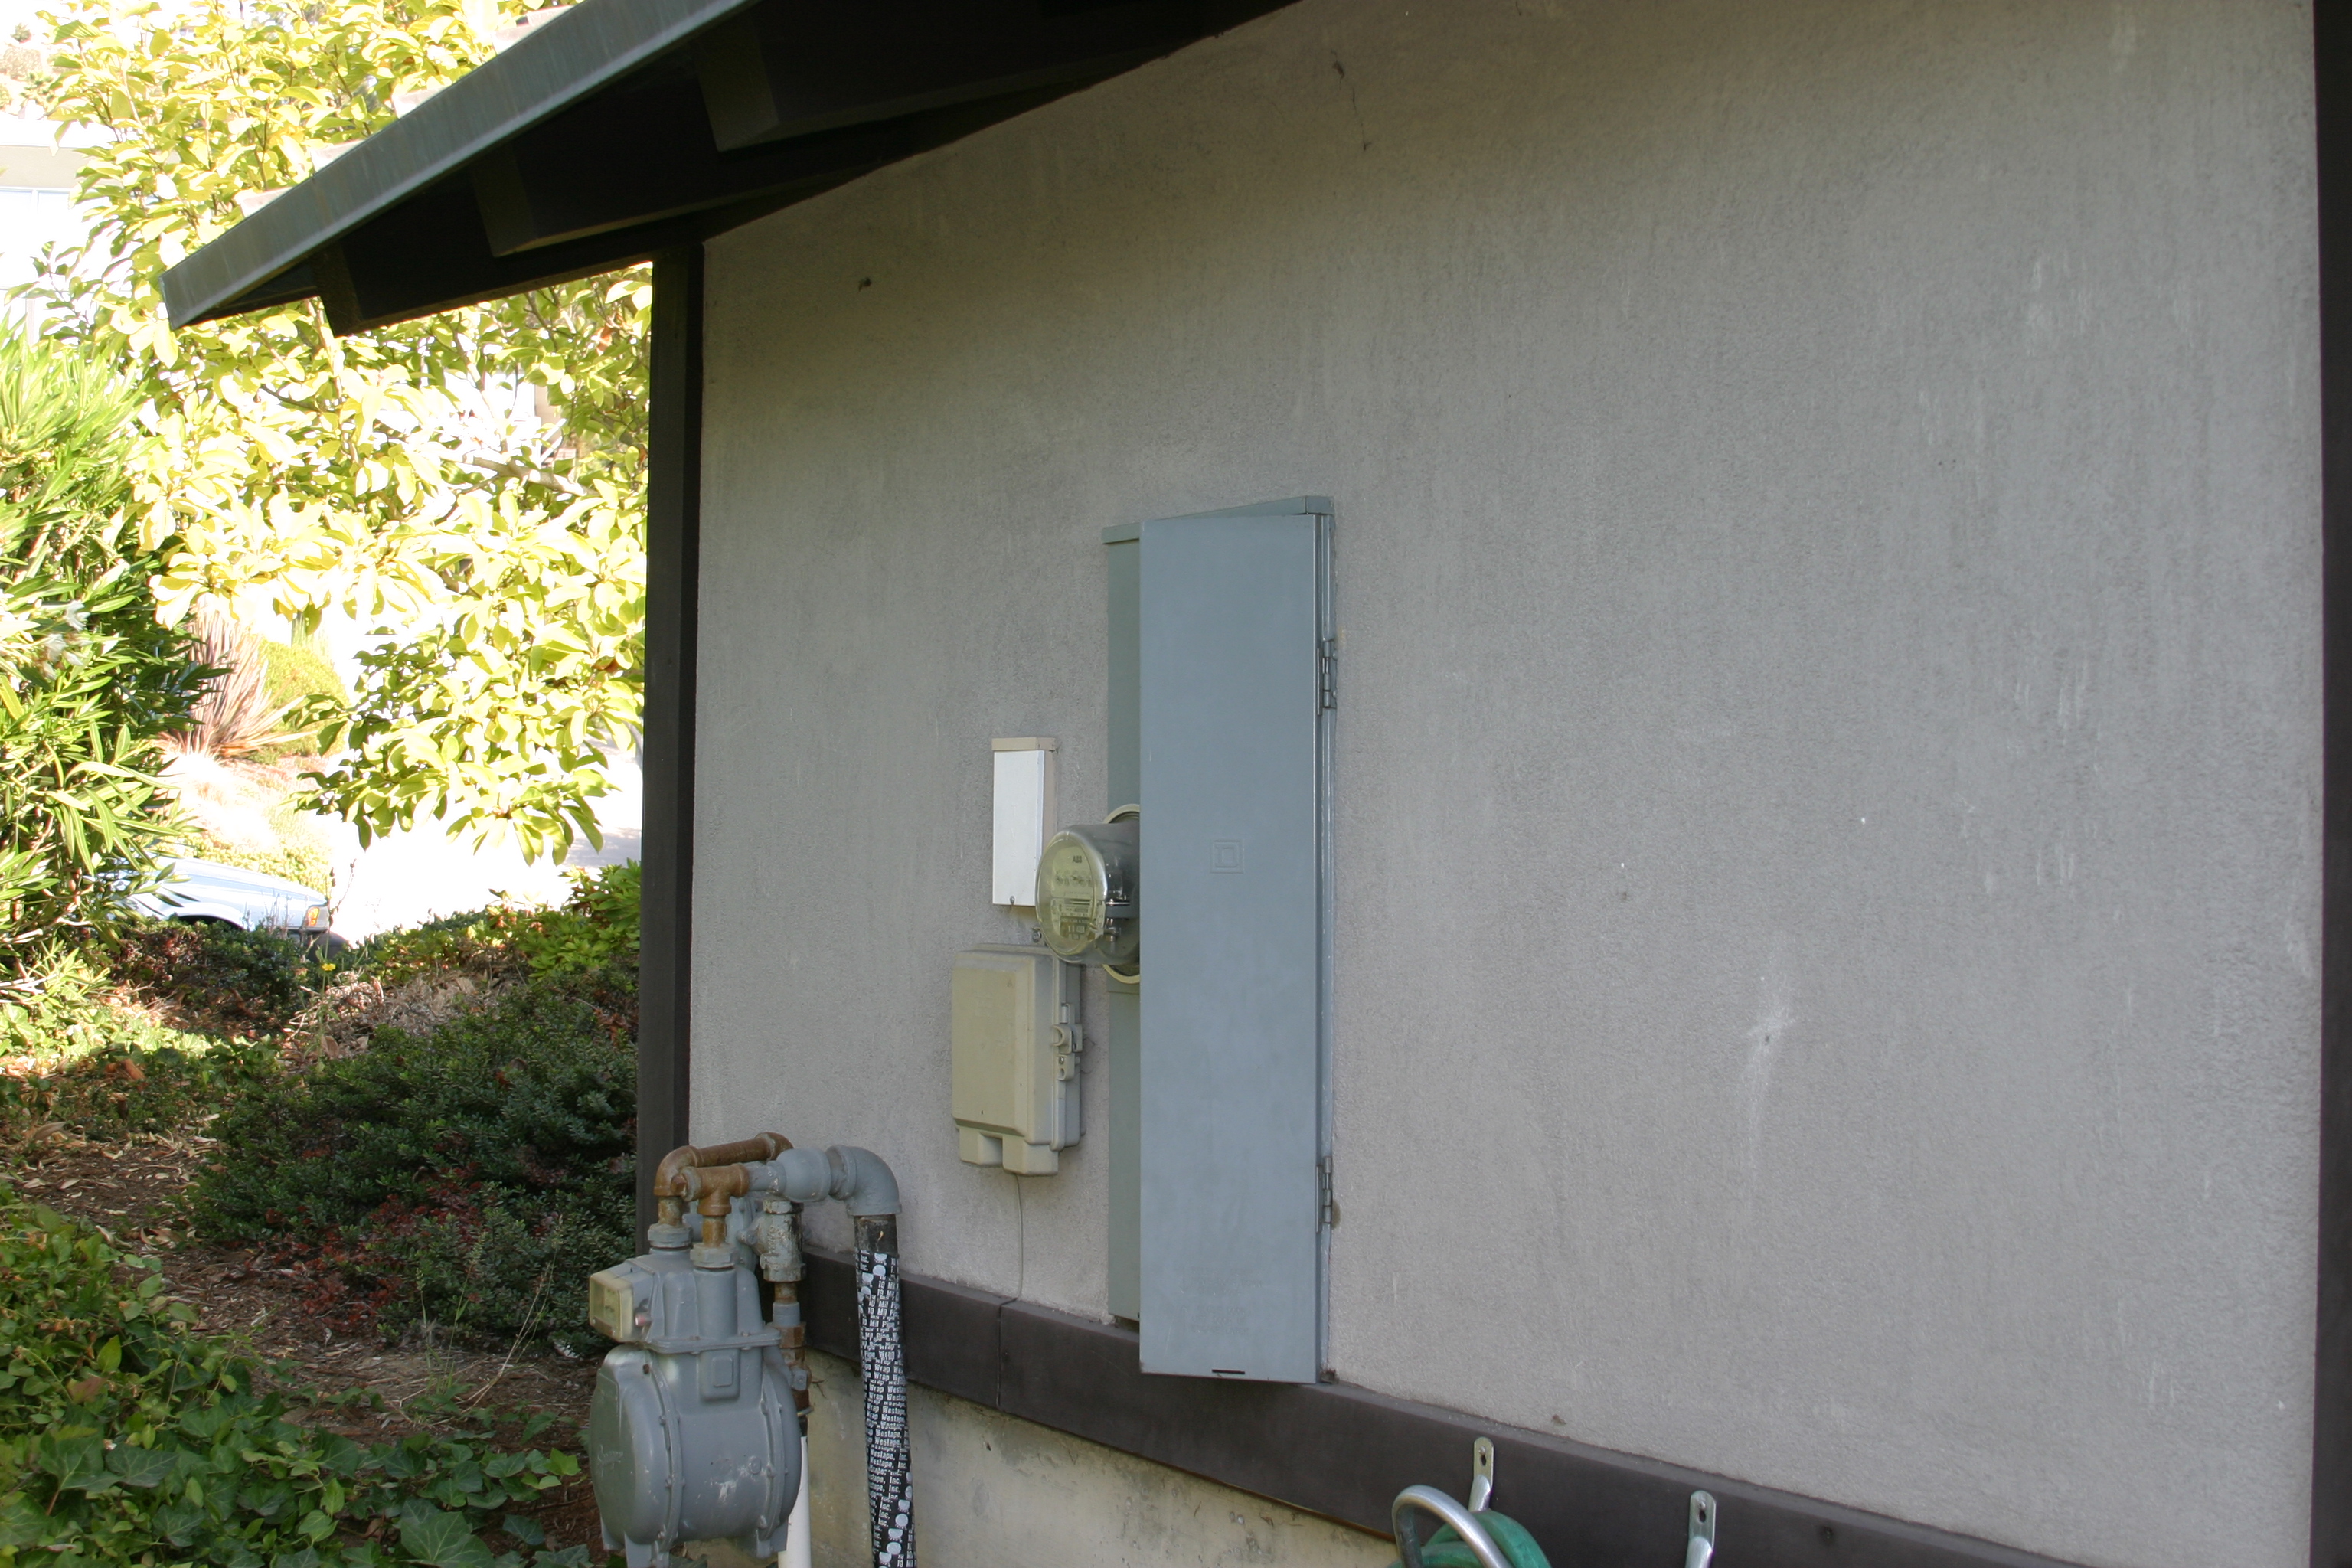
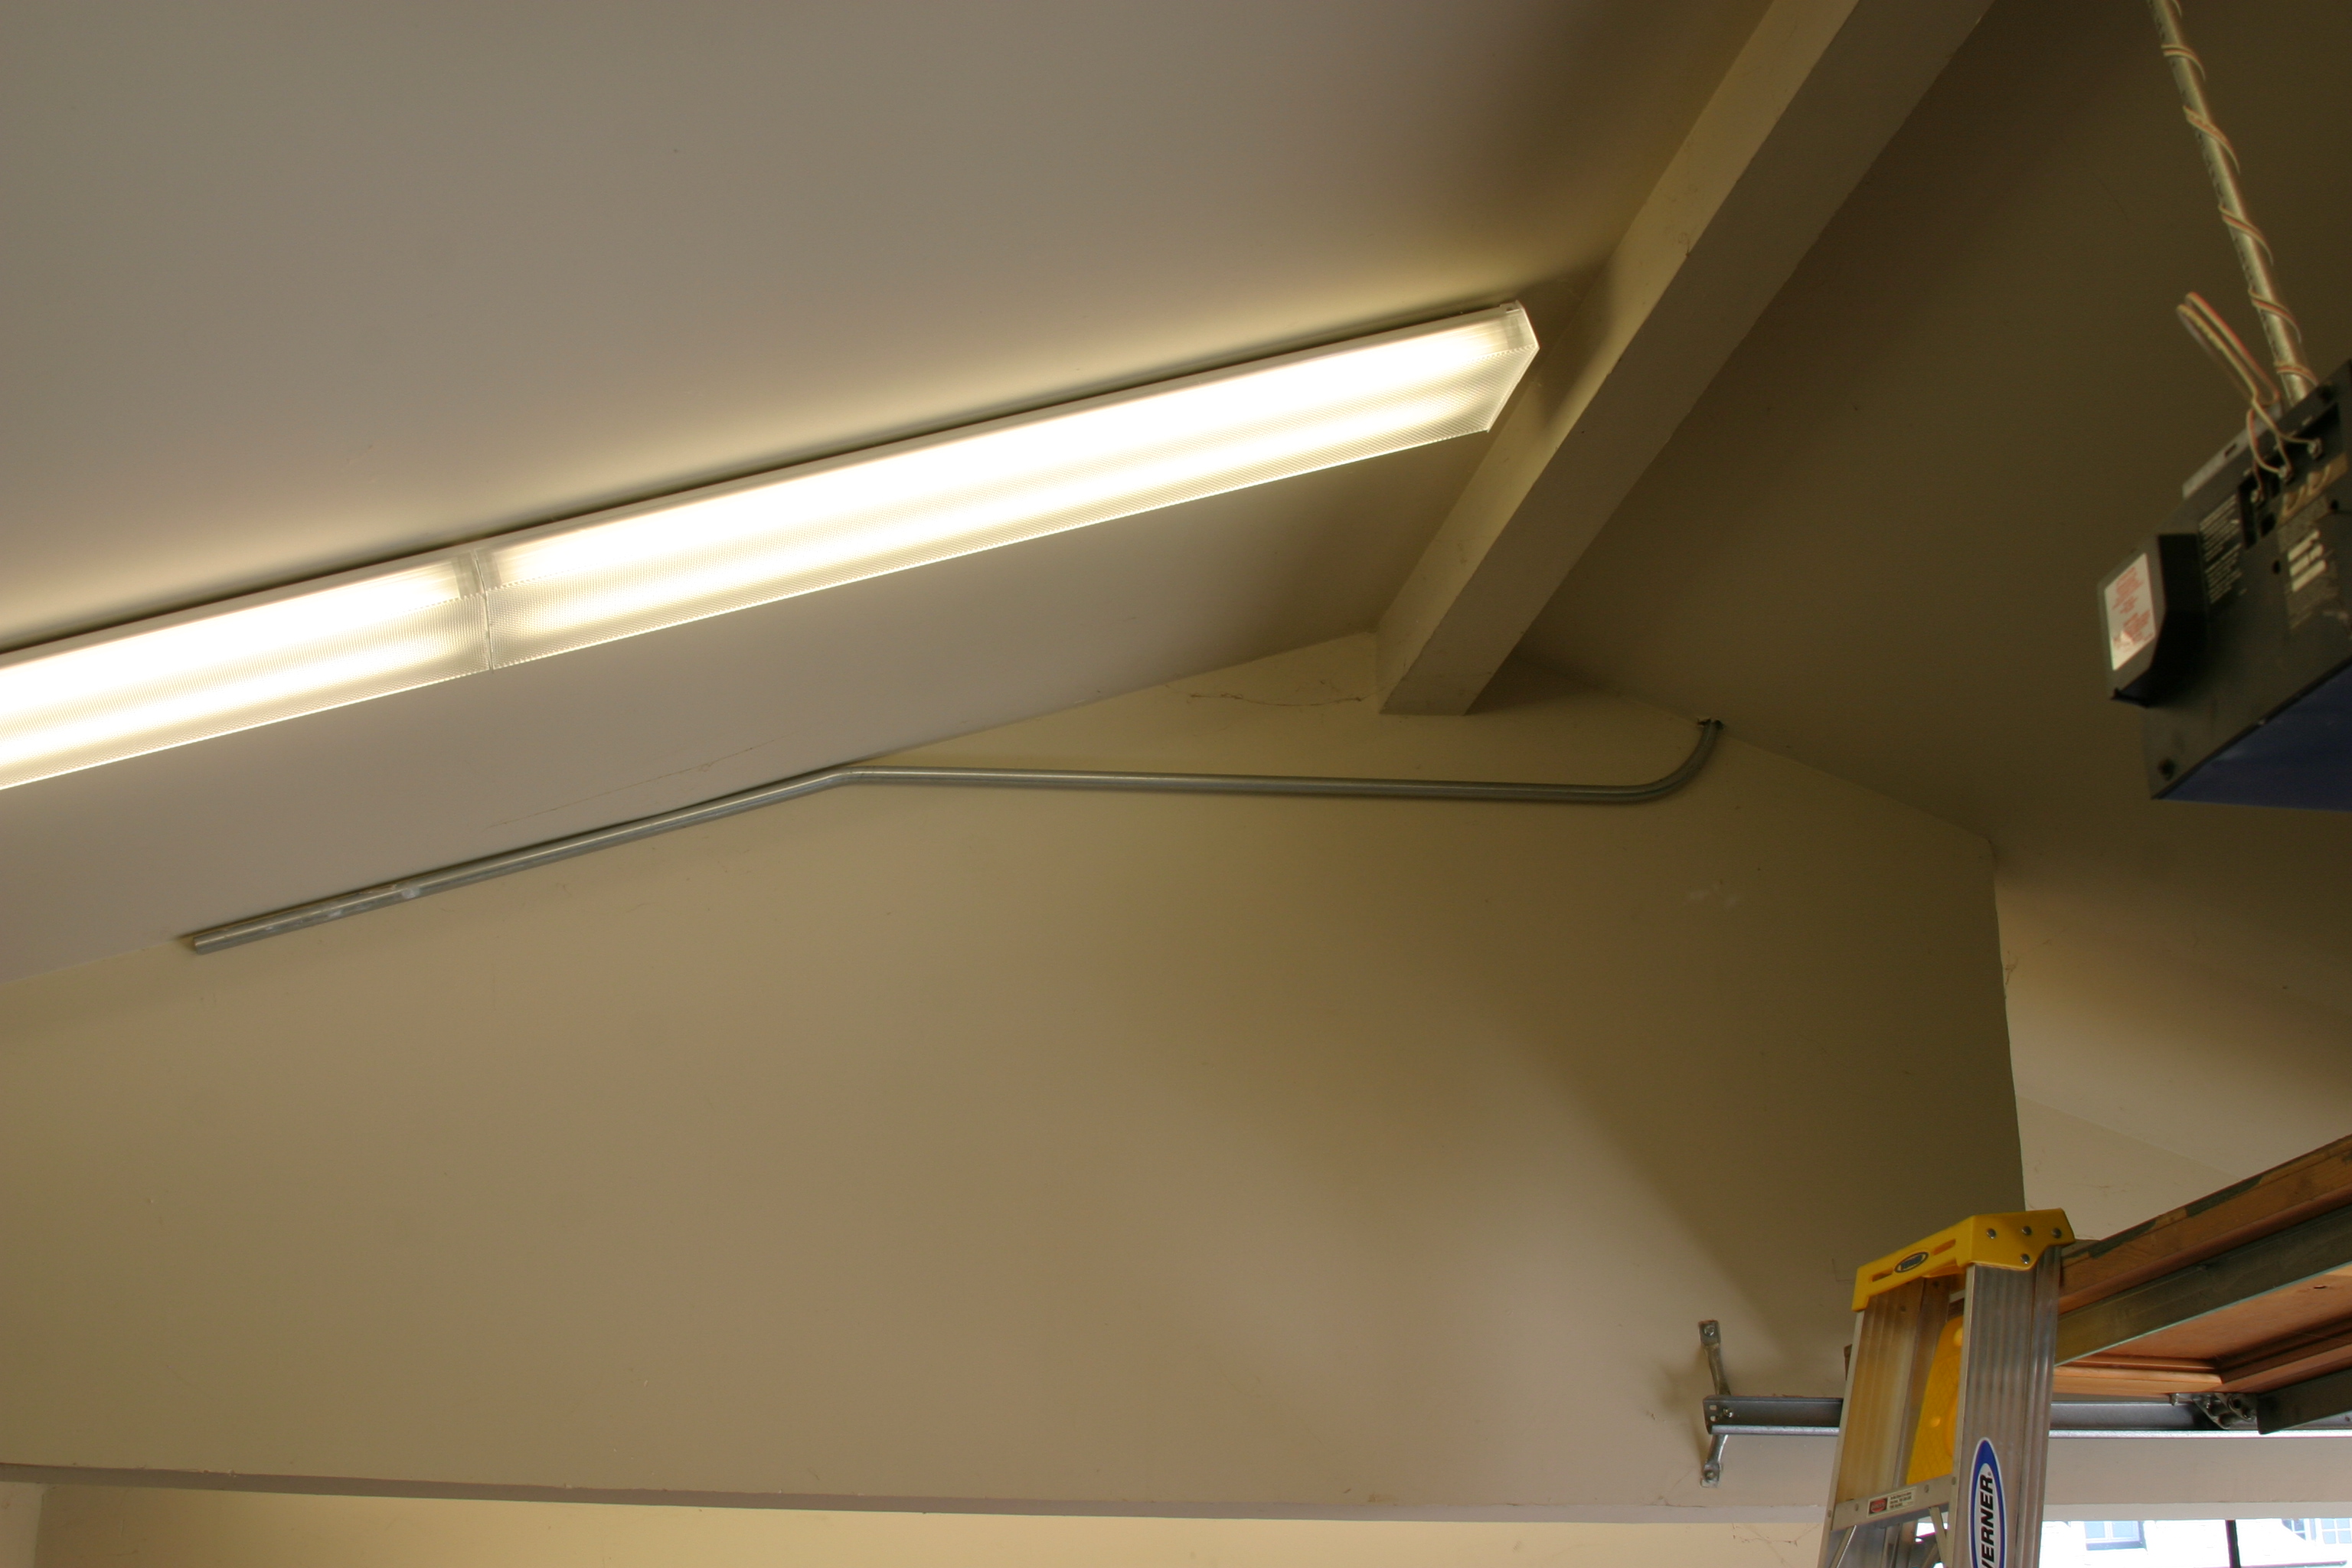
| Inside the garage opposite the electrical panel | The outside electrical panel (sideways photo) |
|
|
|
|
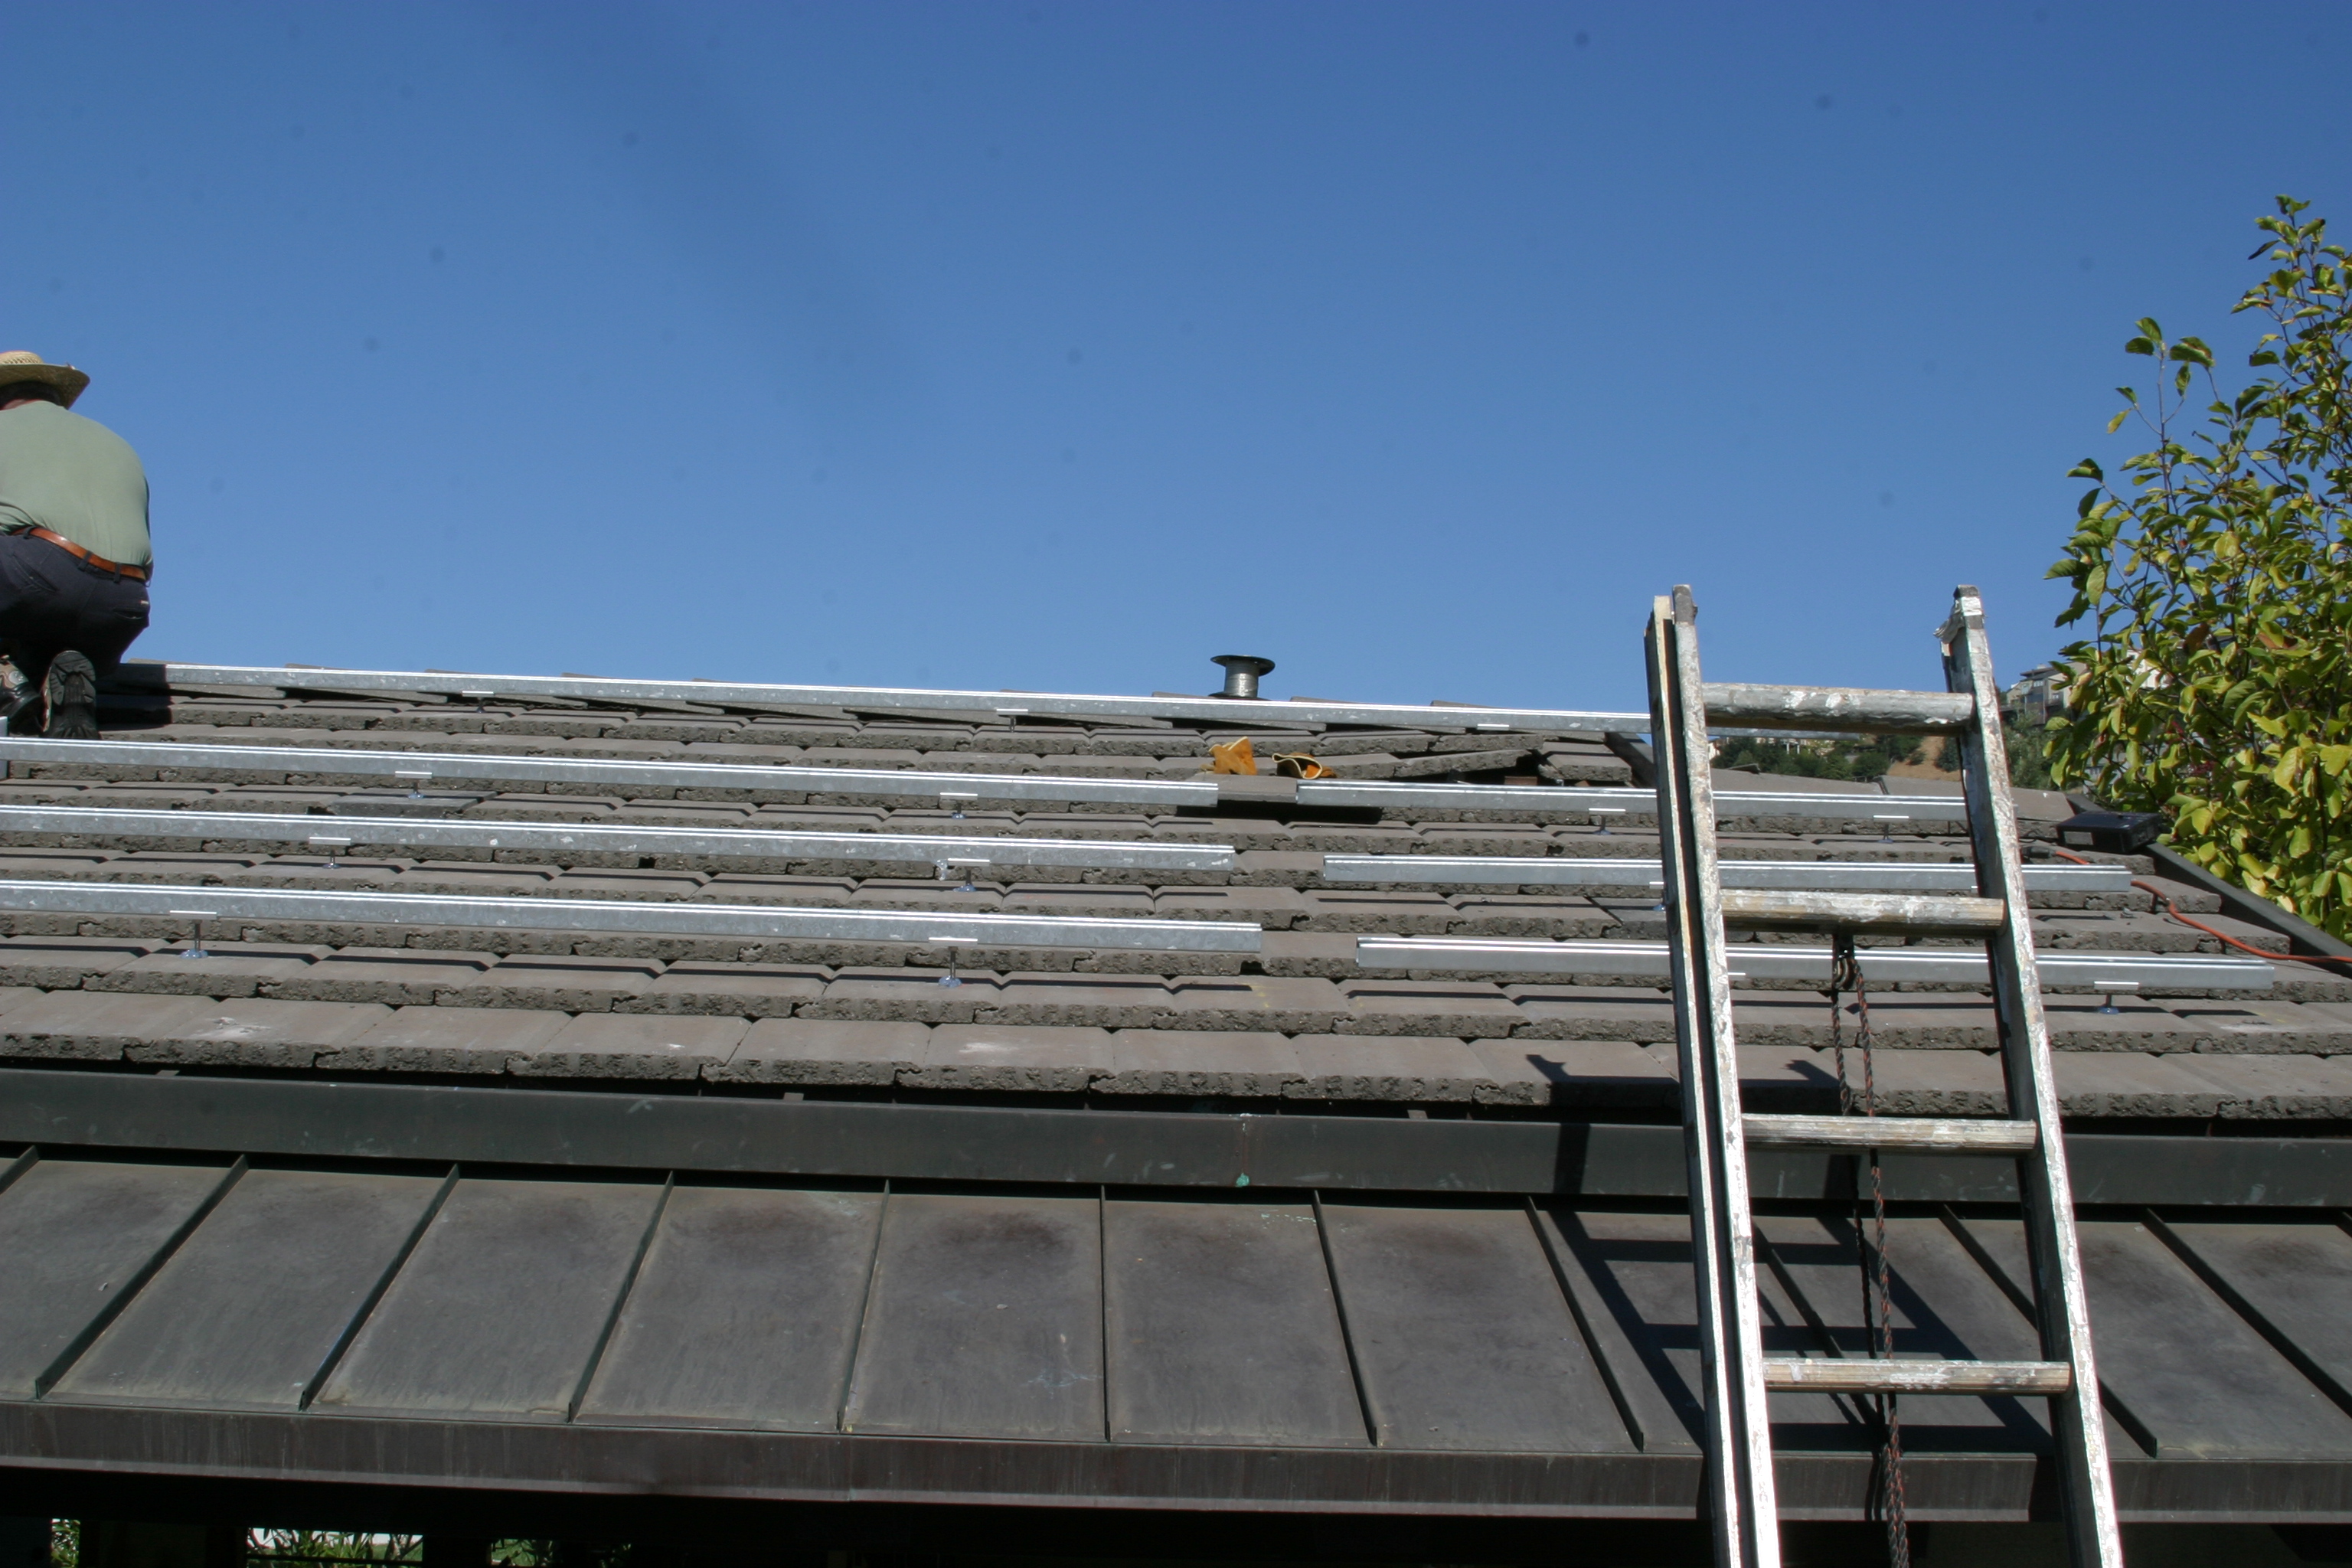
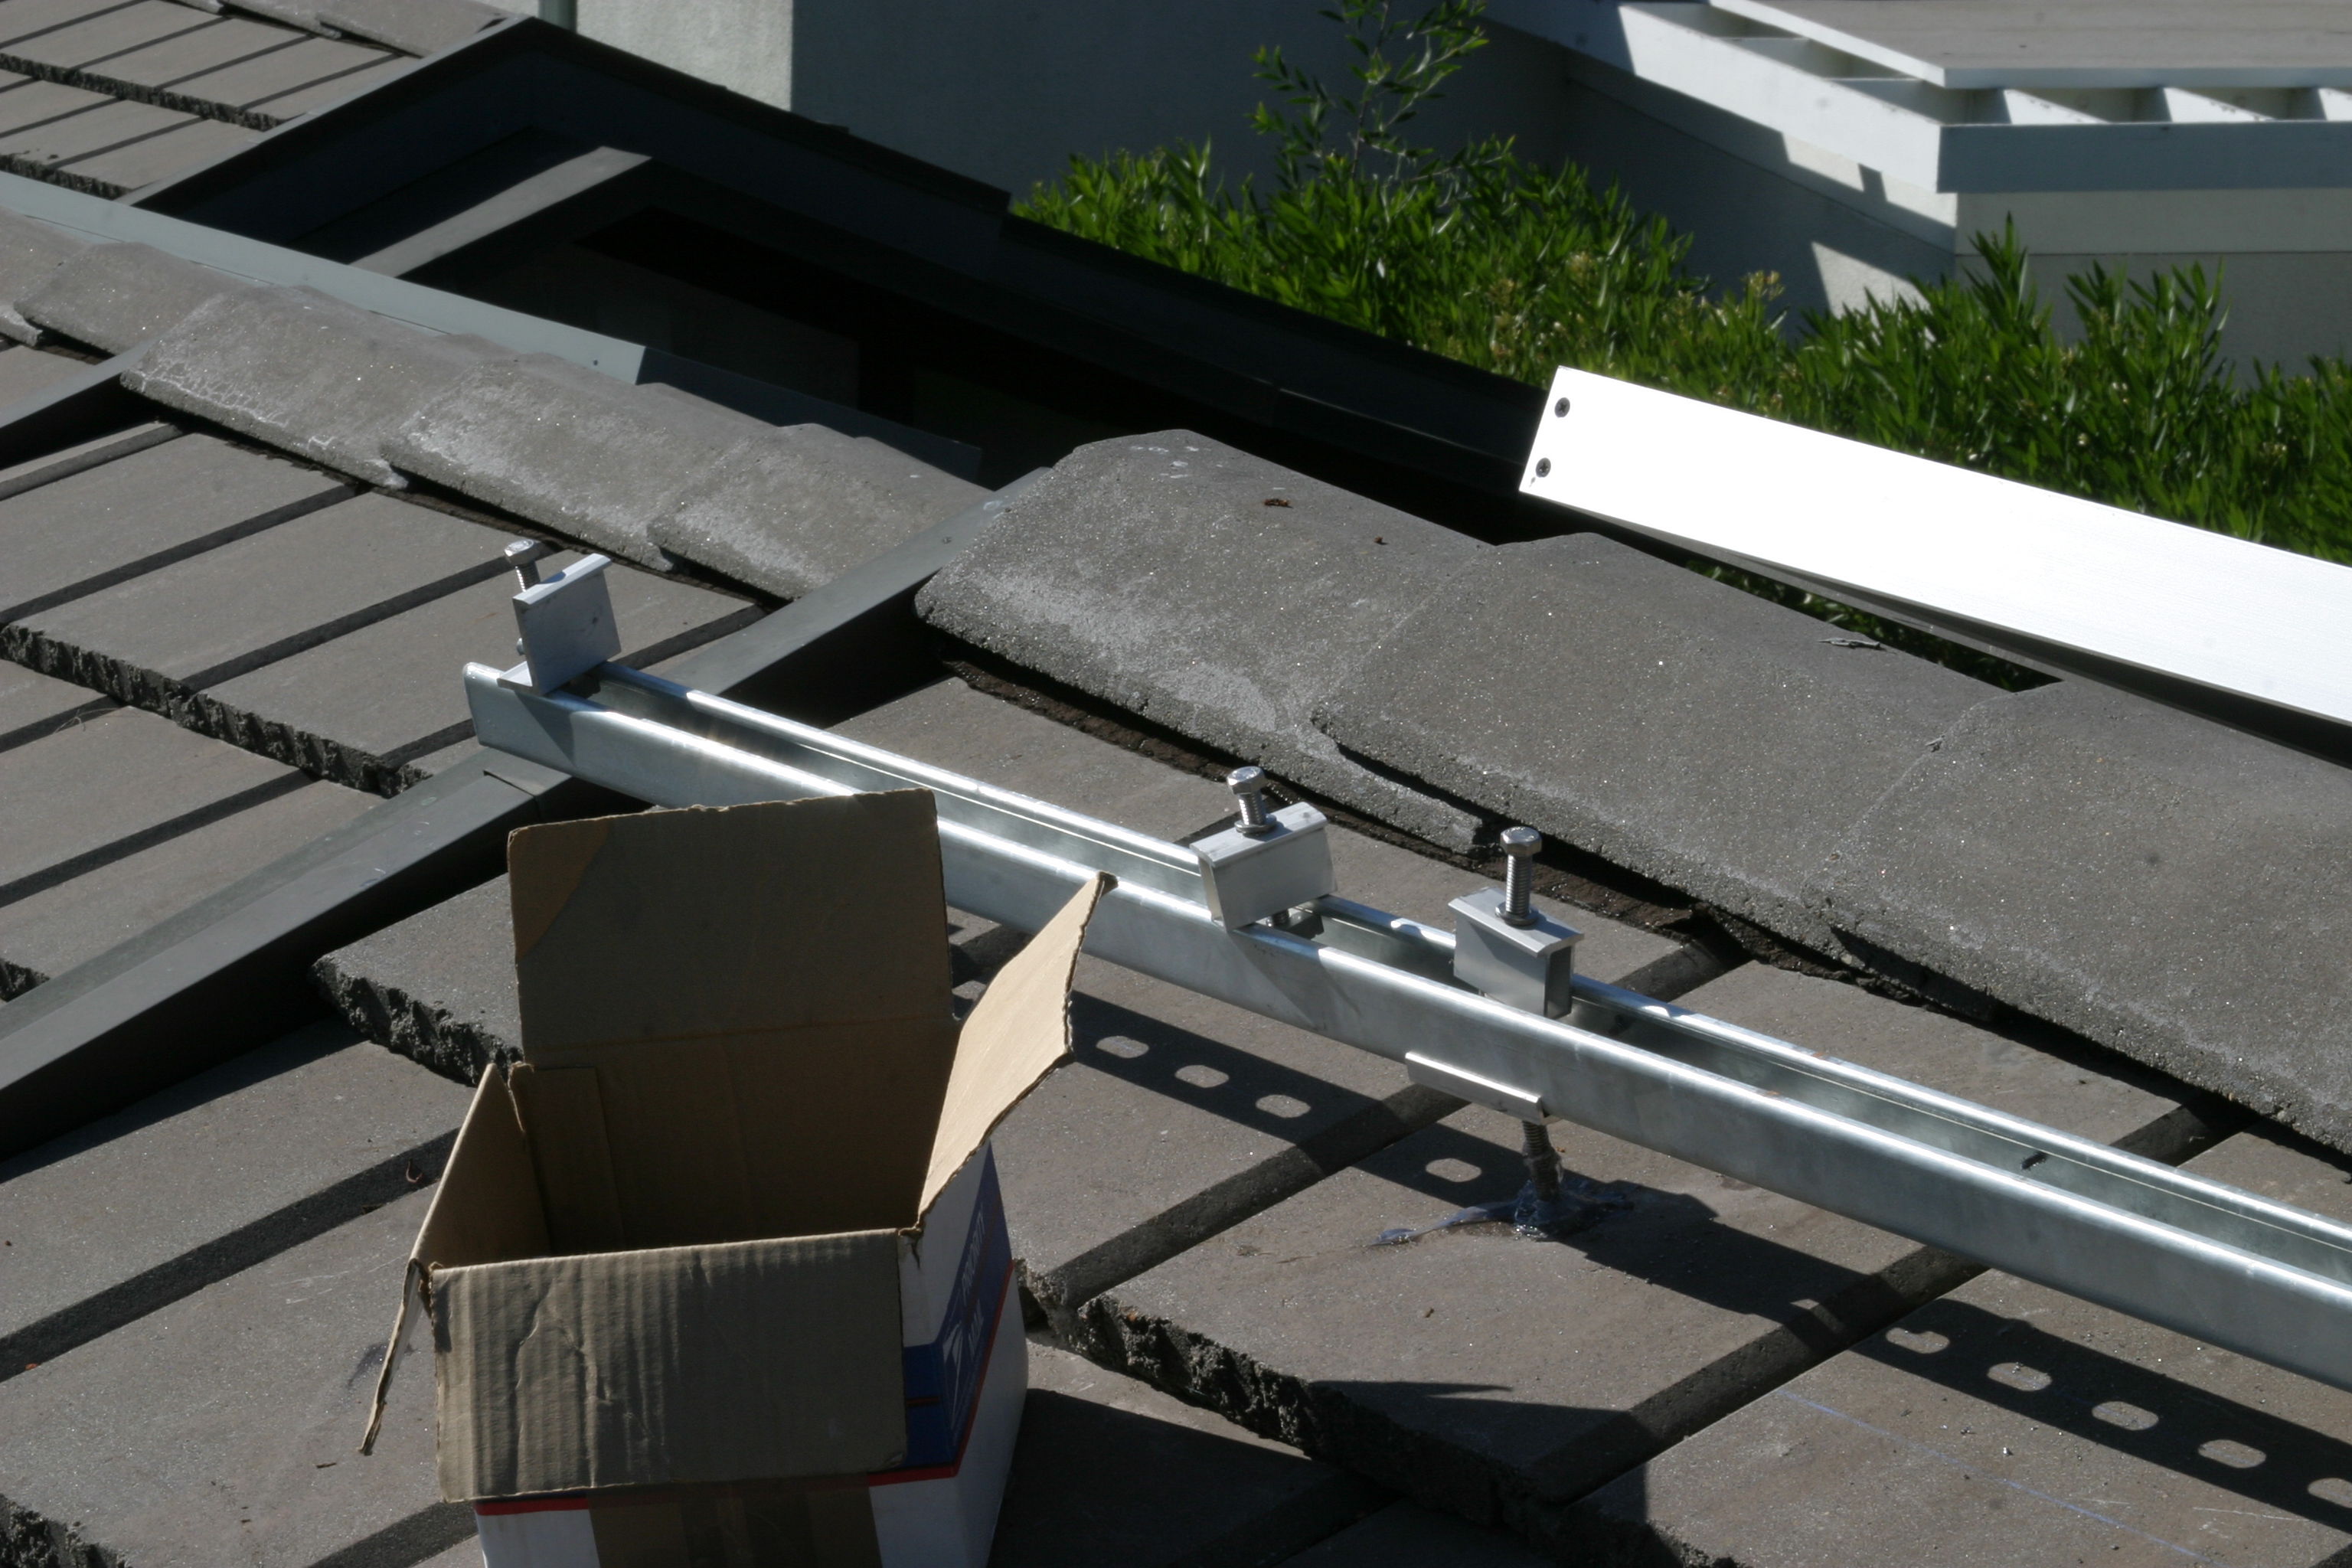
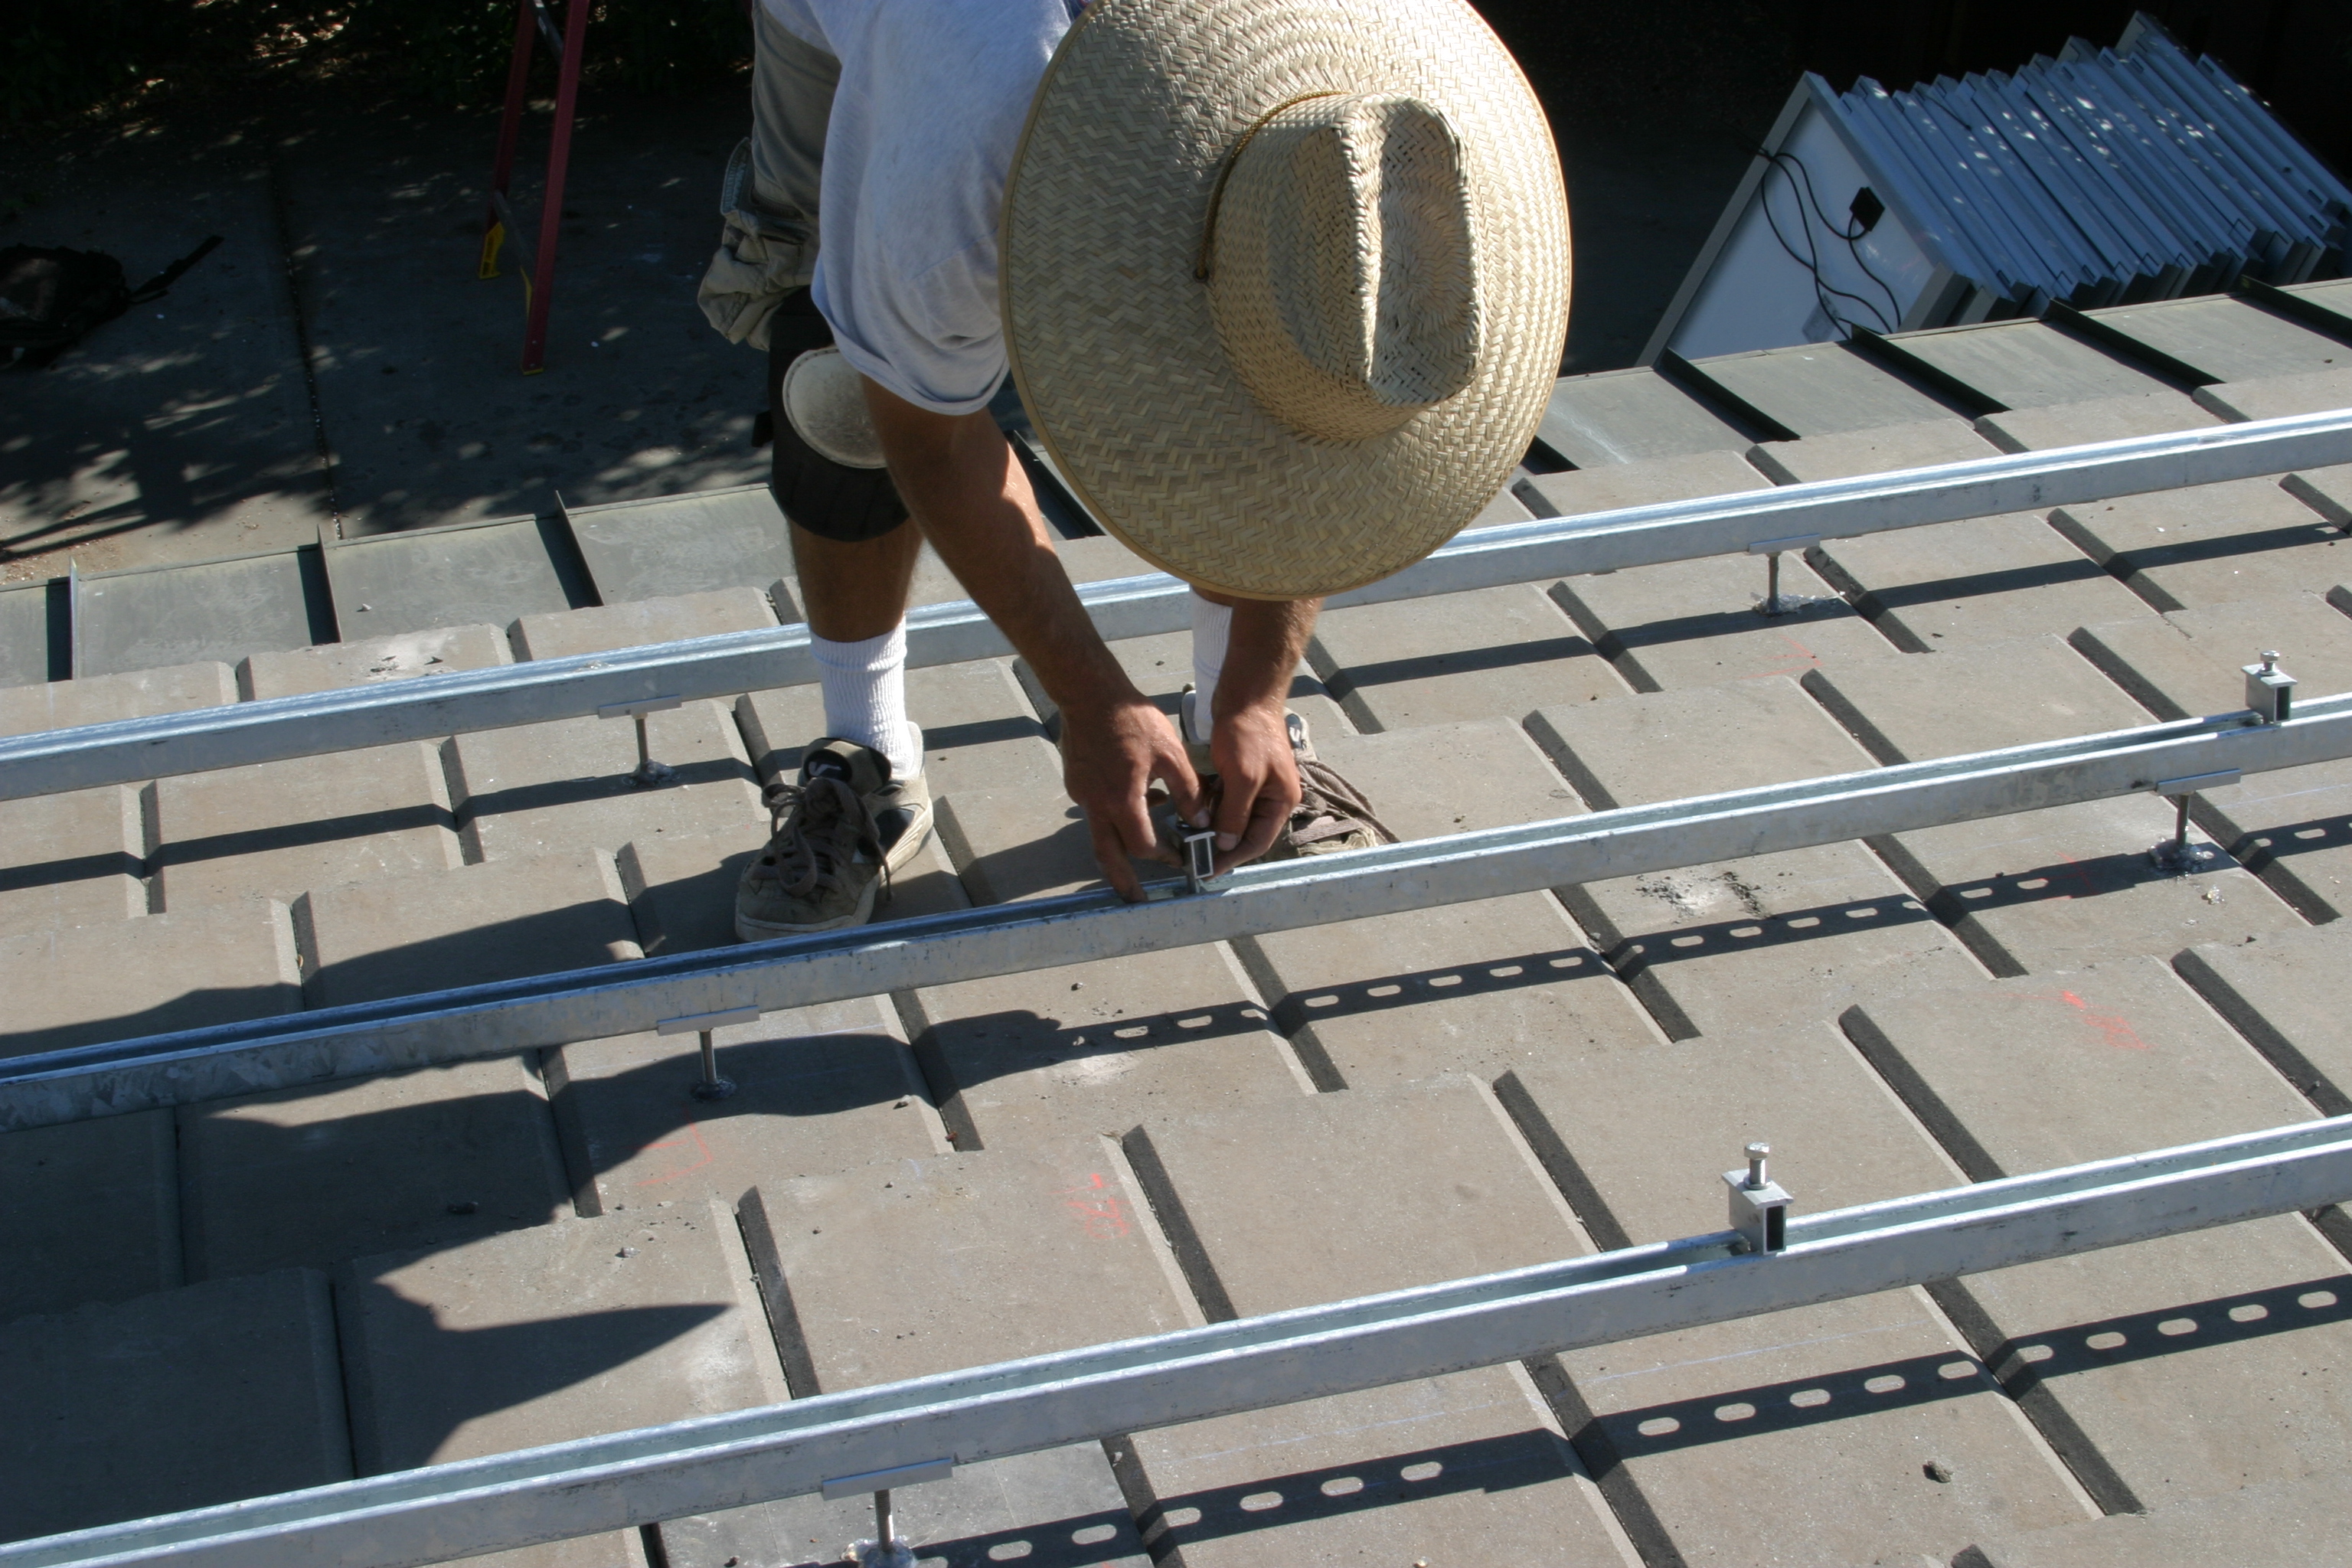
| The V-Line is mounted on the all-threads after the drilled tiles are replaced. | |
|
|
|
|
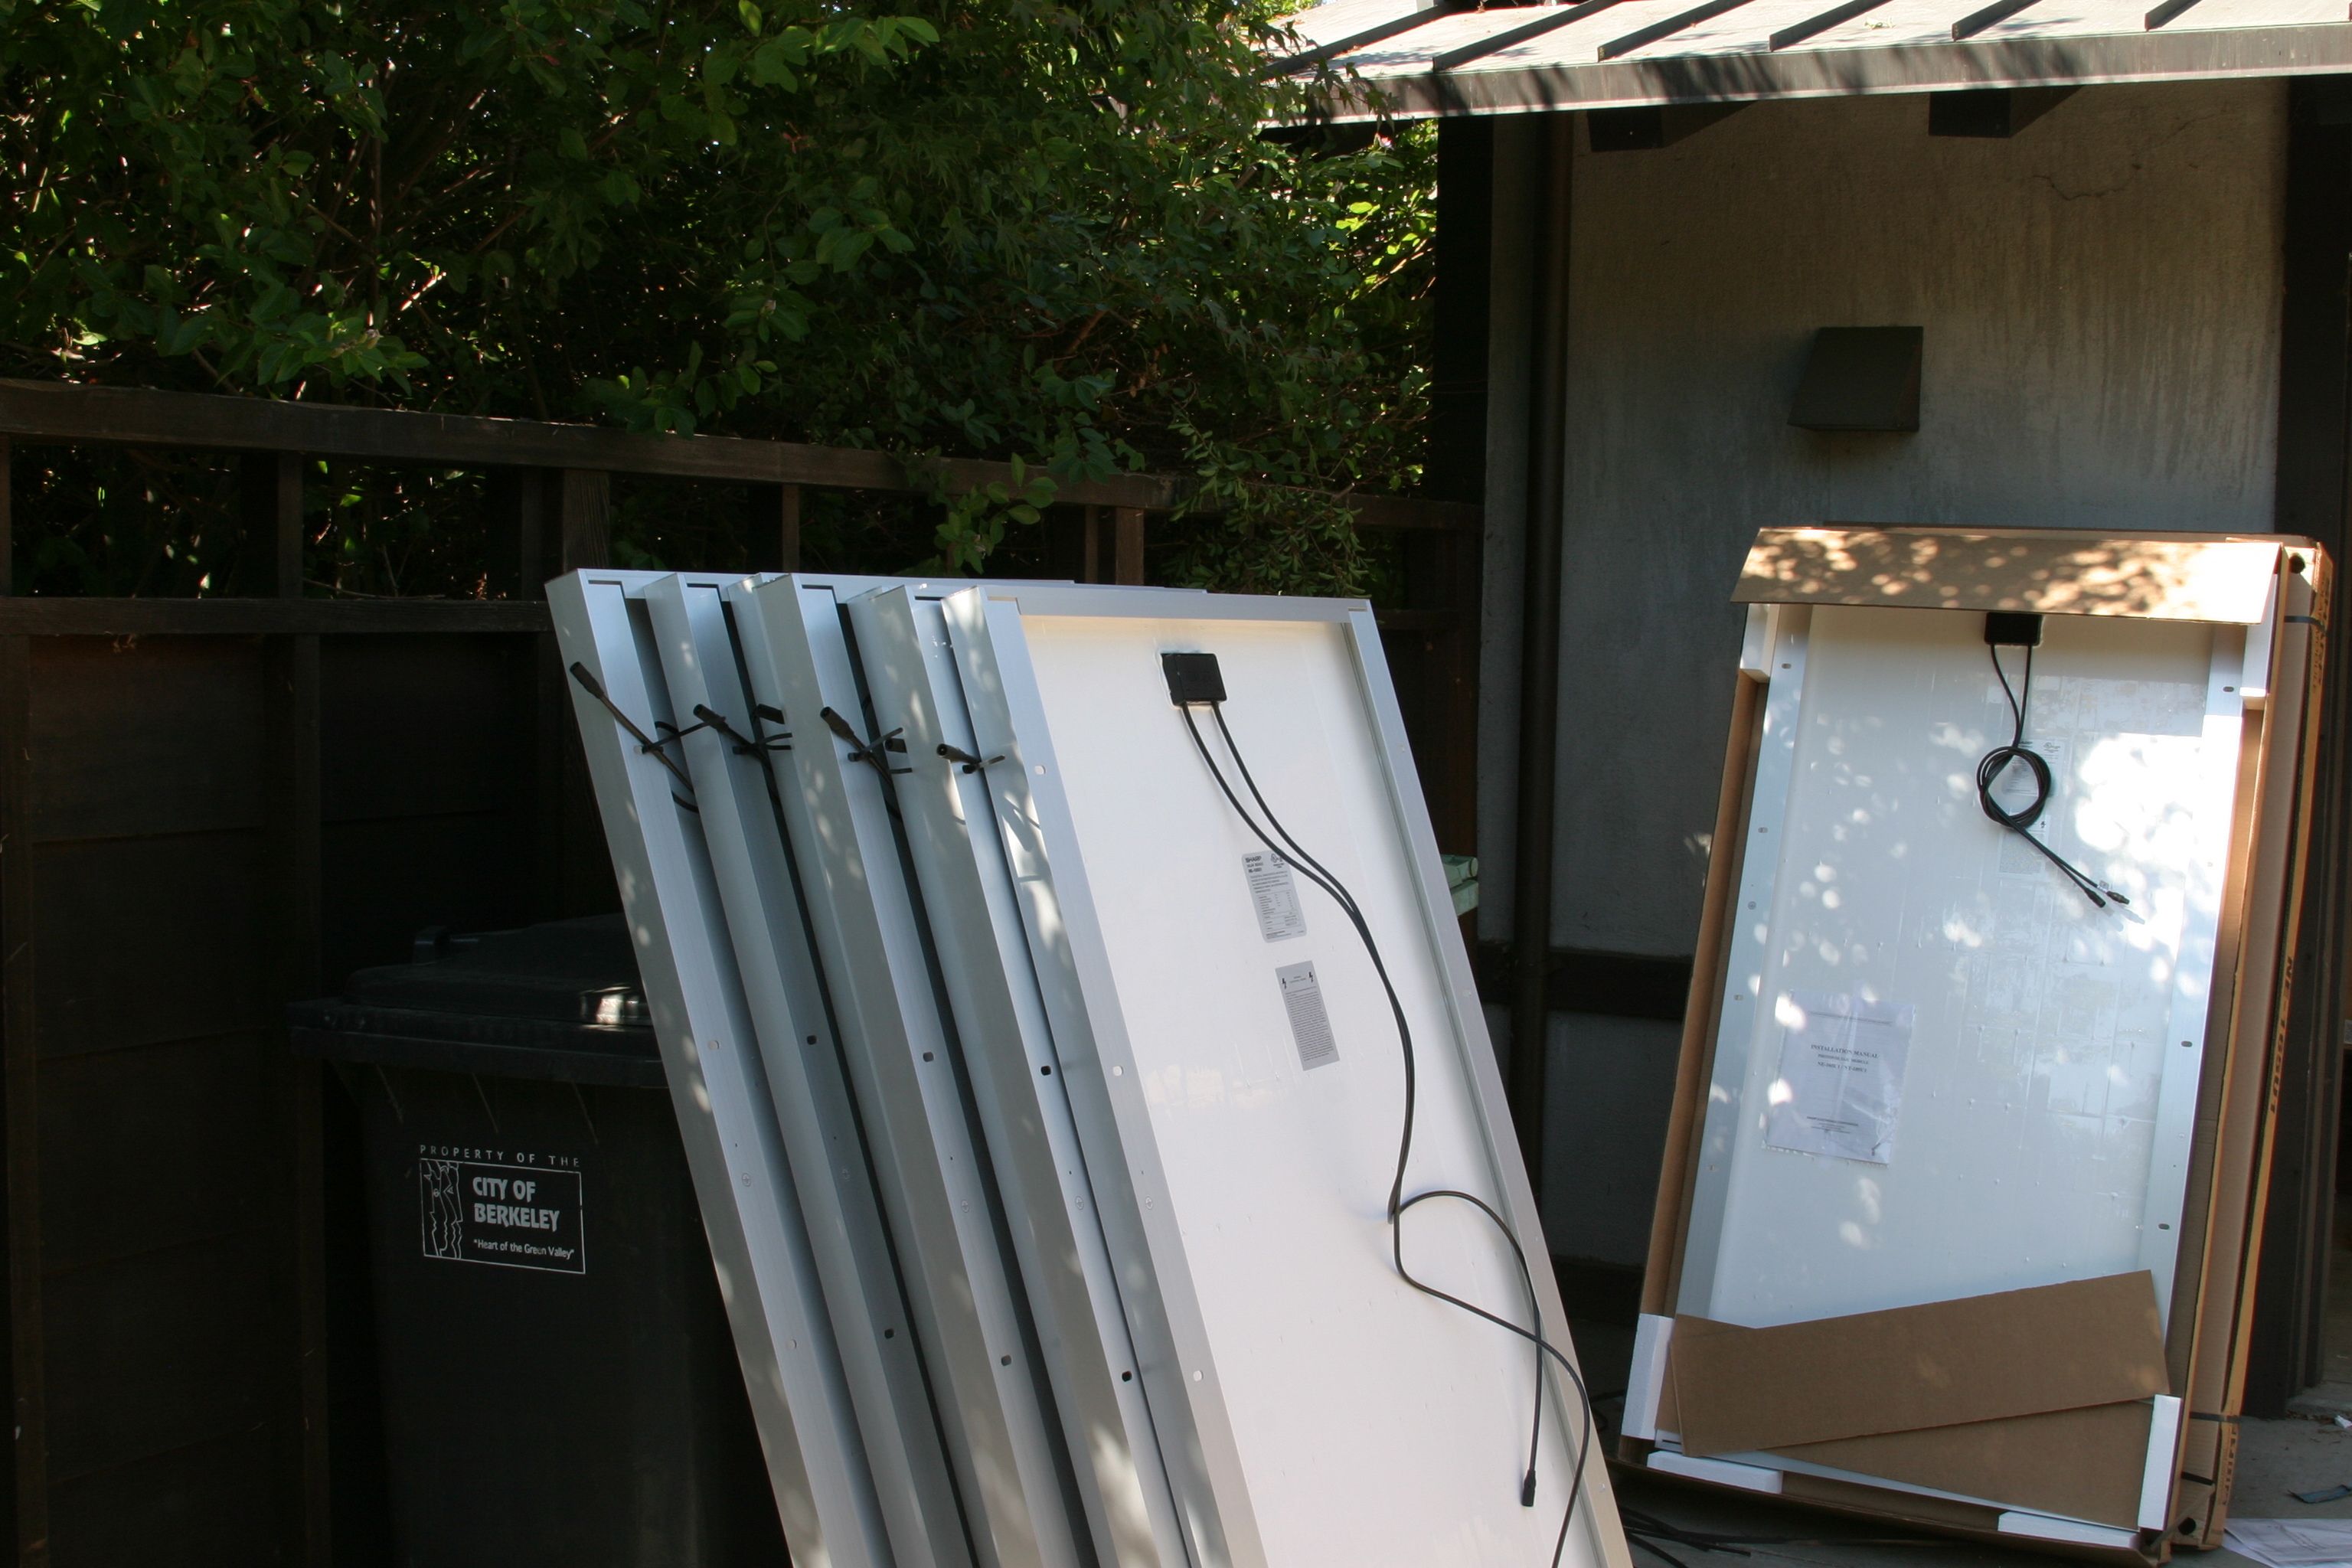
| The solar panels are preped to ease installation. | |
|
|
| The V-Line is grounded. | |
|
|
| Conduit to bring the electrical to the inverter | |
|
|
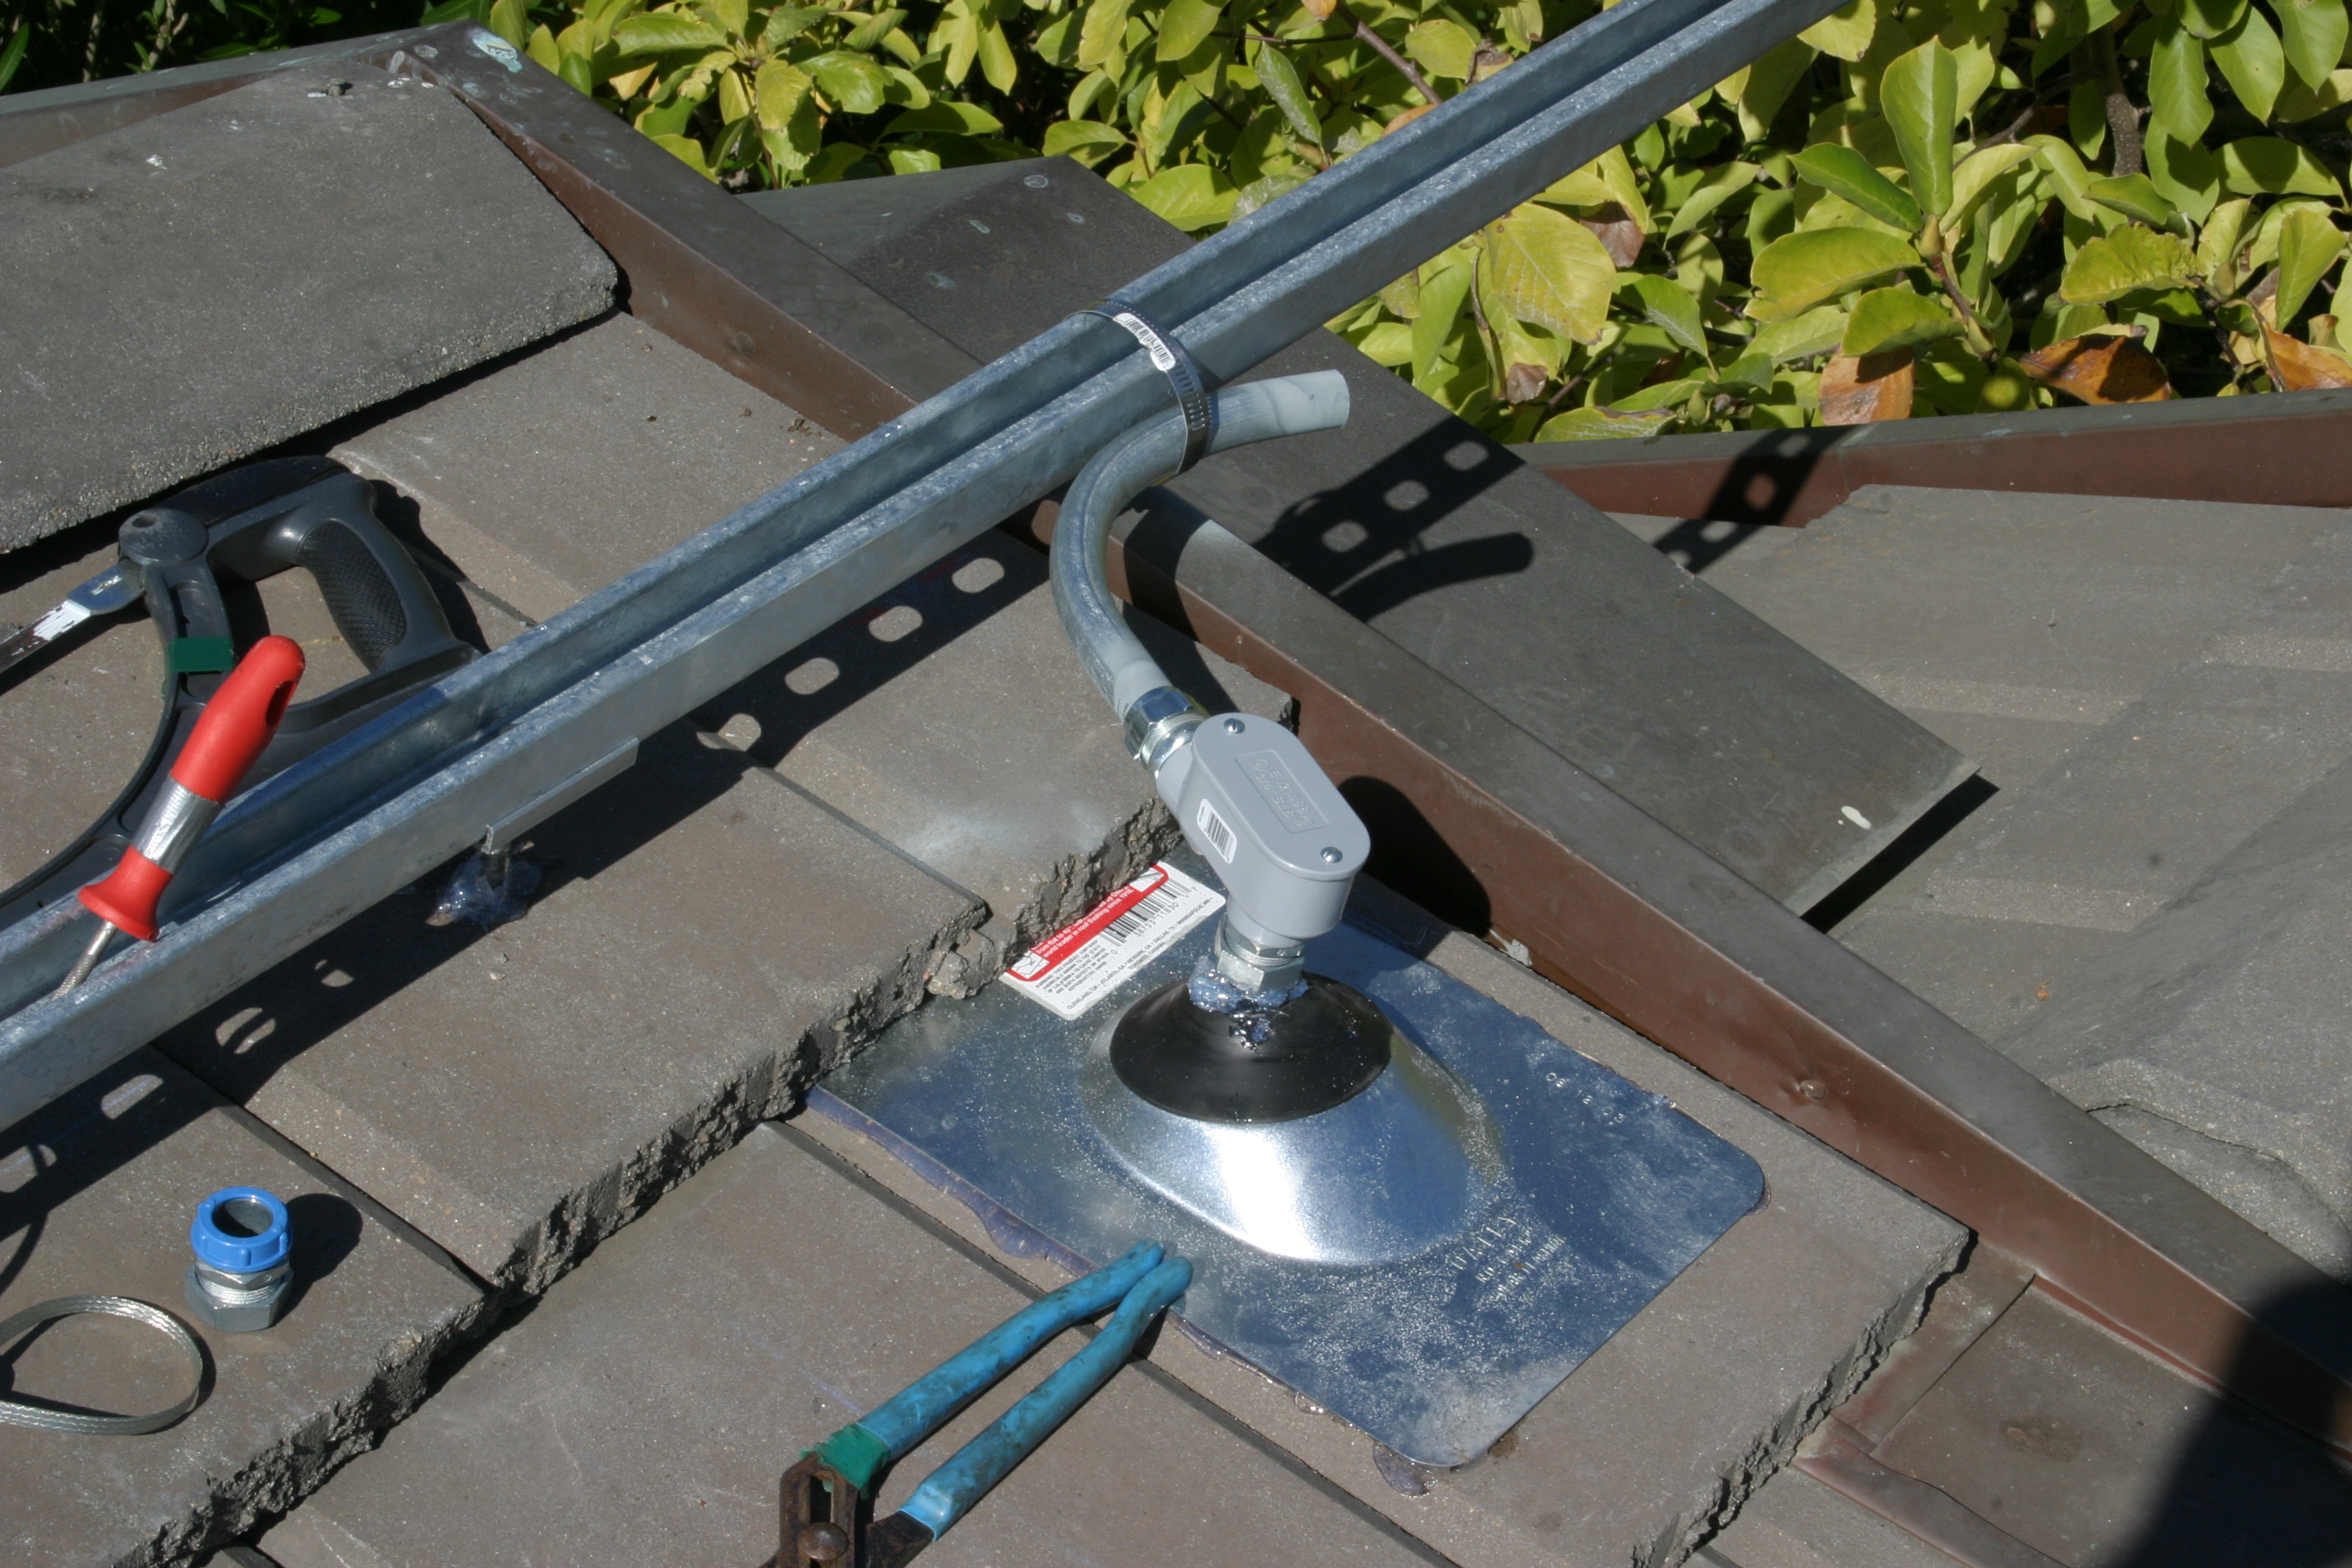
| The outside conduit interface (will wind up under the array) | |
|
|
| These will clamp the panels in place. | |
|
|
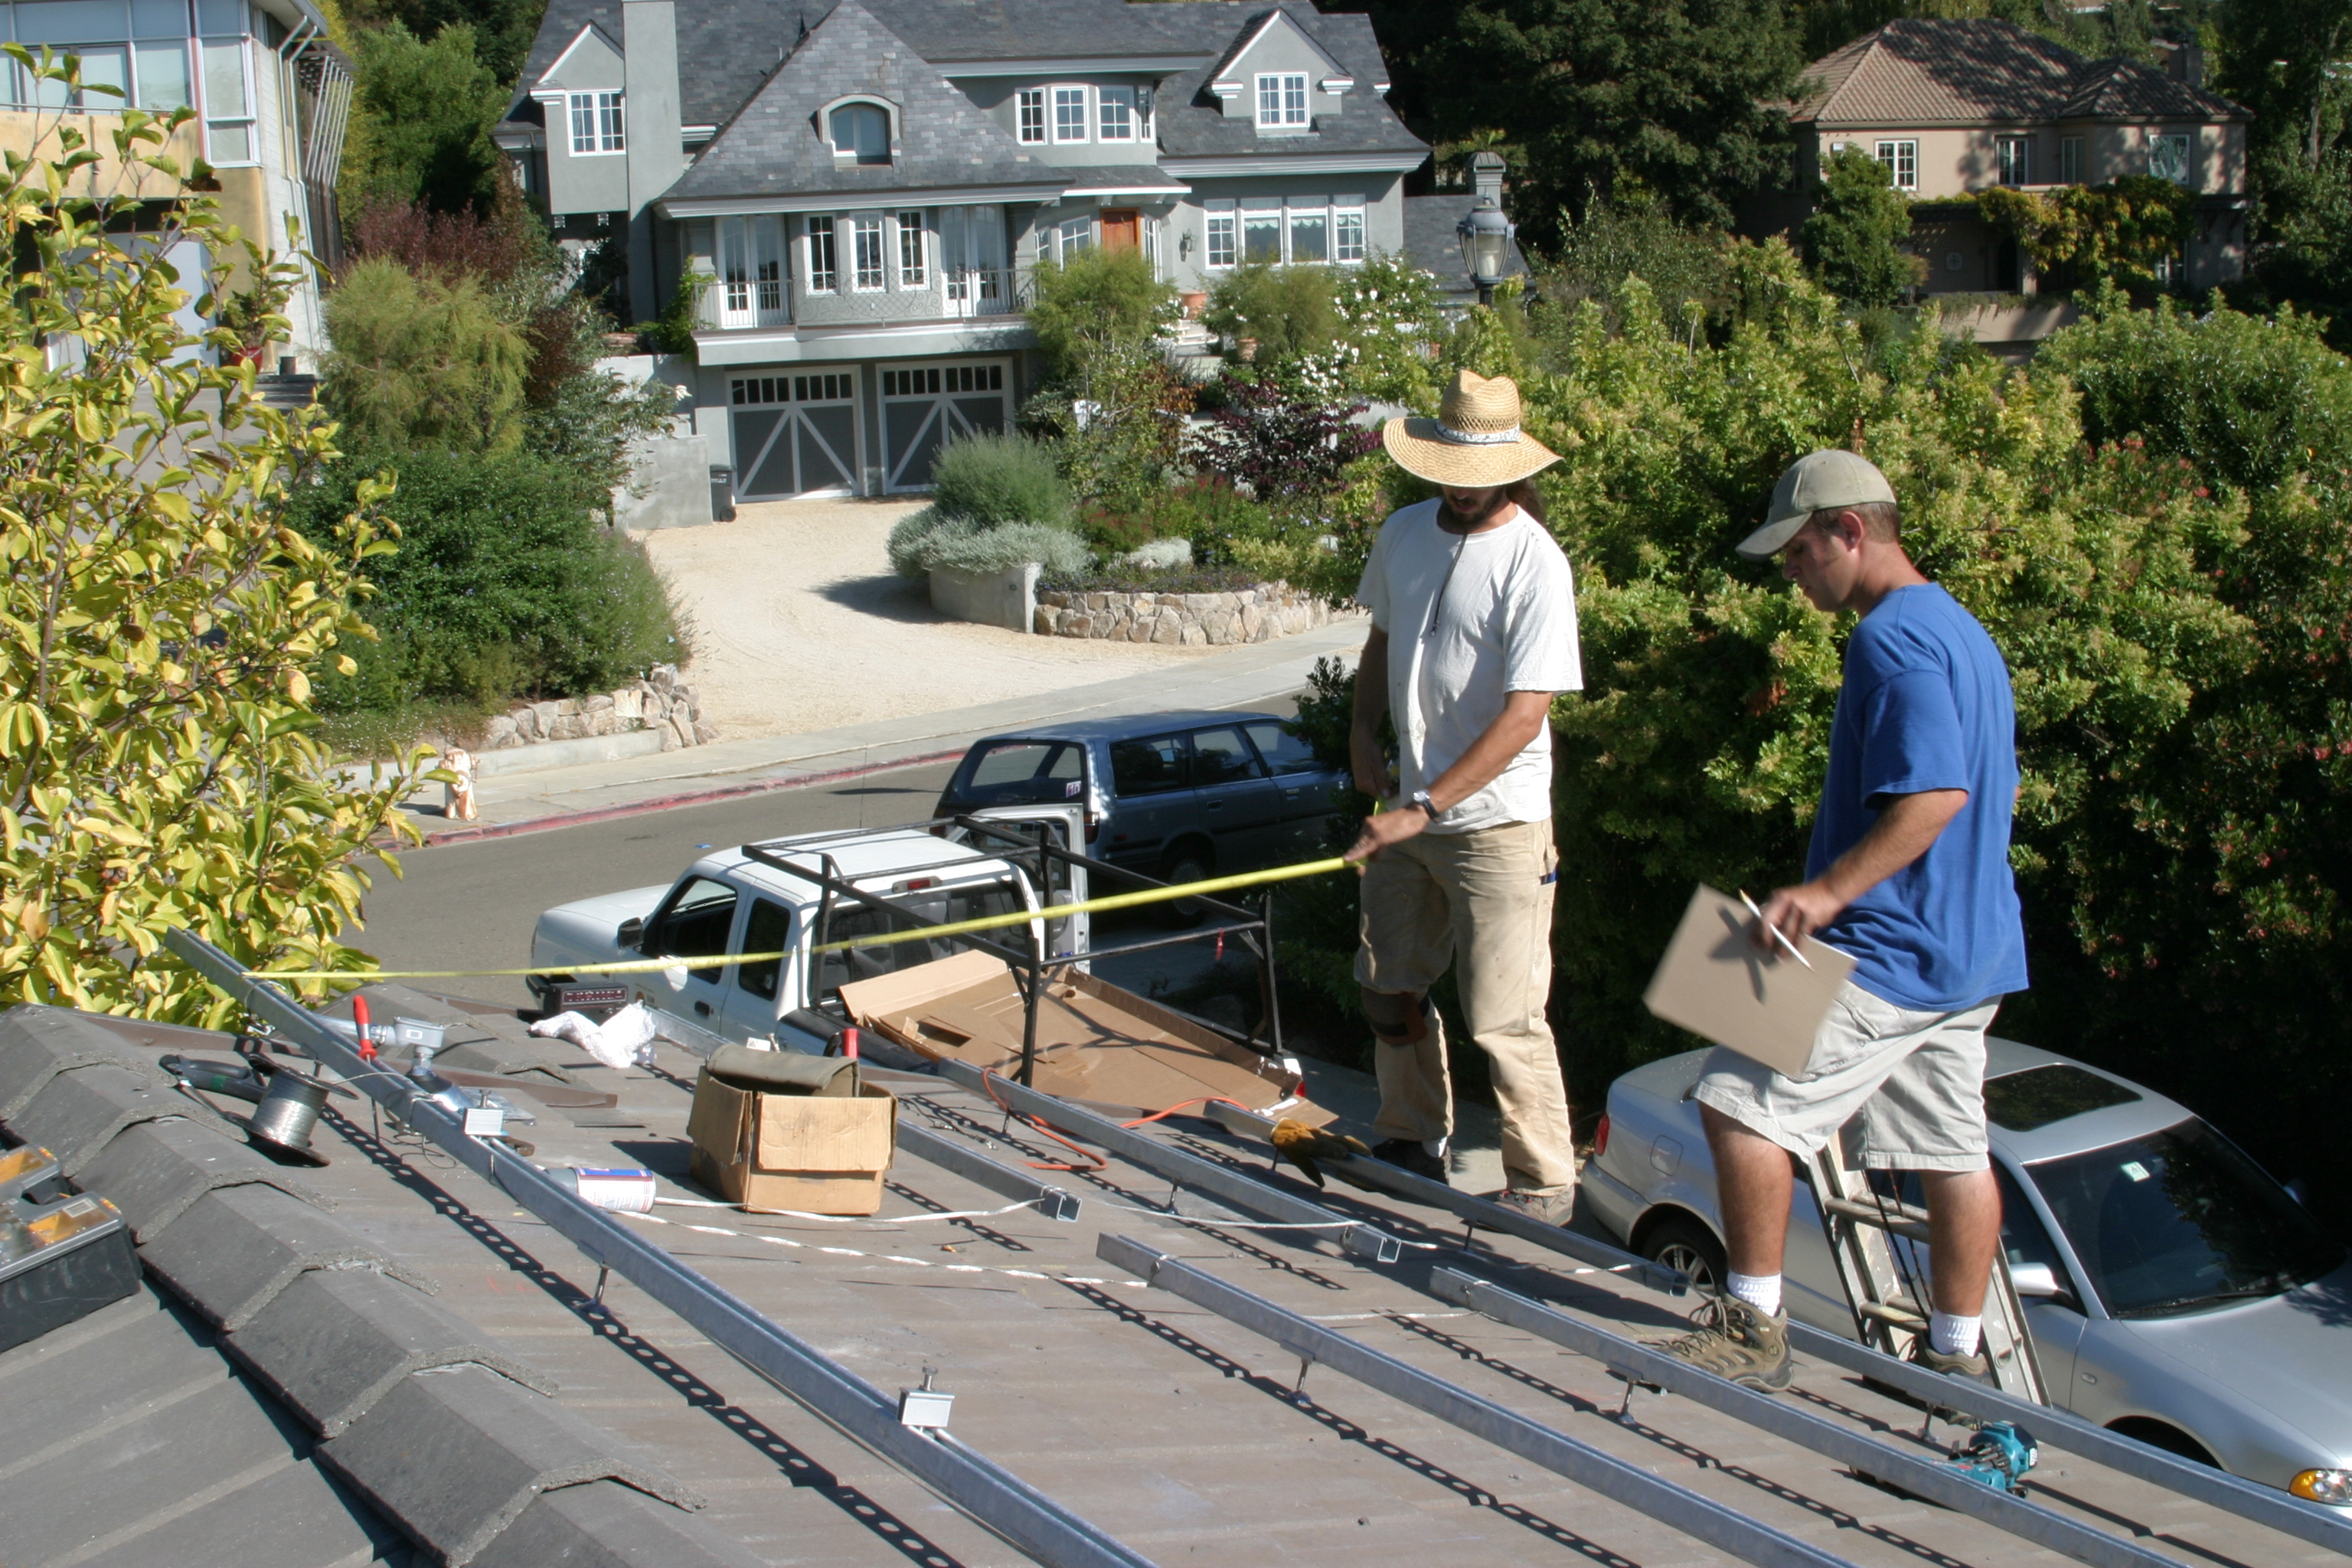
| Measuring the amount of wire that will be needed. | |
|
|
| Rain-proof and sealed. | |
Solar Home
Solar Page 1
Solar Page2